Home » Recipes
Category Archives: Recipes
RECIPE Oyakodon Donburi
Oyakodon is a hug in a bowl – the ultimate in Japanese comfort food. Donburi are rice bowls topped with meat, fish, vegetables and other delicious ingredients. Oyakodon is a special type of donburi, which means ‘mother and child’. This is because the main components are chicken and egg! It’s an easy dish to make at home, so here is our recipe for oyakodon.
The great thing about oyakodon is that it is a simmered dish – no frying is needed. It’s also a one pot dish, where (apart from the rice) everything is cooked in the same pan. It has a lovely complex flavour – umami from the dashi (stock), salty from the soy sauce and sweet as well, a great combination.
There are specialist oyakodon restaurants in Japan – the dish is cheap and popular and, of course, delicious.


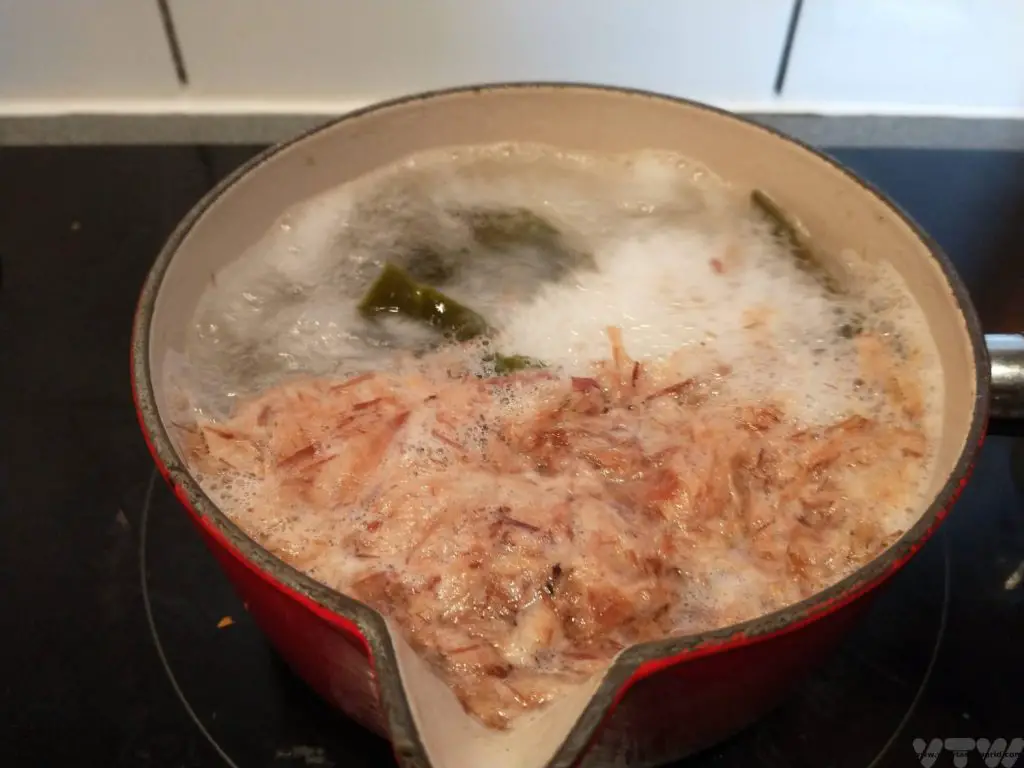
The base of okyakodon is dashi, a Japanese stock usually made from kombu (kelp seaweed), bonito flakes (shaved fish flakes) or shiitake mushrooms. The ingredients are simmered in water for several minutes and then removed leaving a clear stock full of umami flavour. Dashi forms the basis of many Japanese soups including its famous miso soup.
We have a recipe for dashi here. But if you don’t have time (or ingredients) to make dashi you can buy dashi powder online or at Asian supermarkets. It is possible to make oyakodon without dashi and still get bags of flavour. If you can’t find the powder or don’t want to use dashi, chicken stock or a stock cube will add excellent flavour.
We always use chicken thigh meat to make oyakodon as it has loads more flavour than chicken breast. Interestingly, while chicken breast meat is more expensive than thigh meat in the UK, it’s the other way round in Japan. Chicken thighs are considered to be the best meat for this dish. However, if you prefer chicken breast it’s absolutely fine to use that instead – the flavour of the broth is fantastic and because you are simmering the meat, it won’t go dry but will remain tender and juicy.
Oyakodon Equipment and Pans
If you go to an oyakodon restaurant in Japan they have special pots to cook the food in for individual portions which means that you get the omelette perfectly balanced atop the chicken.
But if you’re cooking at home for more than one person, and are serving different portions from the same pot it’s a bit more difficult to get the fluffy omelette on top. But however you present the food, it is still guaranteed to taste delicious! We tend to use as small a saucepan as we can get the ingredients into – that is with the smallest diameter – in order to get the egg to rest on top.
We have a rice cooker which is absolutely brilliant for cooking rice. Add rice and water (twice as much as the rice by volume), pop on the lid, press the switch and it will cook the rice perfectly, automatically switching itself to a keep warm function. If you don’t have a rice cooker you can cook the rice in a saucepan – same ratio, just let the rice simmer until all the water has absorbed.
Recipe Oyakodon: Ingredients
2 chicken thighs per person
1 onion
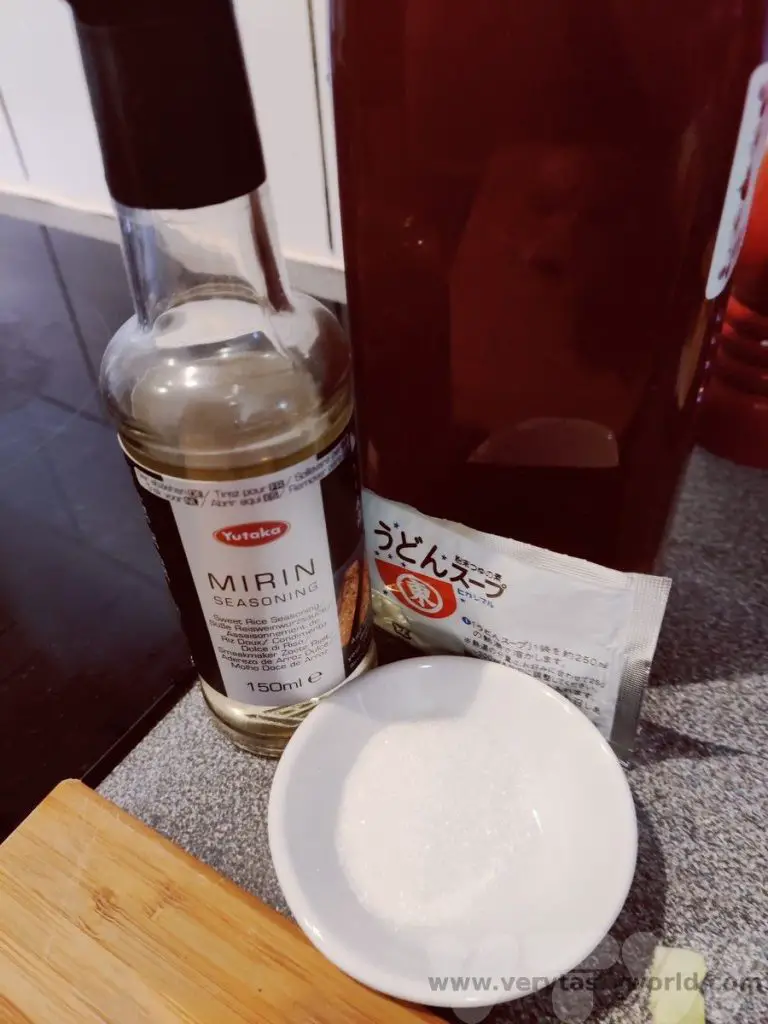
100ml dashi (if you can’t get dashi use chicken stock)
1 tbs soy sauce
1 tbs mirin (If you can’t get mirin, use cooking sake. If you can’t get cooking sake use white wine. Whatever substitute you use, add an extra teaspoon of sugar.)
1 tsp sugar
2 eggs
Rice – about 100g per person
2 spring onions (green onions) to serve

Method
Start cooking your rice. We use sushi rice as it has a nice texture. We put it in a rice cooker but you can use a pan on the stove. The ratio for both methods to use is 1 cup of rice to 2 cups of water. Cook until all the water is absorbed.
Chop up the chicken into bite-sized pieces. Slice the onion into thin slices.
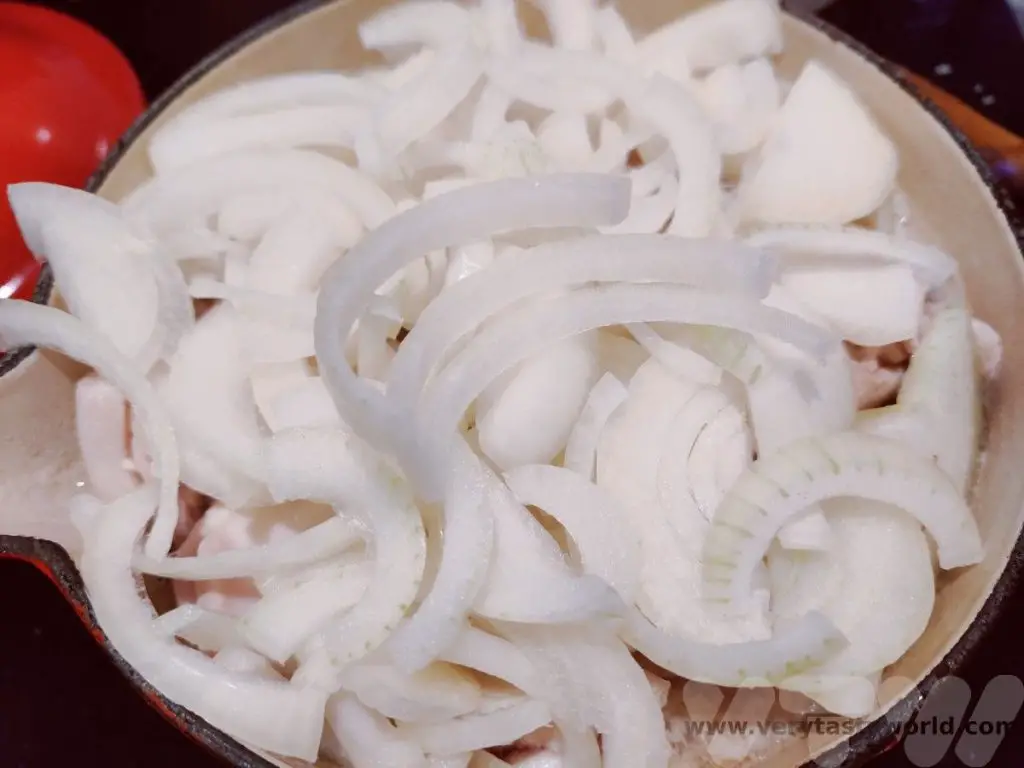
Make the dashi or stock and add the soy sauce, mirin and sugar. Put into the smallest diameter pan you have (it needs to be deep enough to accommodate all the ingredients). Bring to a boil. When the liquid is simmering add the raw chicken. Stir it around to make sure each piece can cook.
Allow the chicken to simmer for about 5 minutes.

Add the onion on top and simmer further for about 10 minutes.
Let everything simmer until the rice is cooked.
Beat the eggs gently in a bowl.
At last minute pour the egg slowly on top of the chicken and onions. Turn the heat off and let the eggs cook for a couple of minutes in the residual heat.


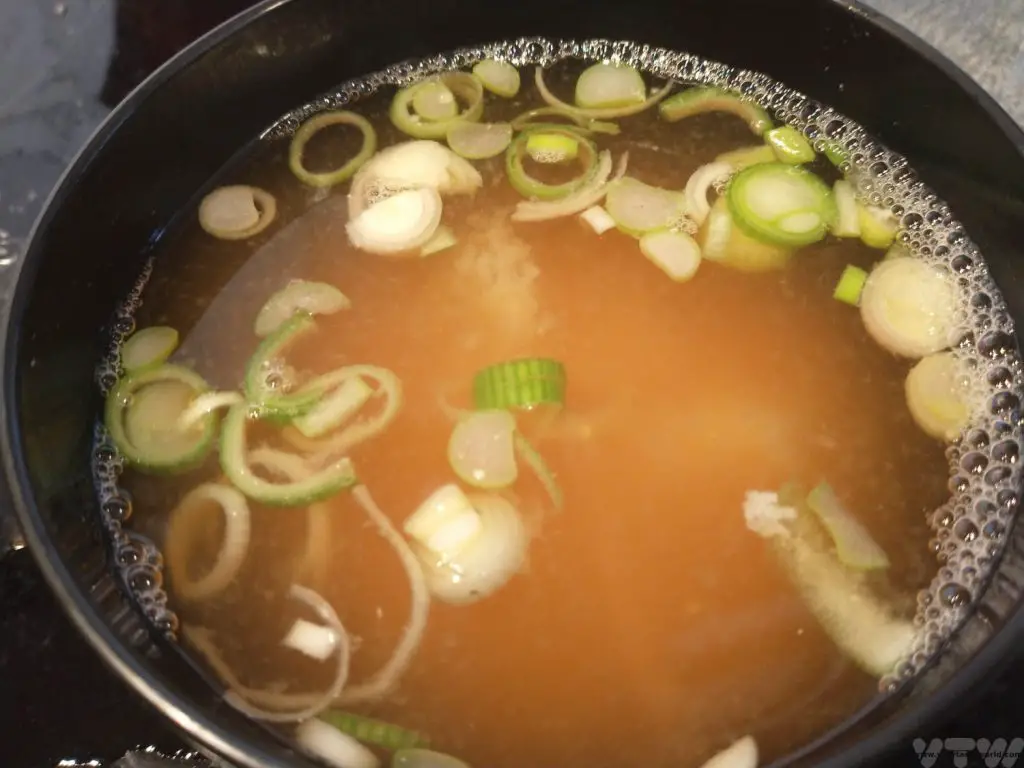
Place the rice in a bowl.

Then slide the chicken, egg and any broth on top. This is the tricky part. You can buy special donburi pans which can cook an individual portion that glides neatly onto the rice bowl. But in a practical kitchen, when you are cooking one dish for more than one person and using a standard saucepan, it’s a bit trickier to produce multiple portions without the egg breaking up. So, you may not be able to get the perfect presentation but the finished result will still taste utterly delicious.

Finely chop the spring (green) onions and use them for garnish. Enjoy!
Related Posts You May Enjoy


- RECIPE Oyakodon Donburi

- Zero Waste Recipes Before Your Holiday

- RECIPE: Vegetable Biryani Tamil Nadu Style

- RECIPE: Vegan Wild Garlic Pesto

- Recipe: Venetian Pasta Sauce

- RECIPE: Biryani Raita Recipe

- RECIPE: How to Make Costa Rica’s Gallo Pinto

- Recipe: Japanese Simmered Pork Belly – Buta no Kakuni

- RECIPE: How to Make Umeboshi


- Recipe: Simmered Shiitake Mushrooms

- How to Use Public Transport in Japan

- RECIPE Oyakodon Donburi
- Planning a Trip to Japan

- The Makanai: Cooking for the Maiko House

- Setsubun Food – Bean Throwing Day

- The Gassho Farmhouses of Rural Japan

- Recipe: Japanese Simmered Pork Belly – Buta no Kakuni
- RECIPE: How to Make Umeboshi
Zero Waste Recipes Before Your Holiday
We absolutely hate food waste so whenever are off on a trip we try to make sure we have used up all the perishable food before we leave. But there are usually loads of things to do with all the packing and preparation for the trip. So we want some simple recipes that not only use up food but are easy to make and, above all, quick. Here are some ideas for zero waste recipes that will use up food before you hit the road.
None of these recipes take more than ten minutes’ preparation time. They may need a bit of cooking but you should be okay to abandon them in the oven or on the hob while you finish packing for your trip.
Fruit and Vegetables
If you are travelling for more than a few day, most vegetables will perish before you return, so it’s good to use them all up.
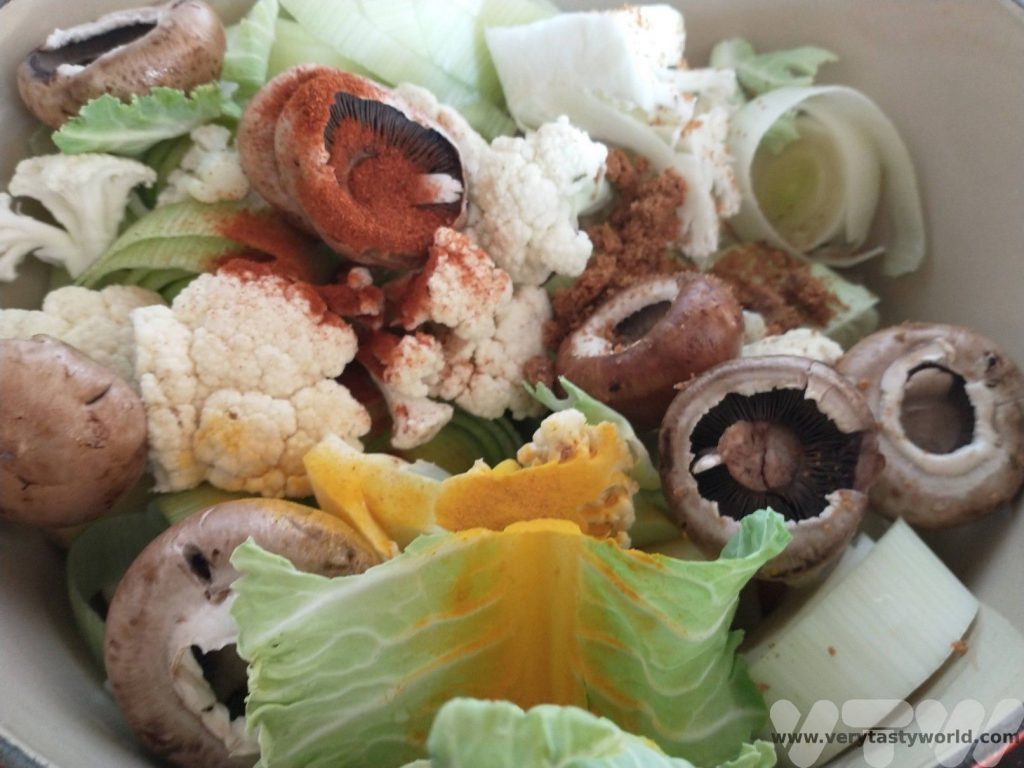
A great way to use up random leftover vegetables is to make soup. We often make an ‘end of the week’ soup even if we aren’t travelling imminently, to use all the spare vegetables. There is no fixed recipe.
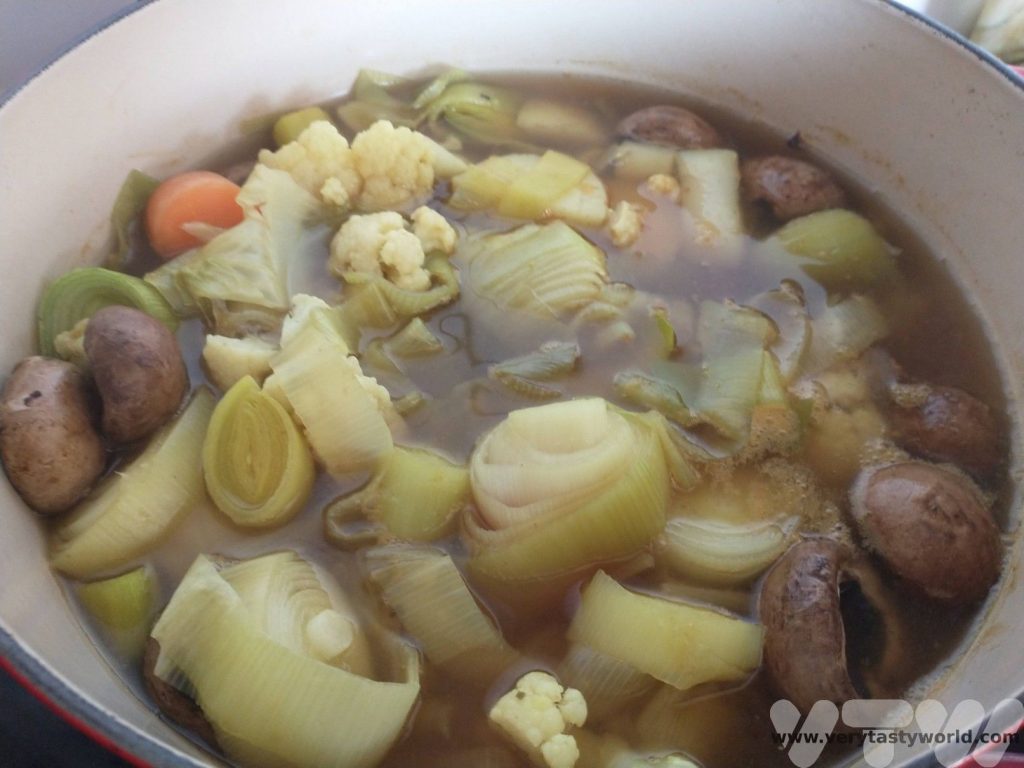
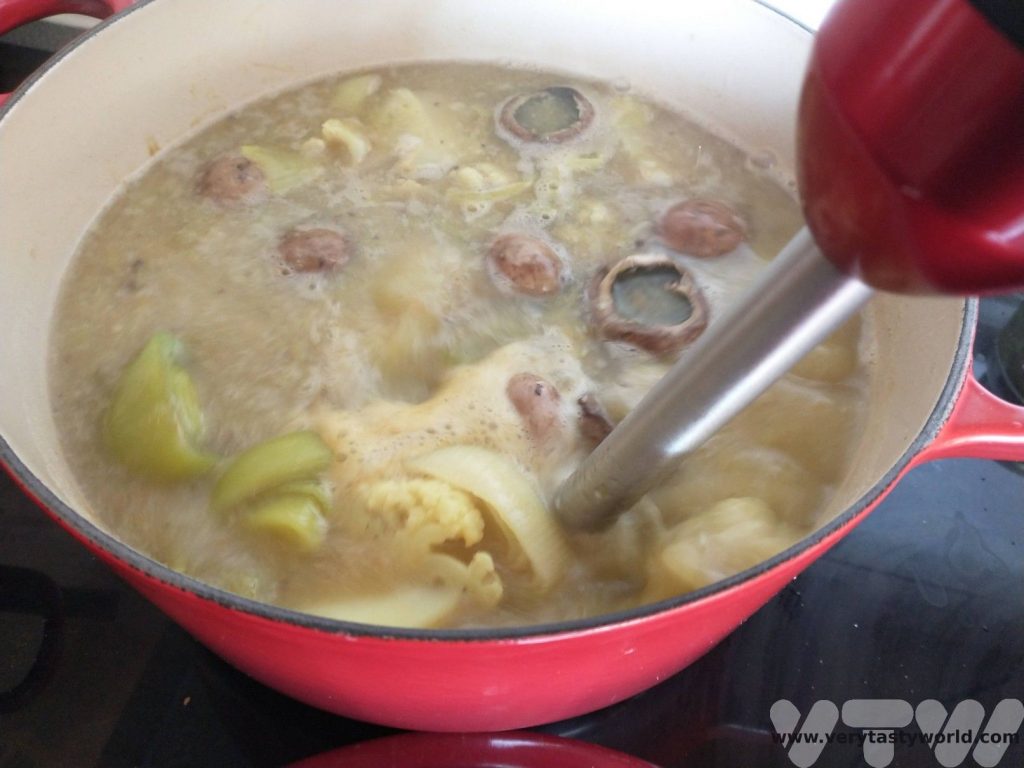
Multi Vegetable Soup Recipe
Chop up all your spare vegetables into cubes that are roughly the same size. Place in a pan, top up with water to just about cover the veg, add a couple of stock cubes and bring to the boil. We tend to add any herbs and spices that we have in the cupboard. Favourites are smoked paprika, turmeric and cumin but add any combination you like. Cayenne pepper adds a touch of spice, Worcestershire sauce a bit of umami. Salt and pepper are essential. As soon as the vegetables are soft, whiz everything together with a hand blender to get a consistency you like – chunky or smooth, both are fine. Add a bit more water/stock if the soup’s too thick. If you have a block of cheese that won’t last until you get back, grate that and chuck it in. You can make the soup any time of the day and just reheat when you want to eat it -don’t let it boil, just warm it through. And you can be sure that you will have consumed at least ten of your ‘five a day’ portions of veg and can feel thoroughly virtuous before you hit the road.
Any soup you don’t manage to eat (and we often end up making a lot of soup) you can just pop into the freezer. Perfect for a light meal when you return home.
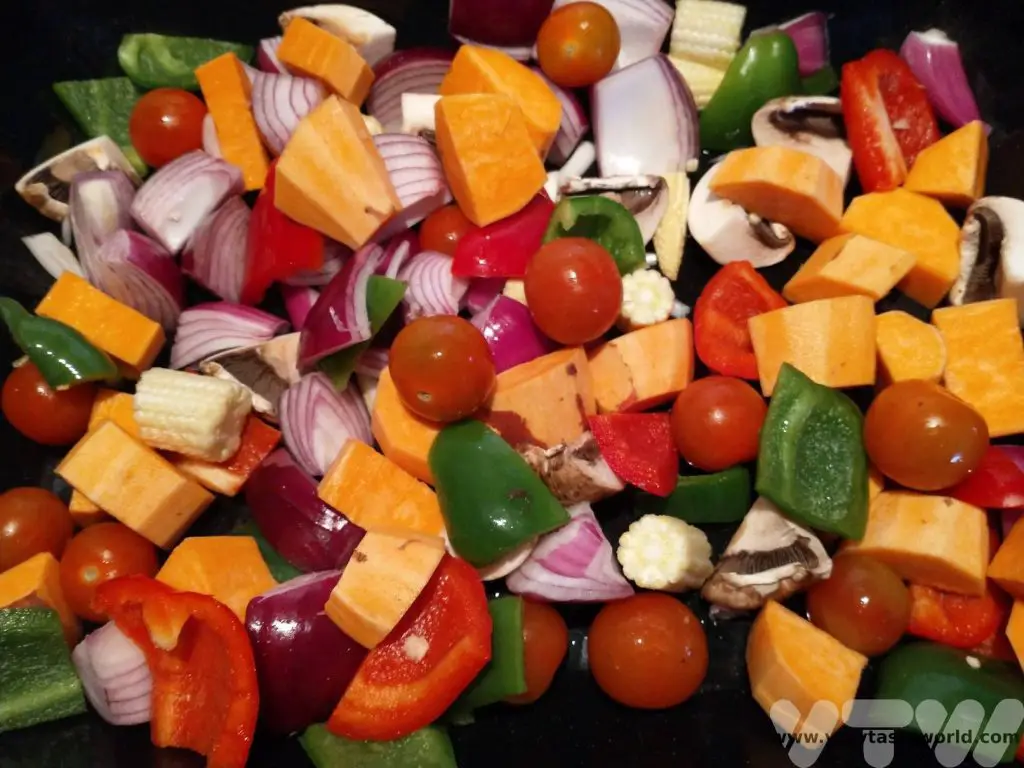
Random Roast Vegetable Salad
A roasted vegetable salad is another great way of using up leftovers, especially if you have root veg hanging around. Chop up your vegetables. Cut harder root vegetables like parsnip and carrot or squash into smaller chunks than softer veg such as onions, mushrooms, tomatoes and bell pepper, so that they will cook in roughly the same length of time. Chuck them in a baking dish, slosh some vegetable oil over them, give them a shake and pop into the oven for 35-40 minutes until they are cooked and tender. Let them cool.
Then you can dress them with a standard vinaigrette – 2 parts olive oil to 1 part vinegar, a teaspoon of mustard and salt/pepper. We like another dressing – finely chopped preserved lemons and pomegranate molasses, with a sprinkle of sumac and black pepper. (The preserved lemons are very salty so we don’t add salt. If you don’t have preserved lemons, squeeze in the juice of a lemon and salt to taste.)
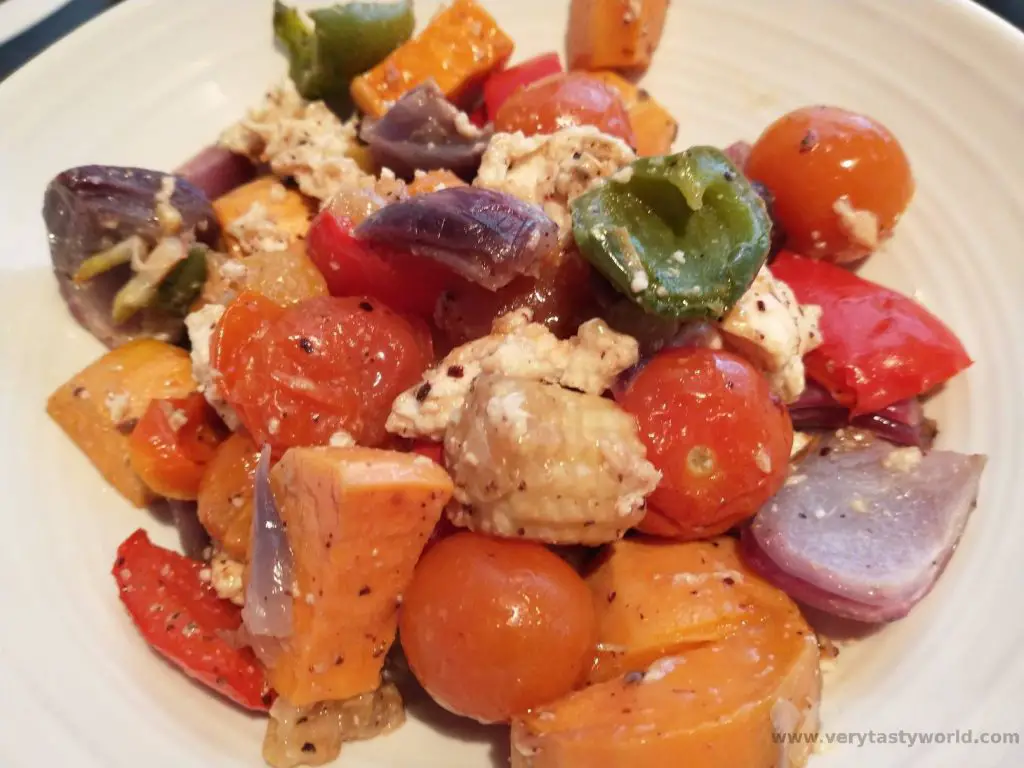
You could also add any leftover cheese. Feta and mozzarella work well. If you have any spare chunks of bread, you could toast them, tear them up into small pieces and add to the salad. They soak up the dressing beautifully.
Preserving Fruit and Vegetables
Freeze citrus fruits. Lemons and limes freeze pretty well. We quite often quarter the citrus fruits before we put them into the freezer. When we get home they are perfect for adding directly to a G&T– the frozen fruit will keep the drink cold (without diluting it) too.
Fruit – Many soft fruits, such as berries, freeze very well. Just pop them into the freezer. Or you can make fruity smoothie. Chuck them all together in a blender, add a dollop of yoghurt if you have some, and a teaspoon of honey if you like some added sweetness, and enjoy.
Salad – it’s often possible to make a pesto with salad leaves. We have a wild garlic pesto recipe where you could substitute salad leaves and any herbs for the wild garlic leaves. Add a clove of garlic or two to add some garlicky warmth. You could use the pesto to eat with pasta or to dress a roast vegetable salad.
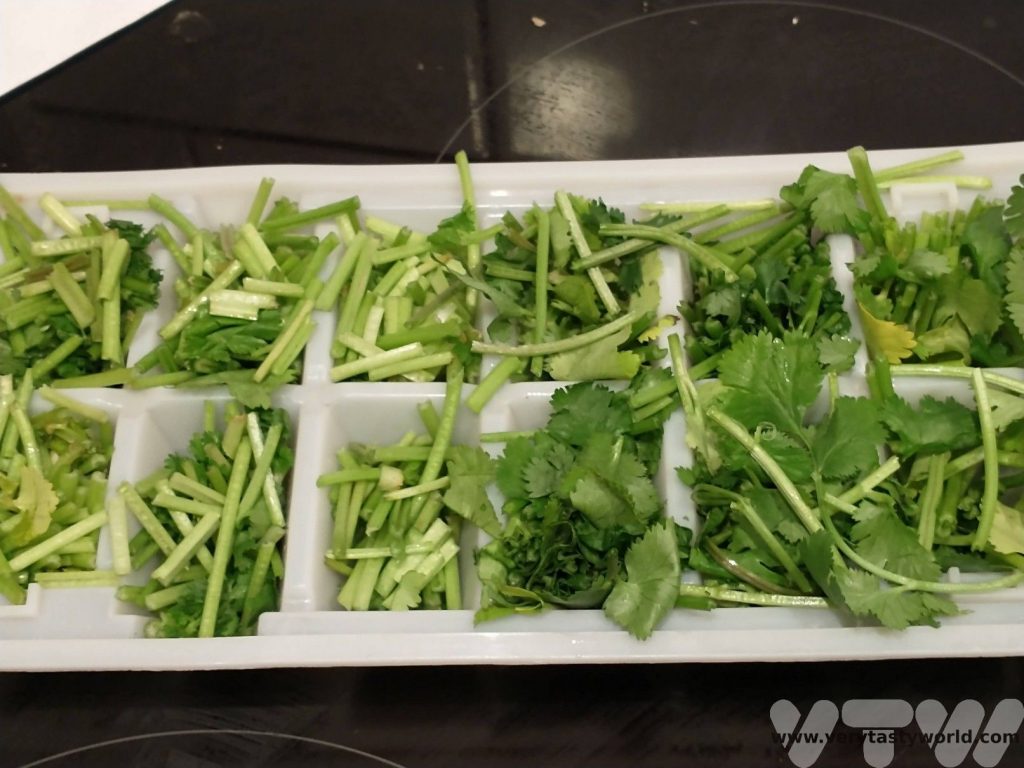
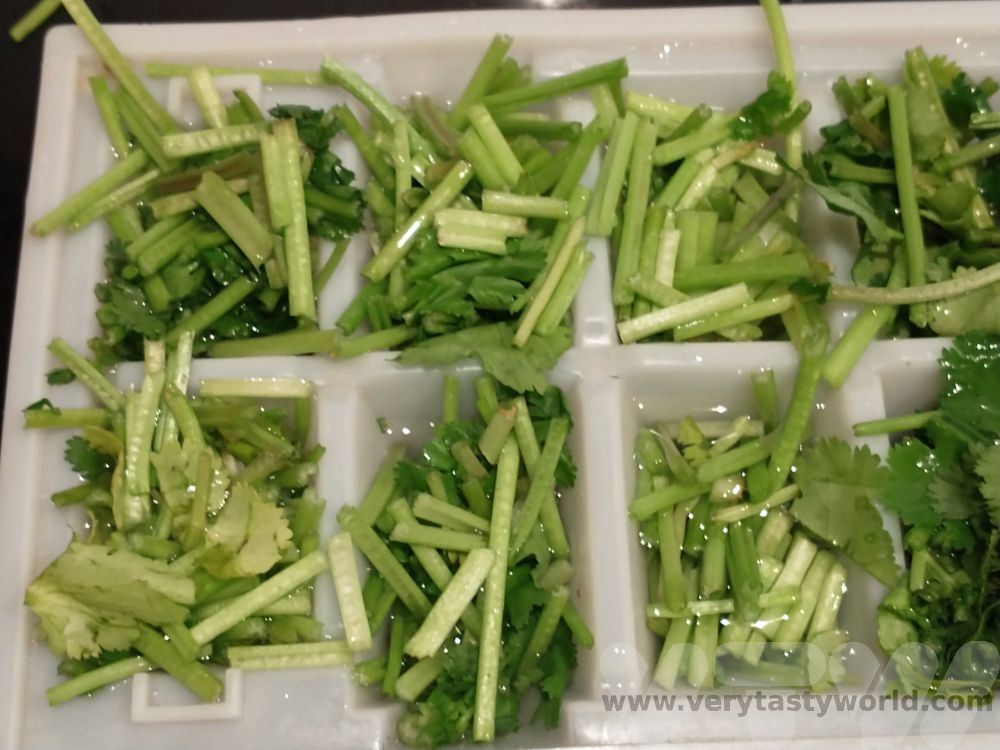
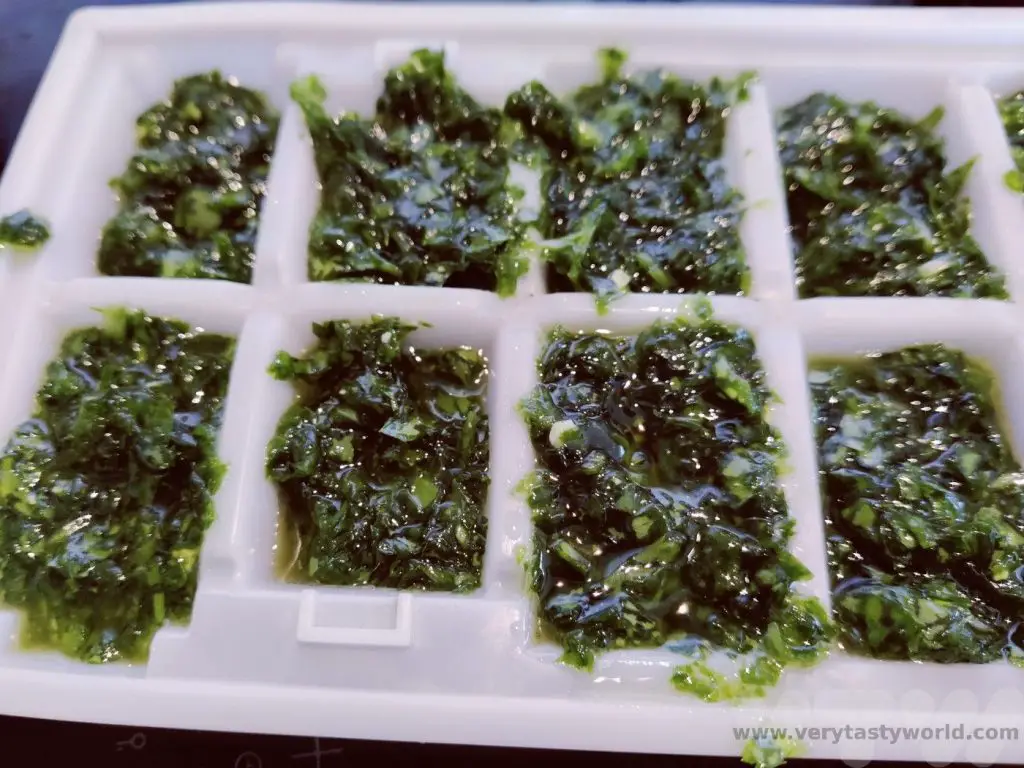
Herbs – many herbs can be frozen. You can chop them up and freeze them in ice cube trays with a little water in each section. Once frozen, you can pop out the ice cubes and store them in a bag together. You can use them any time when you get home. And don’t forget that with some soft herbs, like coriander, the stalks have loads of flavour, so don’t forget to freeze those too.
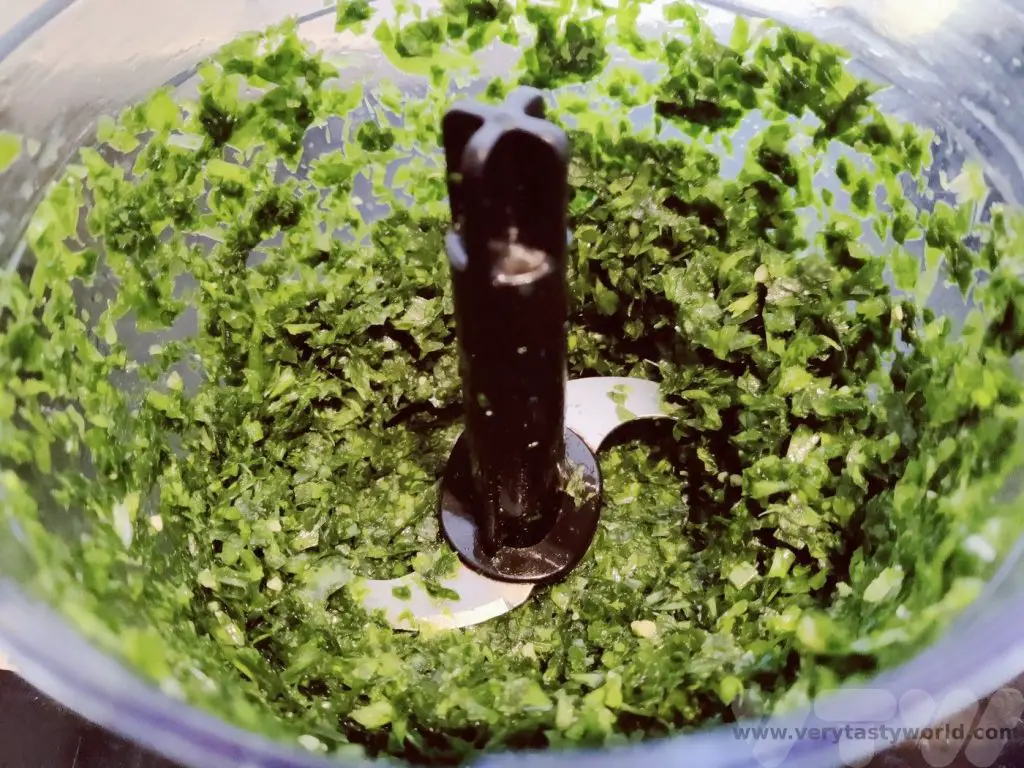
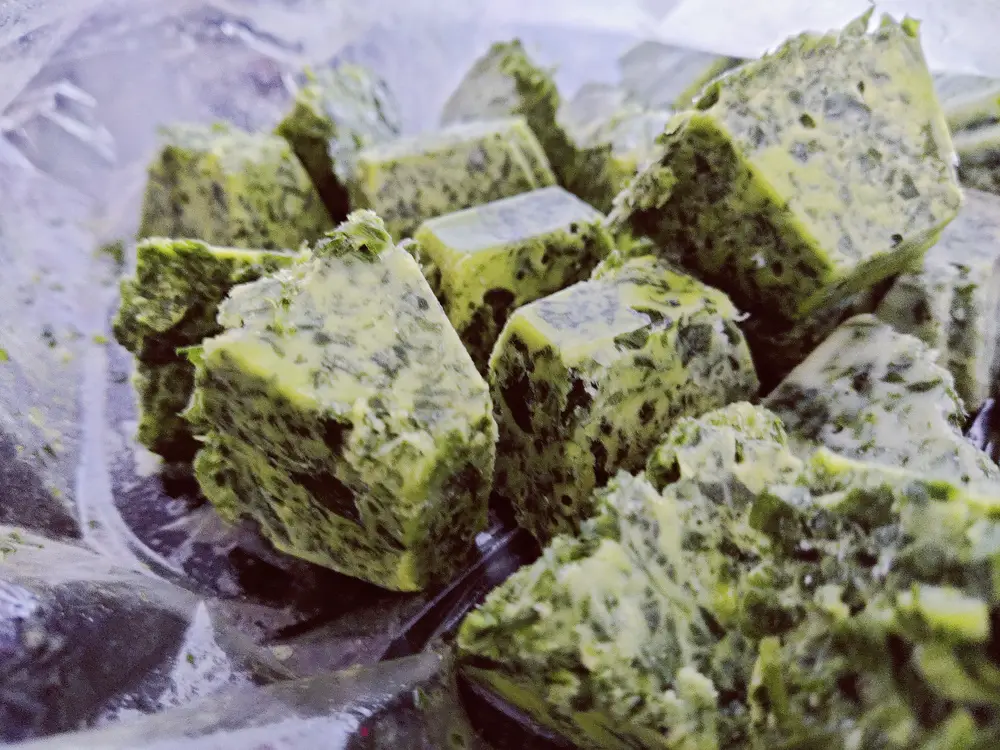
It’s also possible to make flavoured oils using herbs. Mix 100g of a herb (soft herbs such as parsley, coriander, wild garlic, sorrel, oregano/marjoram) with 100ml oil (any variety as long as it’s not expensive extra virgin olive oil as the herbs will mask its subtle flavour) and blend together. We don’t like storing oils for any length of time, even in the fridge, because there is a small risk of botulism. So we freeze them, again in ice-cube trays.
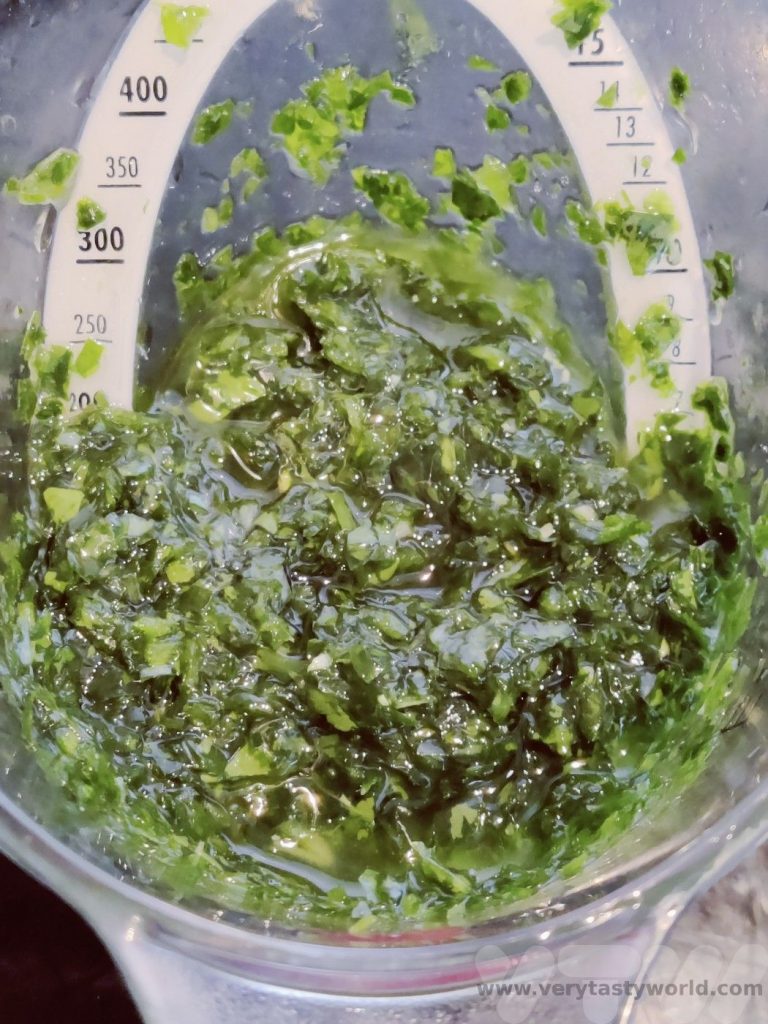
Next time you make a soup you can just take out a cube and melt it in as the soup cooks, splitting the soup with a lovely hit of herby flavour.
Chillies freeze pretty well, particularly the smaller ones. You can chop or micrograte frozen chillies directly into any dish you are making at a later date after you have returned home.
Getting in A Pickle
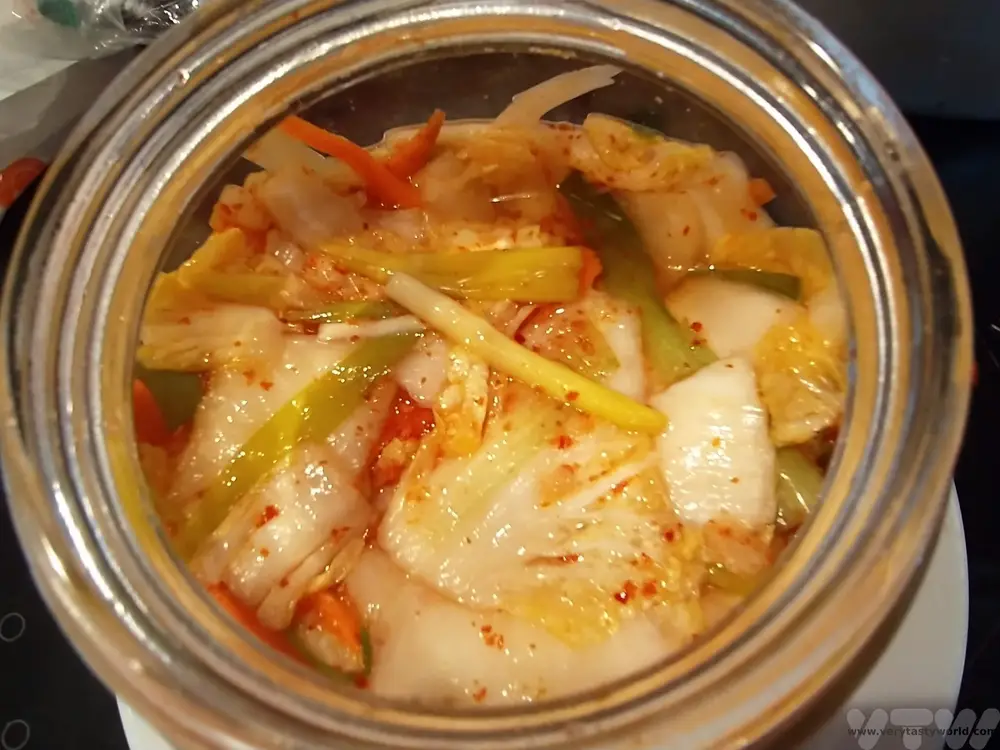
Some vegetables don’t freeze at all well – they turn into a mush on thawing. But you can pickle lots of vegetables.
Pickled Cucumber Recipe
Cucumbers are easy to pickle:
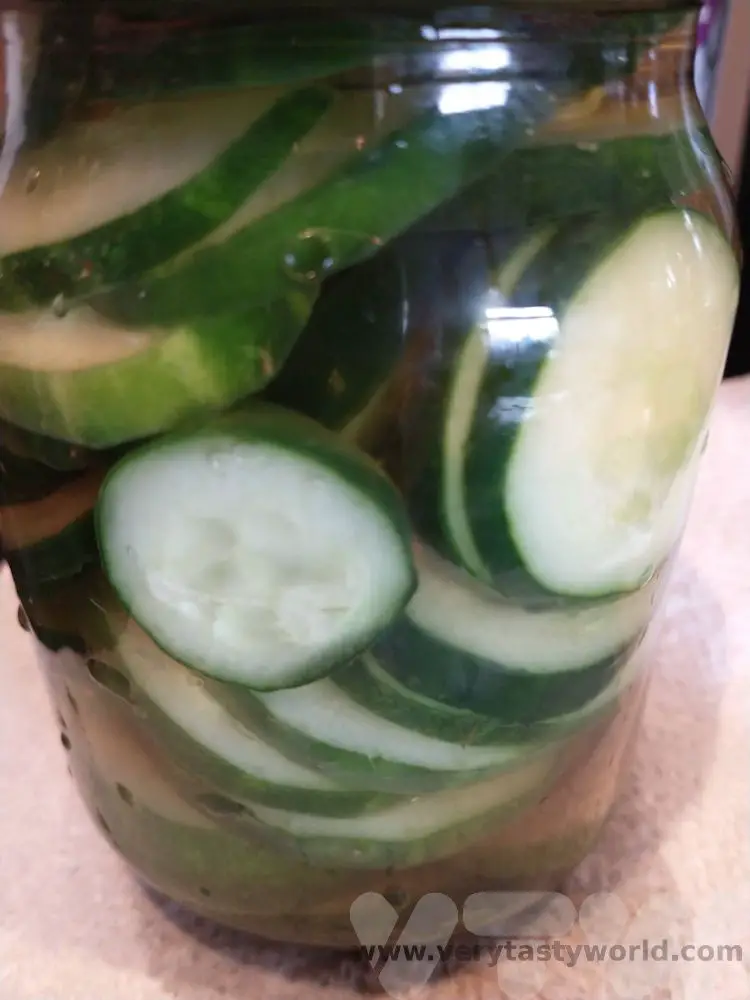
Slice them up, pop them in a clean jar. Warm up some vinegar (rice vinegar, white wine vinegar or cider vinegar work well) along with a teaspoon each of sugar and salt. Add a spare garlic clove, some peppercorns or mustard seeds if you like. Heat until the sugar and salt have dissolved and then pour over the cucumbers. Make sure they are submerged in the vinegar before you go away.
This will preserve them until you return home. They’ll be great on top of a burger as a pickle or as a sour side dish accompaniment to any meal.
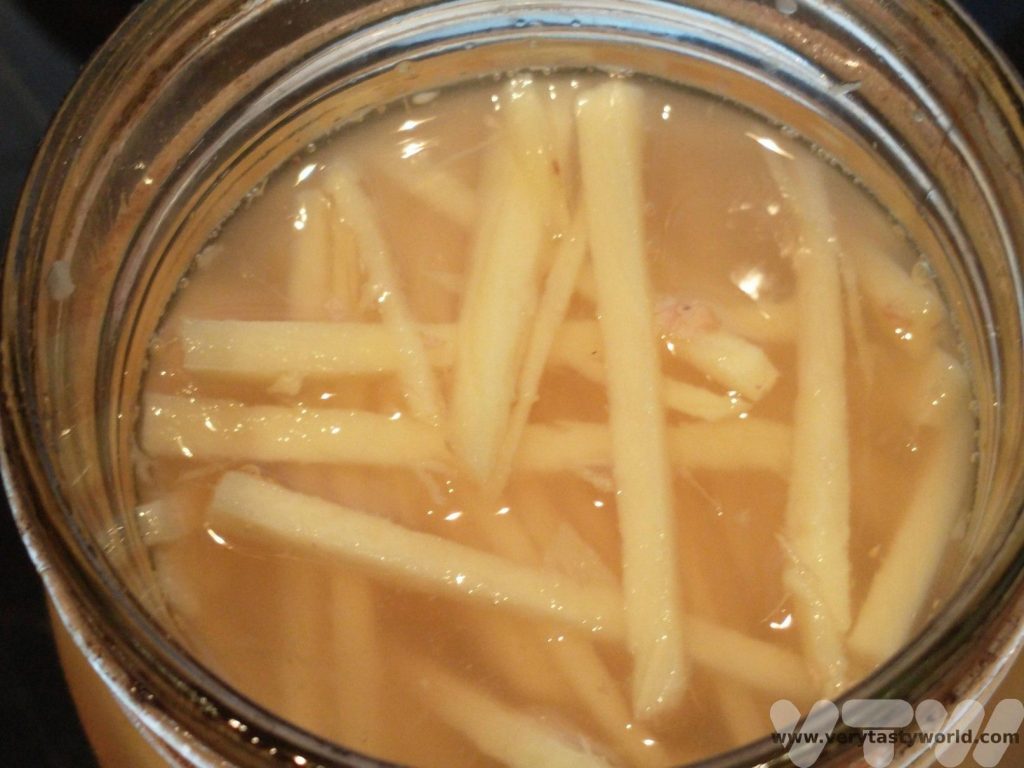
Pickled Ginger Recipe
Ginger doesn’t freeze very well at all, we’ve found it goes squishy. However, it pickles beautifully. Just peel the ginger (scraping the skin off with a teaspoon is often easier than using a vegetable peeler, which can get a bit clogged up) and slice, then chop into small juliennes about half the length of a matchstick. Then put them into a container – a clean, empty jar – and top up with vinegar. We tend to use white vinegar or rice vinegar rather than a stronger vinegar such as malt or wine. For a 300ml jar, largely full of ginger and topped up with vinegar we add around 2 tsp sugar and 1 tsp salt. Shake to let the salt and sugar dissolve and let the flavours infuse. It will taste brilliant when you get home.
Perfect atop rice dishes or in stir-fries to give an extra zing. We have a recipe for Vietnamese pickled garlic, which isn’t too much trouble to make but needs a bit more work finely slicing the garlic, and is utterly delicious. If you want to pickled whole cloves of garlic to save yourself some time, just don’t bother to slice them.
Dairy
Some dairy products will last for the duration of a short trip. Butter and cheese should be fine in the fridge for a couple of weeks. For longer trips, butter will freeze well, in fact salted butter will last up to a year in the freezer (unsalted will be okay for six months). Hard cheeses are generally fine to put into the freezer and shouldn’t lose flavour when you defrost them naturally. Freezing soft cheese isn’t a great idea as it tends to go a bit watery on thawing. We have a very easy recipe for using up cream cheese.
Cream Cheese And Tinned Fish Dip Recipe
You can make an easy dip using soft cheese by combining a packet of soft cheese with a can of tuna fish or mackerel, a dollop of mayonnaise and some flavouring, depending on what you have in the cupboard. We particularly like a couple of teaspoons of creamed horseradish, but celery salt, cayenne, paprika and/or a squeeze of lemon juice work well. We used smoked fish here, but it works really well with tinned fish.
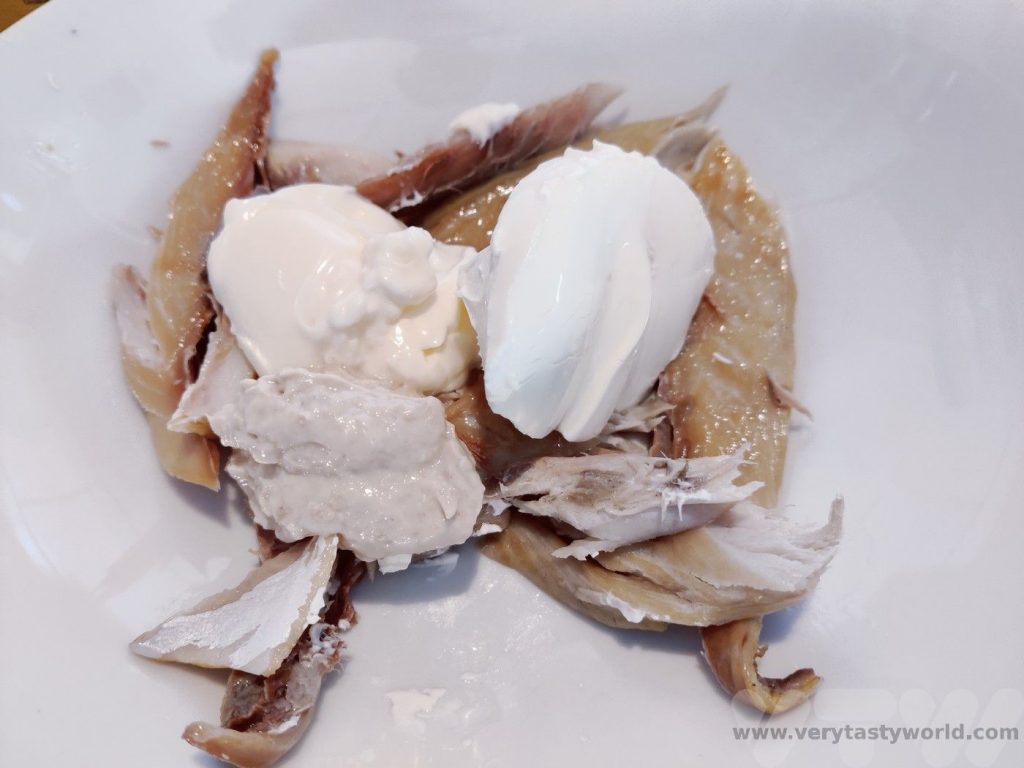
Sprinkle in salt and pepper and mix it all together. You can serve it as a dip with raw vegetables such as leftover carrots, celery, cauliflower or cucumber, cut into juliennes.

It’s great on toast too, especially if you need to use up some bread.
Yoghurt – can be stirred into your soup to add a bit of tang. If you have a load of fruit that you need to eat, chop it up, bung it in a blender with the yoghurt and create a lovely smoothie. Yoghurt is also used in overnight oats – a really great breakfast for travellers (see below).
Your Daily Bread
Make sure the bread bin is empty – you don’t want to come back to the remnants of a mouldy loaf which you’ve forgotten to eat! If you have some sliced bread left over you can toast the slices, cut them into cubes and add them to your vegetable soup or salad as croutons. If you have some garlic kicking about, peel a clove and rub it onto the (whole) toasted slice of bread before cubing. Or you can just toss them in olive oil and bung the cubed bread into the oven or air fryer for a few minutes until they are golden brown.
Breakfast of Champions for the Day of Travel
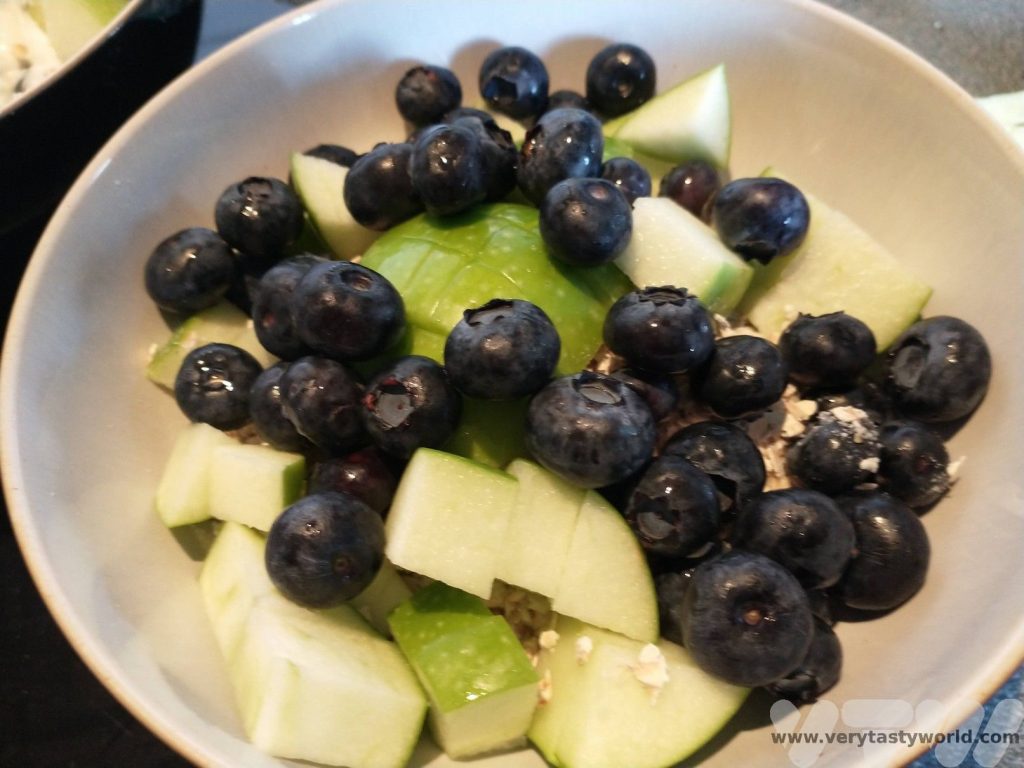
Overnight oats is a really easy breakfast that uses up fruit and dairy and can be fully prepared the night before. Again, it’s a really flexible recipe that you can make with any leftover fruit. We always have dried oats in our store cupboard, as they last for ages, and we usually have some dried fruit as well.
Overnight Oats Recipe
Dollop 3 dessertspoons of yoghurt into a bowl (or split whatever you have evenly between the number of people wanting breakfast). Sprinkle 2 dessertspoons of oats over the top. Add chopped fruit. Fresh fruit and dried fruit work well, just use what you have. Mix it all together and pop it in the fridge overnight. It is ready to eat the following morning.
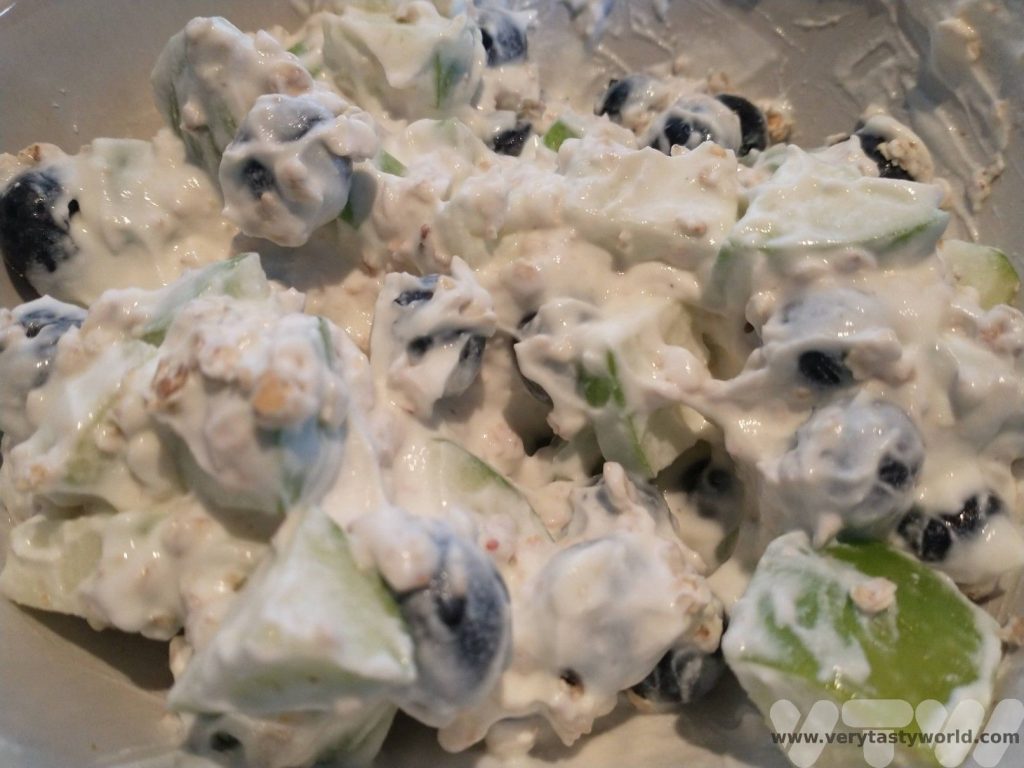
It looks a right mess (you could prettify it in the bowl if you want, but we plan just to scoff it) but it tastes great and will definitely ensure that you don’t go hungry as you embark on your journey.
Happy travels!
- RECIPE Oyakodon Donburi
- Zero Waste Recipes Before Your Holiday
- RECIPE: Vegetable Biryani Tamil Nadu Style
- RECIPE: Vegan Wild Garlic Pesto
- Recipe: Venetian Pasta Sauce
- RECIPE: Biryani Raita Recipe
- RECIPE: How to Make Costa Rica’s Gallo Pinto
- Recipe: Japanese Simmered Pork Belly – Buta no Kakuni
- RECIPE: How to Make Umeboshi
RECIPE: Vegetable Biryani Tamil Nadu Style
Biryani is a delicious aromatic spicy rice dish that is a meal in itself. Eaten all over India, it is also very popular in Tamil Nadu, the south eastern state which runs from Chennai in the north, all along the Bay of Bengal to Kanyakumari in the south. We visited this brilliant state a couple of years ago and were not only inspired by wonderful places to visit but also the deliciousness of south Indian cuisine. And we have a recipe for vegetable biryani Tamil Nadu style.

Although biryani is best known as a dish from India it is thought that it probably originated in the Middle East. The Persian word ‘birinj biriyan’ means ‘fried rice’. The cuisine of the Mughals, who ruled much of South Asia between the 16th and 19th centuries, had a significant influence on Indian food. The Mughals also introduced ingredients, such yoghurt, and also the ‘dum’ technique of cooking the dish over a low heat in a sealed pot which helps retain all the flavours as the food cooks.
This recipe comes from Tamil Nadu courtesy of our dear friend, Shankari. We were lucky to be gifted a traditional Indian pressure cooker which is absolutely perfect for cooking this delicious biryani but we have adapted and tested the recipe for a standard hob top pan as well. We often use a rice cooker to cook rice but we find it really doesn’t work very well with biryani because you are sautéing spices and vegetables beforehand and the rice is layered on top of these. A rice cooker can do this to some extent but not really enough to properly cook the spices.
Many people in Tamil Nadu are vegetarian so this dish contains no meat. When we visited this region every restaurant offered both a veg and non-veg meal option. This biryani could easily be adapted to include lamb or chicken but we love the simplicity of the vegetables and it is so tasty, you really don’t miss the meat. The spice combinations are warming and aromatic. If you wish to make the dish vegan, fry the ingredients in oil and omit the yoghurt.
The process involves cooking whole spices first to release their oils and to maximise the flavour. We leave the whole spices in the finished biryani but they aren’t really designed to be eaten – they won’t harm you if you do but you might get an overly intense hit of flavour if you chomp on a clove!
The quantities here will serve 2 hungry people but you can double up to feed more people, or you can use these quantities if you are accompanying the biryani with other dishes. We use a cup that is around 200ml in volume.
How To Make Vegetable Biryani from Tamil Nadu
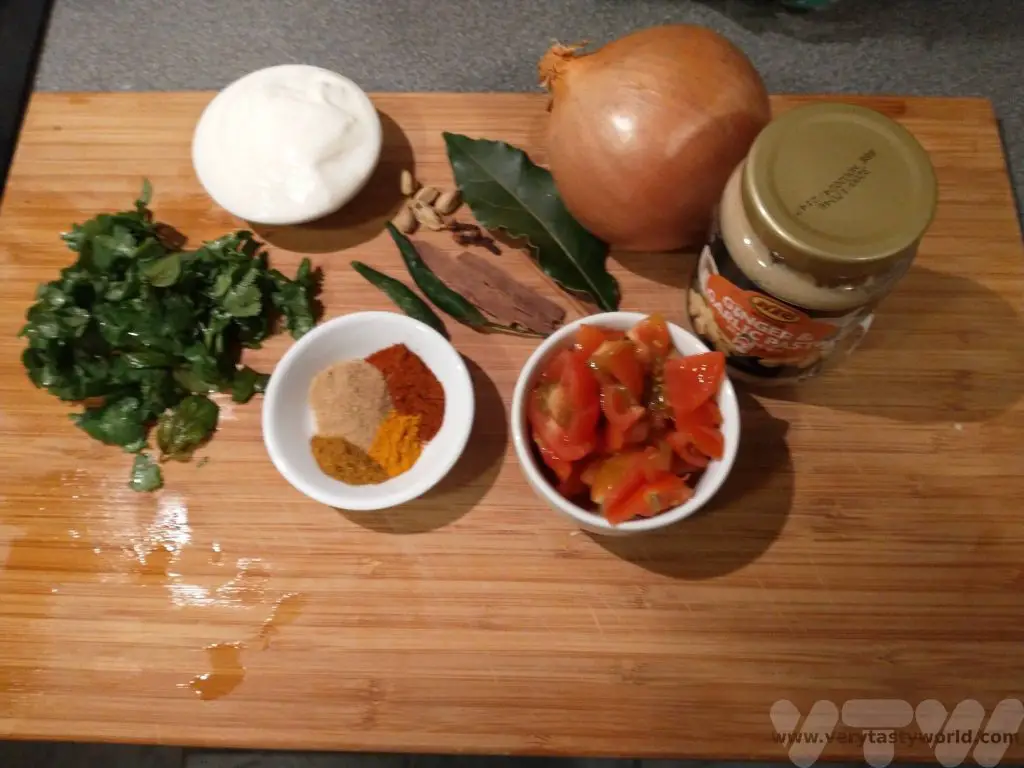
Ingredients:
1 bay leaf
1 stick of cinnamon
3 green cardomom pods
3 cloves
2 tbs mint leaves
2 tbs coriander leaves
½ teaspoon red chilli powder
½ teaspoon coriander powder
1/8 teaspoon turmeric powder
½ teaspoon garam masala
1 cup of Basmati rice
2 tbs ghee or butter (use vegetable oil for a vegan biryani)
Small, finely chopped tomato
2 tbs natural yogurt
1 tsp ginger garlic paste (you can buy this frozen or in jars, or you can crush 2 cloves of garlic and a thumb of ginger in pestle and mortar)
1 green chilli (add another if you like spice)
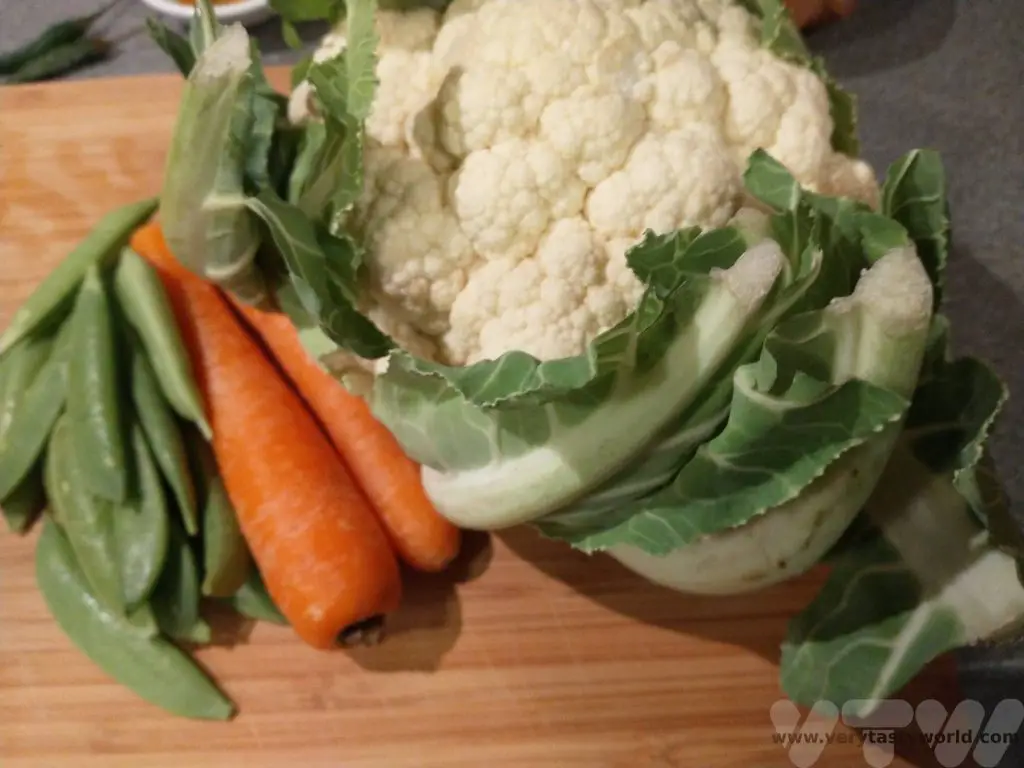
Chopped vegetables (anything you like but beans, carrot, peas and cauliflower work really well)
Method:
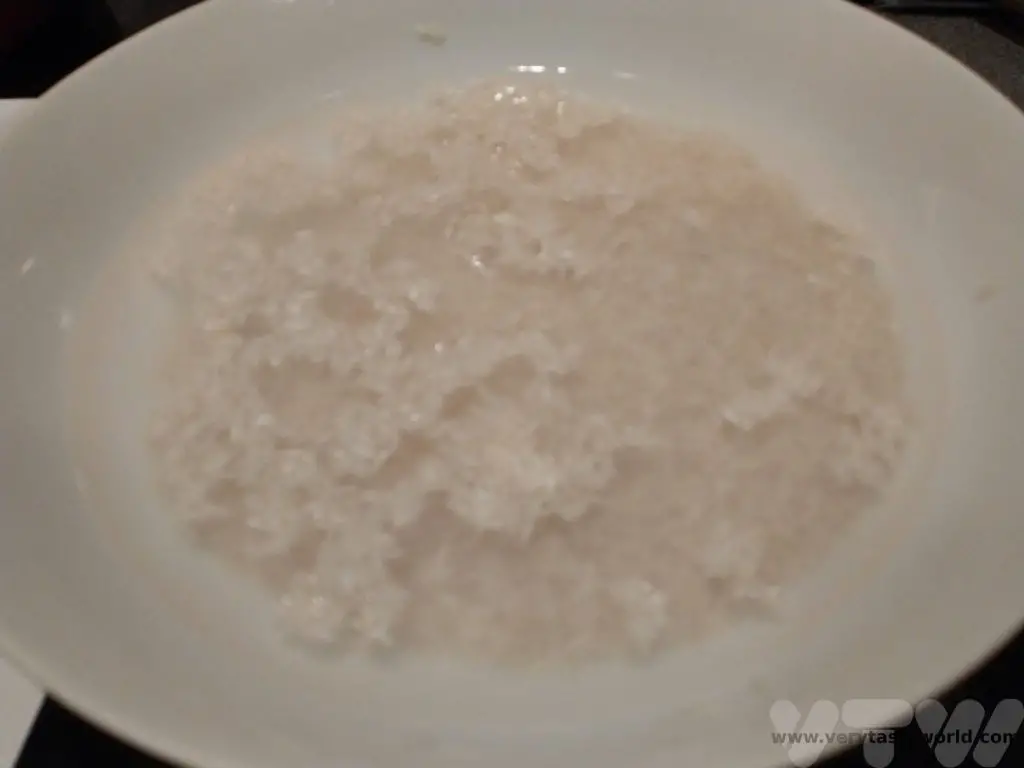
Add 1 cup basmati rice to a bowl and soak it in water for 30 minutes.
Heat 2 tablespoons oil or ghee or butter in a pot or pressure cooker.
Add whole spices:
1 bay leaf
1 inch cinnamon
3 green cardomom
3 cloves
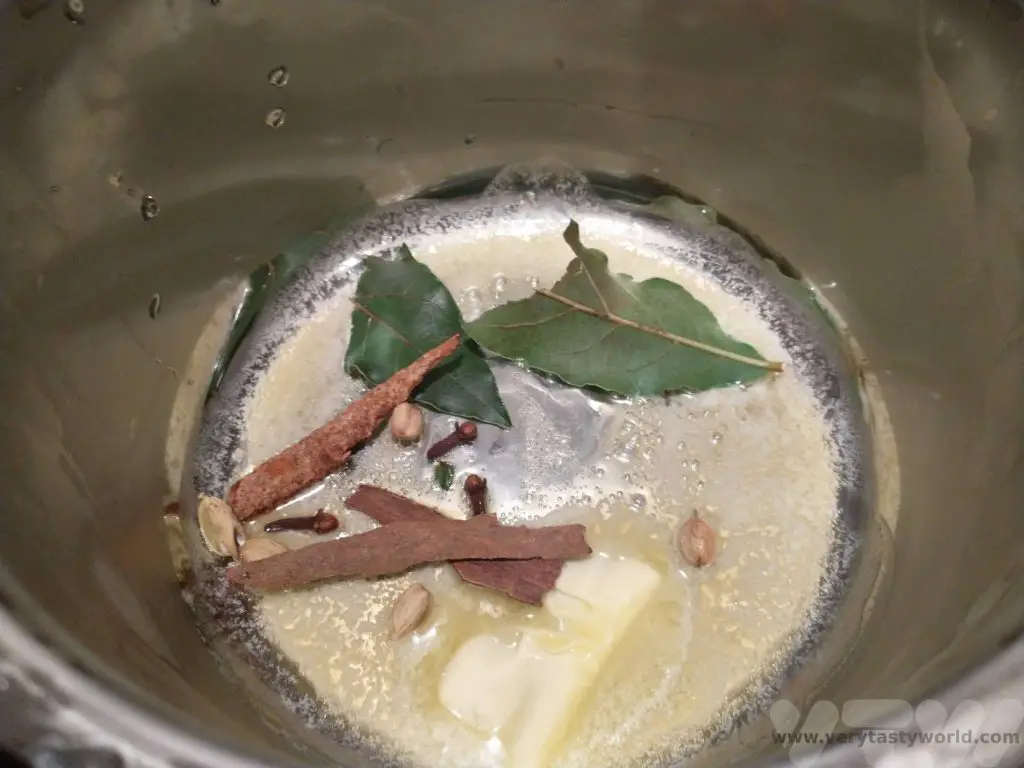
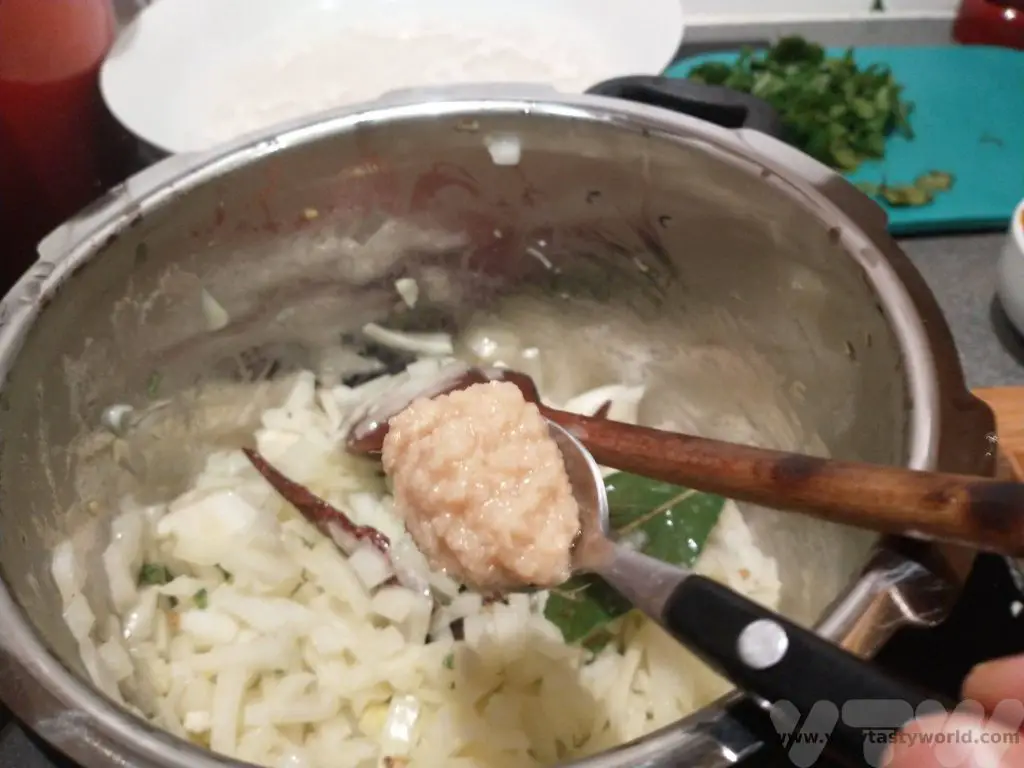
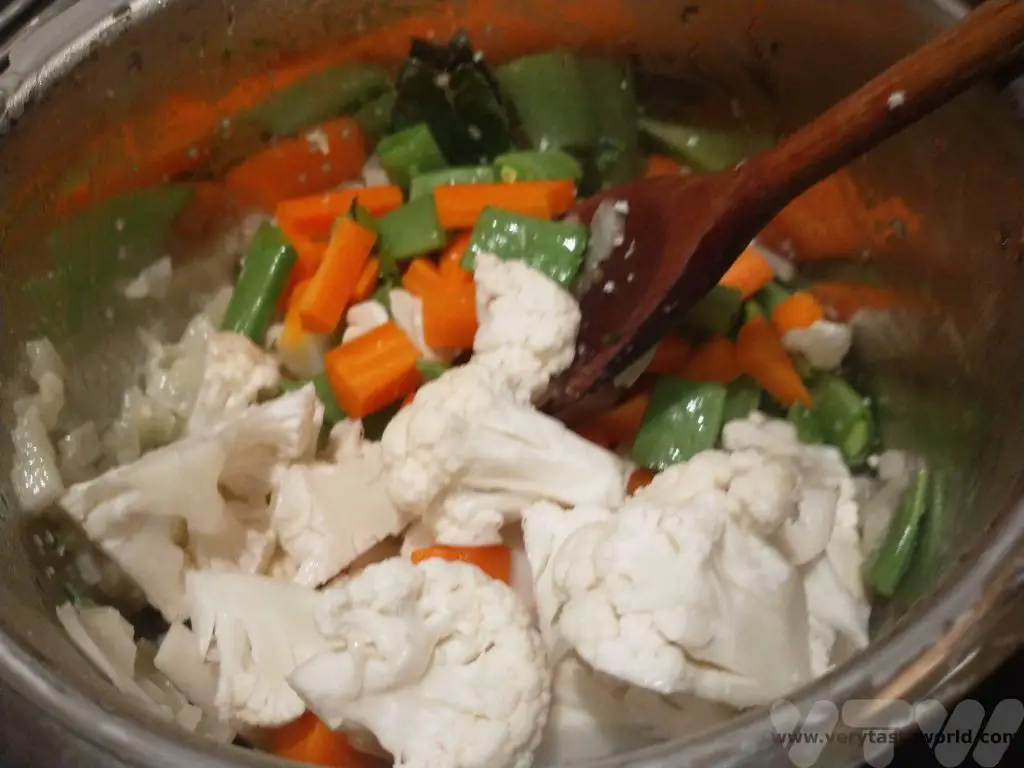
When the spices, begin to crackle, add 1 sliced onion and 1 chopped green chilli. On a medium heat, sauté until the onions turn golden.
Add 1 teaspoon ginger garlic paste. Sauté this for a couple of minutes until the raw smell goes away.
Add 1 cup chopped mix veggies and sauté on a medium heat for 2 -3 minutes.
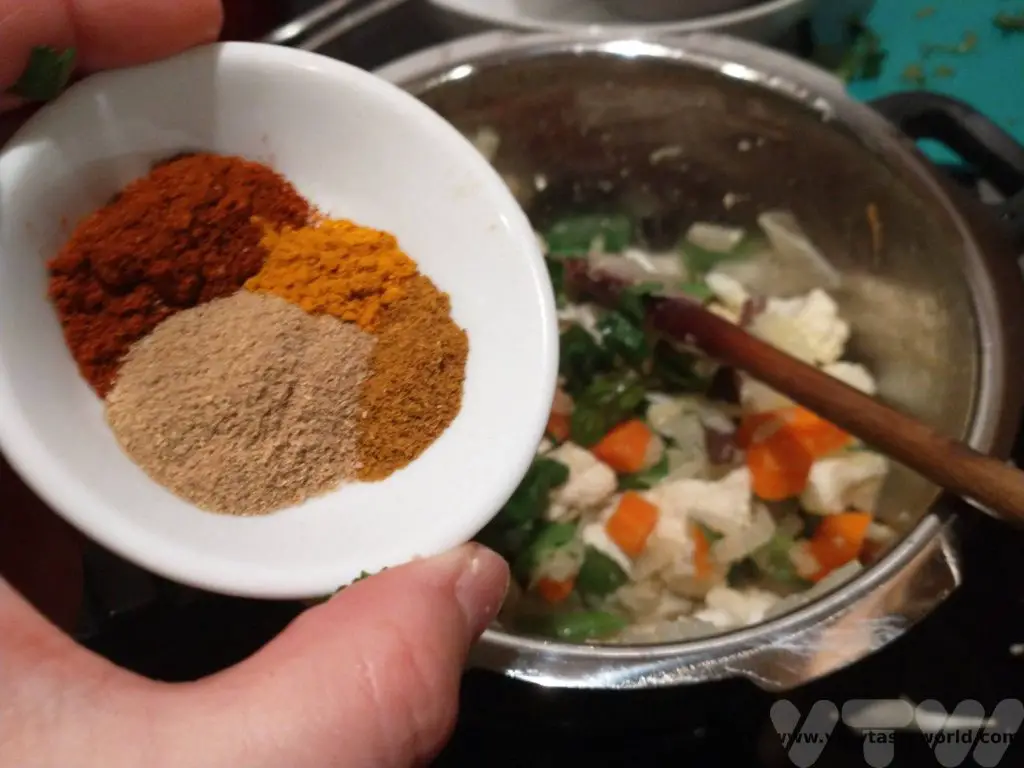
Add the following:
2 tablespoons mint leaves
2 tablespoons coriander leaves
½ teaspoon red chilli powder
1/2 teaspoon coriander powder
1/8 teaspoon turmeric powder
½ teaspoon garam masala
1 small finely chopped tomato
2 tablespoons of yogurt
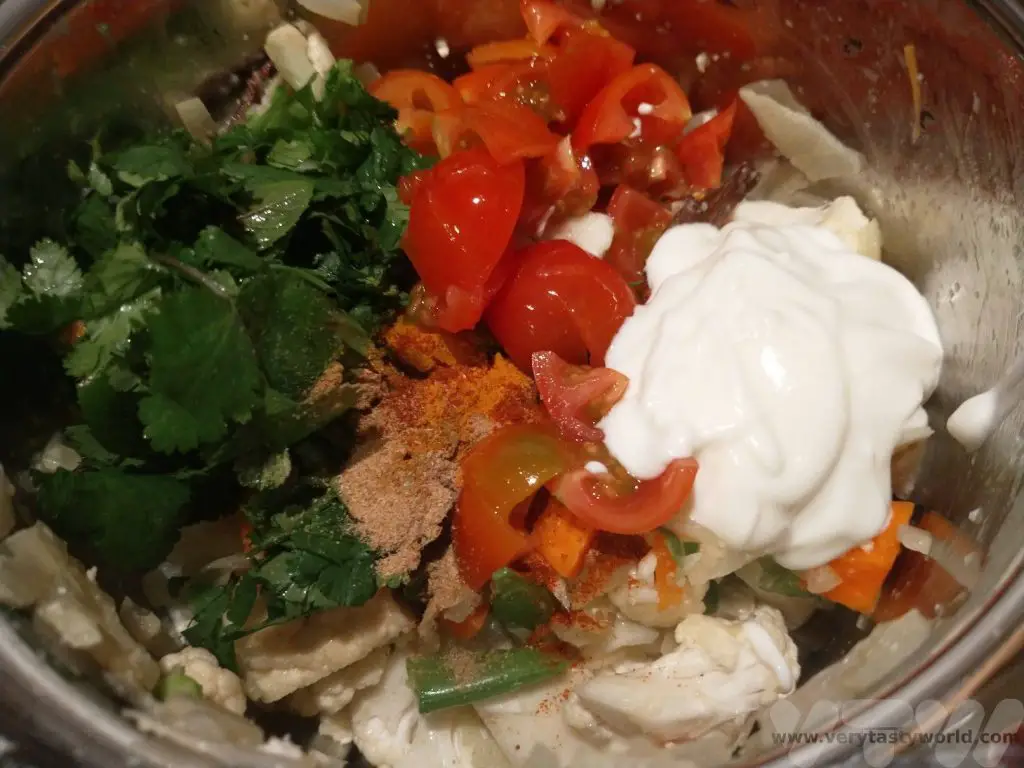
Mix and fry again for 5 minutes on a medium heat until the tomatoes break down. The mixture turns aromatic after frying.
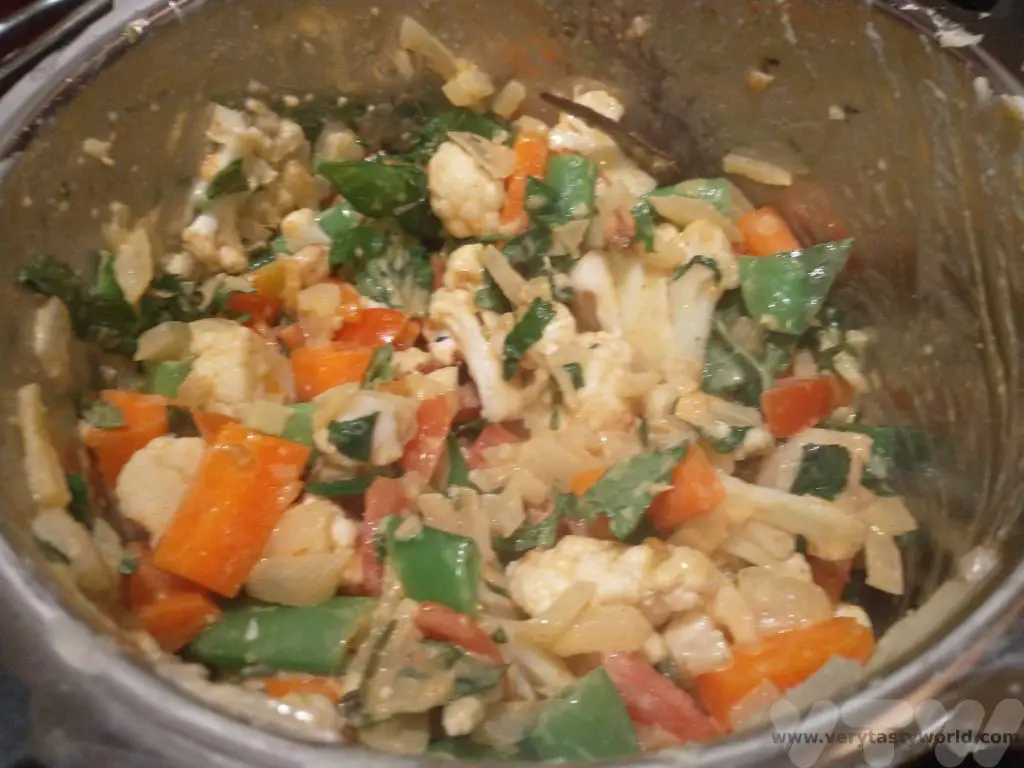
Add the drained rice and spread it evenly across the top of the mixture.
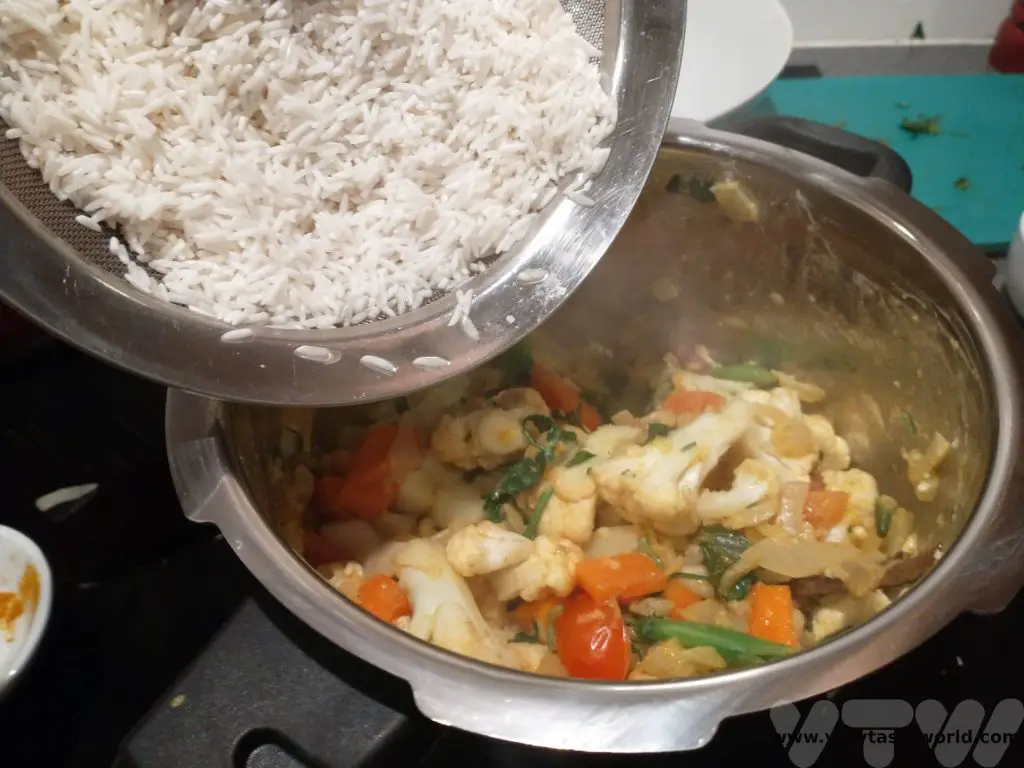
If you are using a pressure cooker: add 1 cup of water and salt to taste.
If you are using a pot: add 1.5 cups of water (this is because some steam will escape) and salt to taste.

Cover the pot or pressure cooker with the lid.
Pressure cooker – cook on a medium-high flame for one whistle
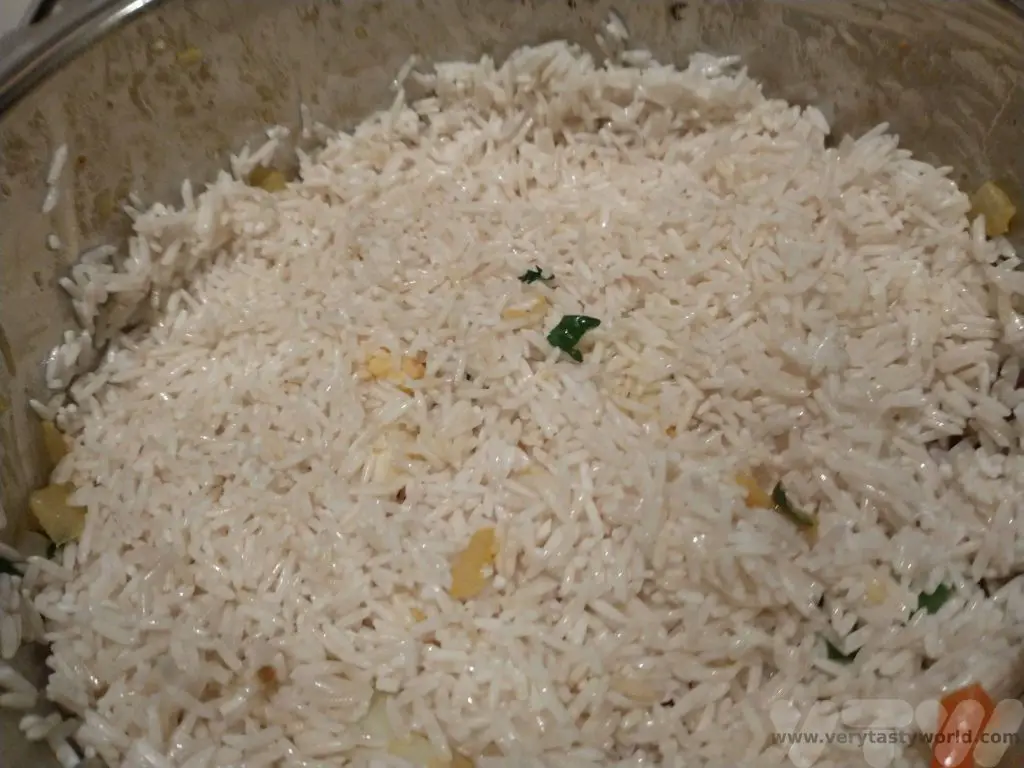
Pot – cook on low heat until all of the water is absorbed and rice cooked is nicely.
Once the rice is cooked, take the biryani off the heat and let it rest for 15 minutes.

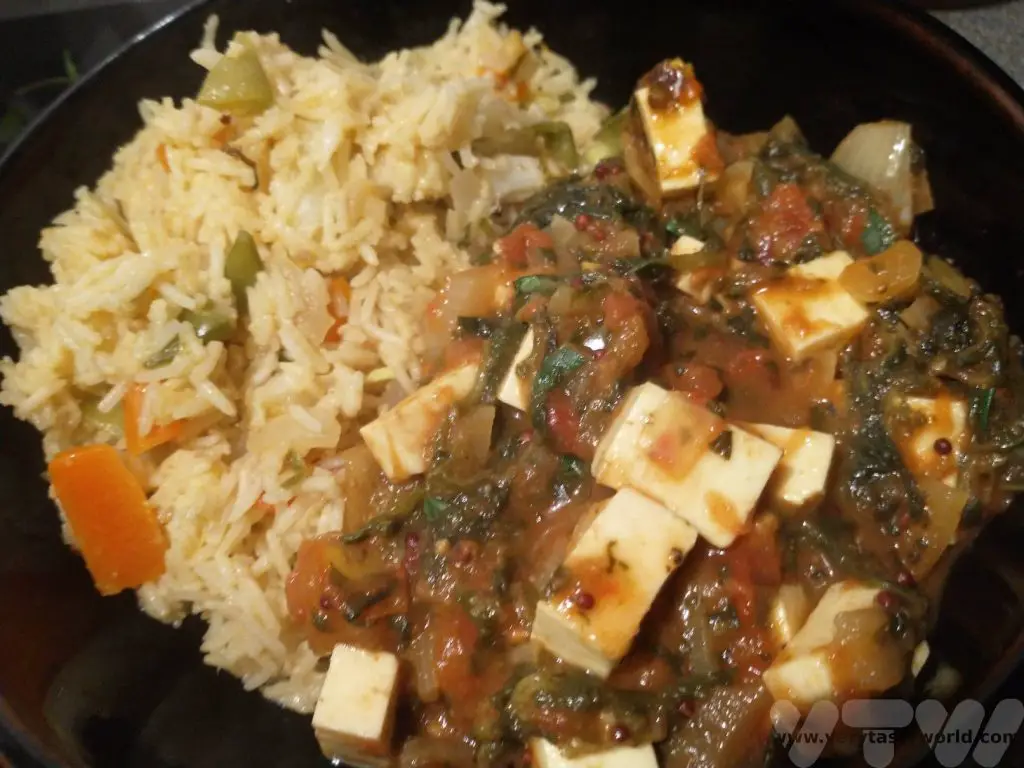
Serve on its own as a main meal, with a biryani raita, or it also makes a great accompaniment to other dishes.
We often enjoy it as an accompaniment to palak paneer – a paneer cheese and spinach curry – for a really delicious veggie meal.


RECIPE: Vegan Wild Garlic Pesto
Every spring we make the most of foraging for greens in the English countryside. Wild garlic is our absolute favourite and we have a fabulous recipe for wild garlic pesto. But pesto uses cheese! So we also have a recipe for vegan wild garlic pesto.
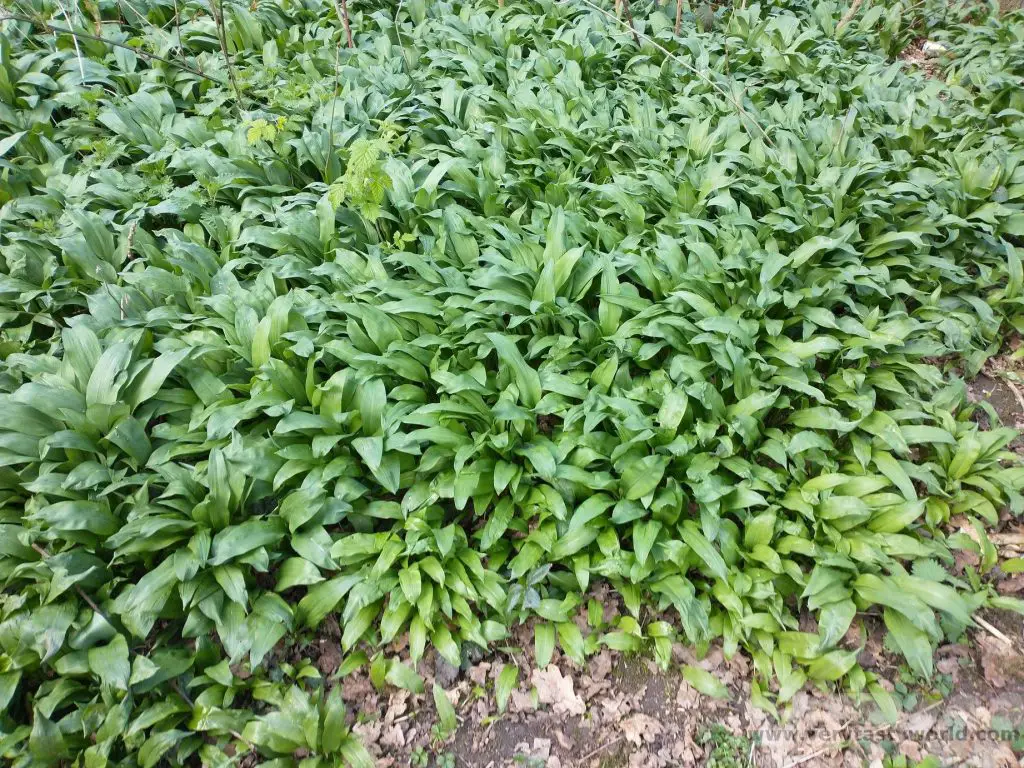
In the UK you can forage wild garlic for free as long as you just take the leaves, stems and flowers. All these parts are edible. We make it a rule never to take more food than we need as it’s nice to leave some for other people and also ensure that the plant will appear next year. We try to pick one leaf from each stem so as not to disturb the plant too much.
Foraging for Wild Garlic
Wild garlic is pretty easy to recognise and has a very definite garlicky smell. Pick a leaf and crush it in your hand – it has a wonderful scent.
A little later into the season lovely white flowers appear. These have a very mild garlic flavour – we use them to garnish dishes.

As with any foraging, you have to be 100% certain of what you are picking. Poisonous plants can grow near wild garlic. Arum maculatum, also known as Lords and Ladies, is very toxic. Apparently even putting the leaves into your mouth will result in an immediate burning sensation. It can grows worryingly close to the wild garlic. When it’s more mature it develops shiny arrow-head shaped leaves but when young, looks very similar to wild garlic.


Bluebells, or their white-flowered counterparts, which can also easily be confused with wild garlic’s white flowers, can also grow nearby. Bluebells are extremely pretty but also poisonous.
If you are the slightest bit uncertain, DON’T eat it!
Vegan Wild Garlic Pesto Recipe
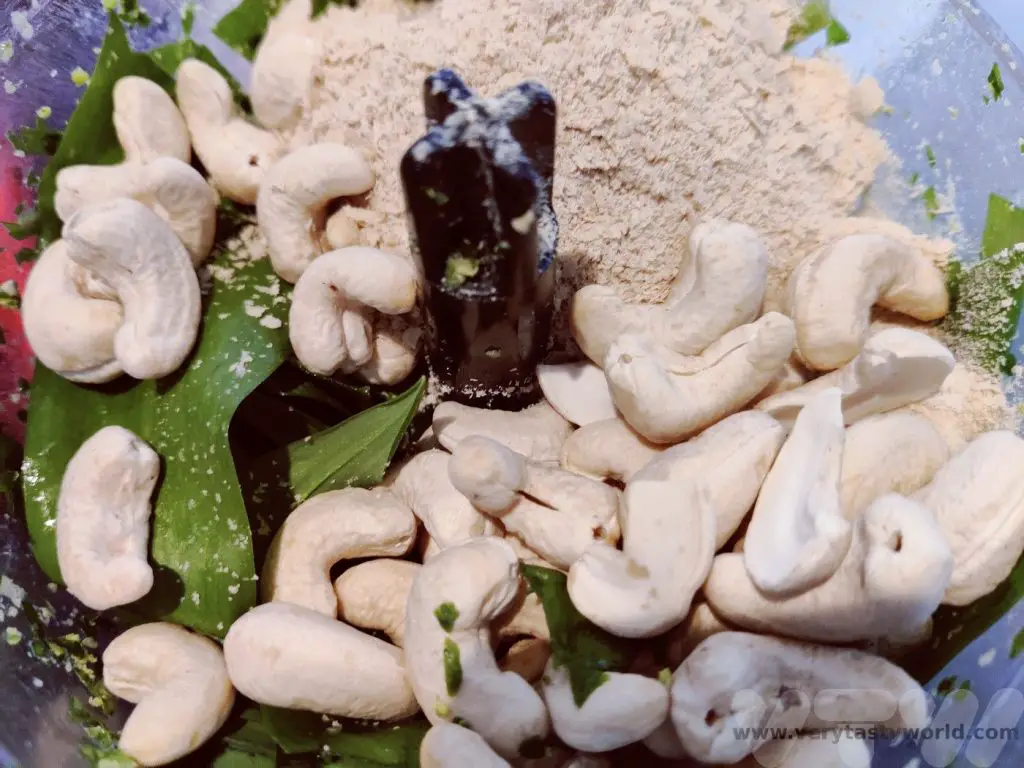
Just like our standard recipe our vegan wild garlic pesto isn’t precise. We use cashew nuts but you can also use pine nuts (and weep at the expense) or pistachios. You can use a blender to mix everything together but if you’re feeling hardcore you can use a pestle and mortar.
We use nutritional yeast as a substitute for the cheese. It’s a brilliant product that is really good for you – a great source of protein, fibre, vitamins and minerals. More importantly it has a cheesy flavour, perfect for adding that umami element to the pesto amidst the creamy cashew and heavenly garlicky scent.

Ingredients
Bunch of wild garlic leaves (around 150g)
Handful of cashew nuts (around 150g)
Generous sprinkle of nutritional yeast flakes (we recommend couple of tablespoons if you’re measuring)
Slosh of extra virgin olive oil
Squeeze of lemon
Pinch of salt
Method
Roughly chop the wild garlic leaves and place into a blender. Throw in the nuts and nutritional yeast flakes. We recommend adding the leaves first – to the bottom of the blender – so that the weight of the nuts helps with the grinding process.
To take advantage of the season we make industrial quantities and freeze it, so we can enjoy the scented flavour of spring throughout the year. We don’t add the oil, lemon and salt before seasoning but stir it in after it has defrosted.
Blend together until you get the texture you like – smooth or nutty – both work well.
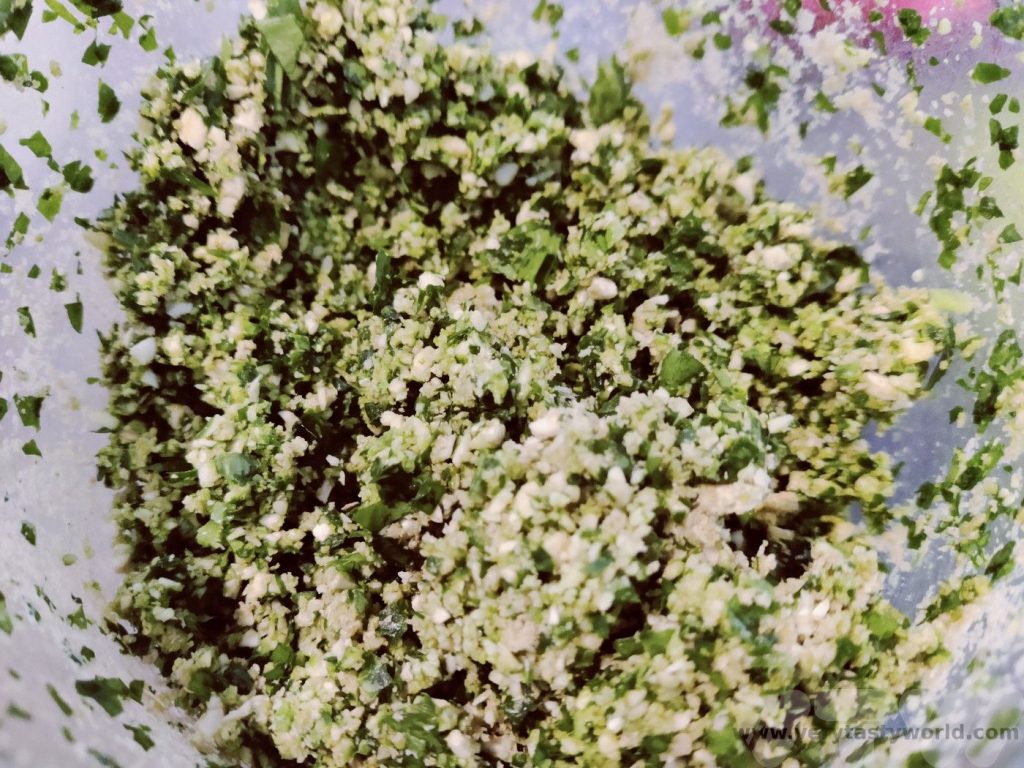
If you want to freeze the pesto, decant it into containers and put it into the freezer. It will freeze well and will last many months.
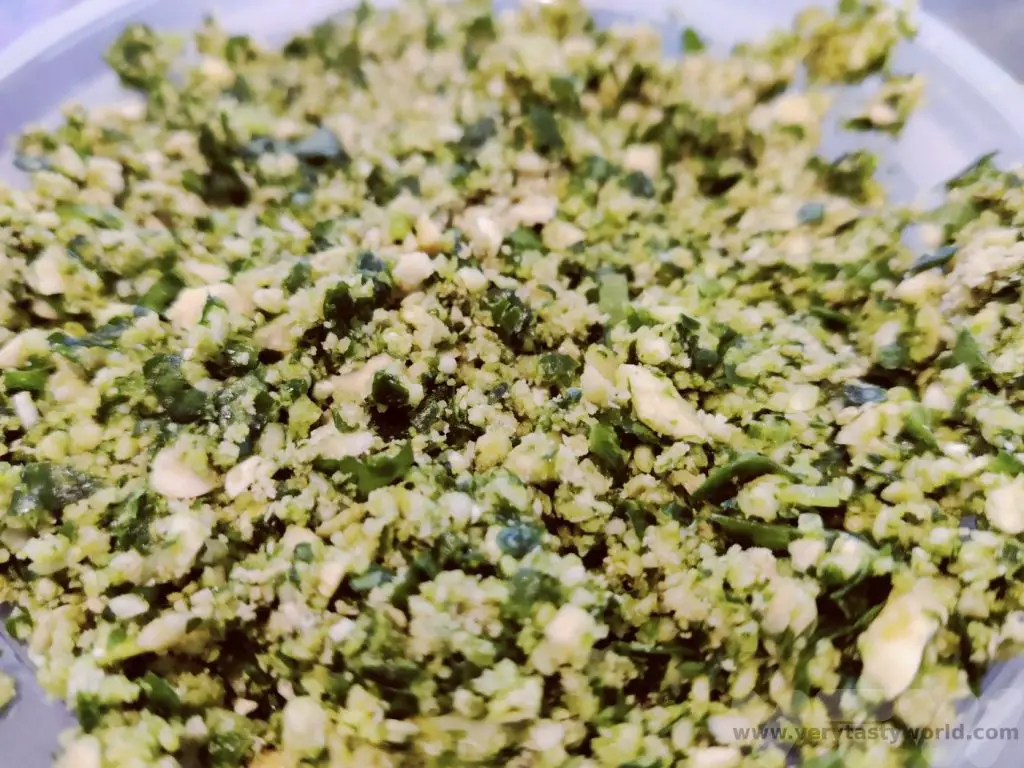
If you want to eat the pesto straight away (or store it in the fridge for a couple of days) add the oil, lemon juice and salt.

The great thing about this recipe is that is so easily adaptable – you can mix and match ingredients. It’s the underlying gentle garlicky flavour that the wild garlic leaves produce that make this such a brilliant pesto. We’ll be foraging and freezing for as long as the season lasts.
Related Posts You May Enjoy


- RECIPE Oyakodon Donburi
- Zero Waste Recipes Before Your Holiday
- RECIPE: Vegetable Biryani Tamil Nadu Style
- RECIPE: Vegan Wild Garlic Pesto
- Recipe: Venetian Pasta Sauce
- RECIPE: Biryani Raita Recipe
- RECIPE: How to Make Costa Rica’s Gallo Pinto
- Recipe: Japanese Simmered Pork Belly – Buta no Kakuni
- RECIPE: How to Make Umeboshi
Recipe: Venetian Pasta Sauce
When we visited Venice we were surprised to learn that the cuisine wasn’t all pasta pasta pasta – rice dishes such as risotto are more typical of the region. And of course there is lots of seafood on offer.

When we explored the Rialto market we fell for the touristy foodie goodies – from different types of pasta to various herb and spice mix condiments. All wrapped up very prettily and ideal as a souvenir.

We wanted to try to make a sauce that was typically Venetian and came across salsa with bigoli.
This Venetian sauce is brilliant because it has a minimal number of ingredients, is really simple to cook, but packs a real punch in terms of flavour. The predominant flavours are sweet – from the onions which have a natural sweetness (any acrid onion flavour gets cooked away) – as well as salt and umami from the fish. It’s a fantastic combination.
Tinned fish is really popular these days and this recipe is great for using cheap ingredients – just onion and a couple of tins of fish. However, it does require quite a long cooking time, which uses energy, so we recommend making it in bulk and then freezing the leftovers. Then you can always have some to hand – just defrost and reheat.
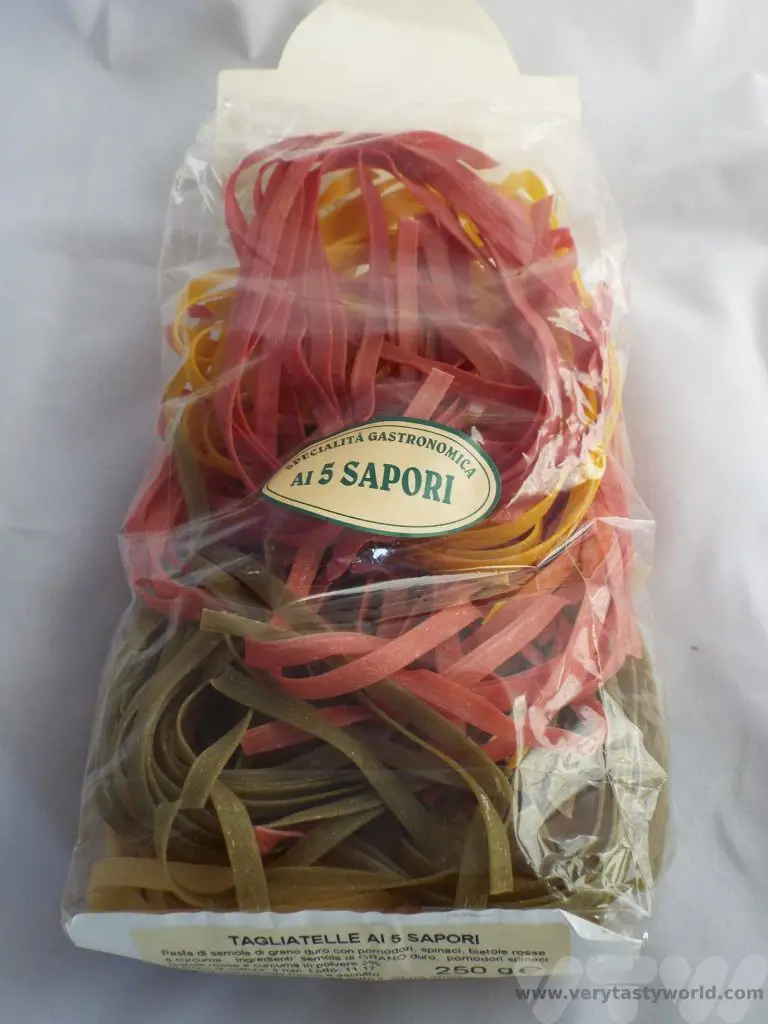
Traditionally this sauce is served with bigoli, the pasta of choice in Venice. It’s like a big spaghetti, long and with a rough texture to soak up the sauce. We find it quite difficult to get bigoli in the UK, so spaghetti or tagliatelle work well as substitutes.
How to Make Venetian Pasta Sauce
Serves 4 people (or 2 and you can freeze any leftovers). Or double up and make a large quantity to freeze.
Ingredients
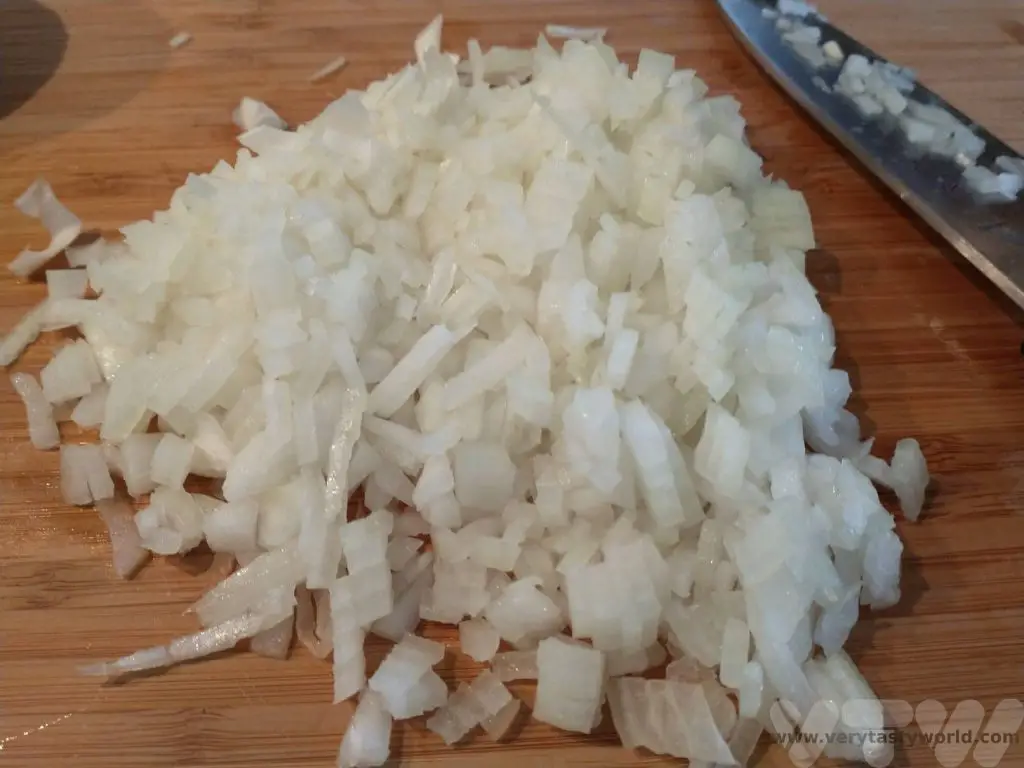
2 large onions
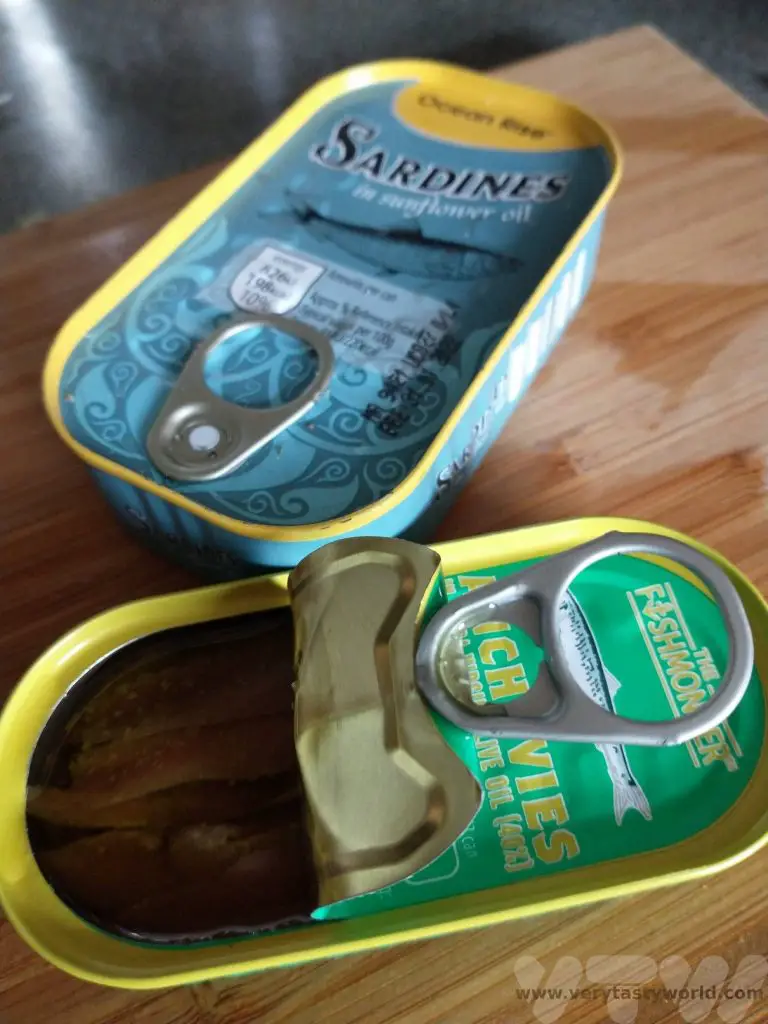
1 tin of anchovies in oil
1 tin of sardines in oil
Water
Black pepper to taste and green herb such as parsley to garnish
Pasta of your choice to serve it with (bigoli is traditional)
Method
Chop the onions very finely. When you think you’ve chopped them finely enough, chop them some more. The aim is to cook them to a mush.
Put the very finely chopped onions into a pan and add water – just to the level of the onions. Use a low heat to cook them. Keep an eye on the water and top up a little if it evaporates.
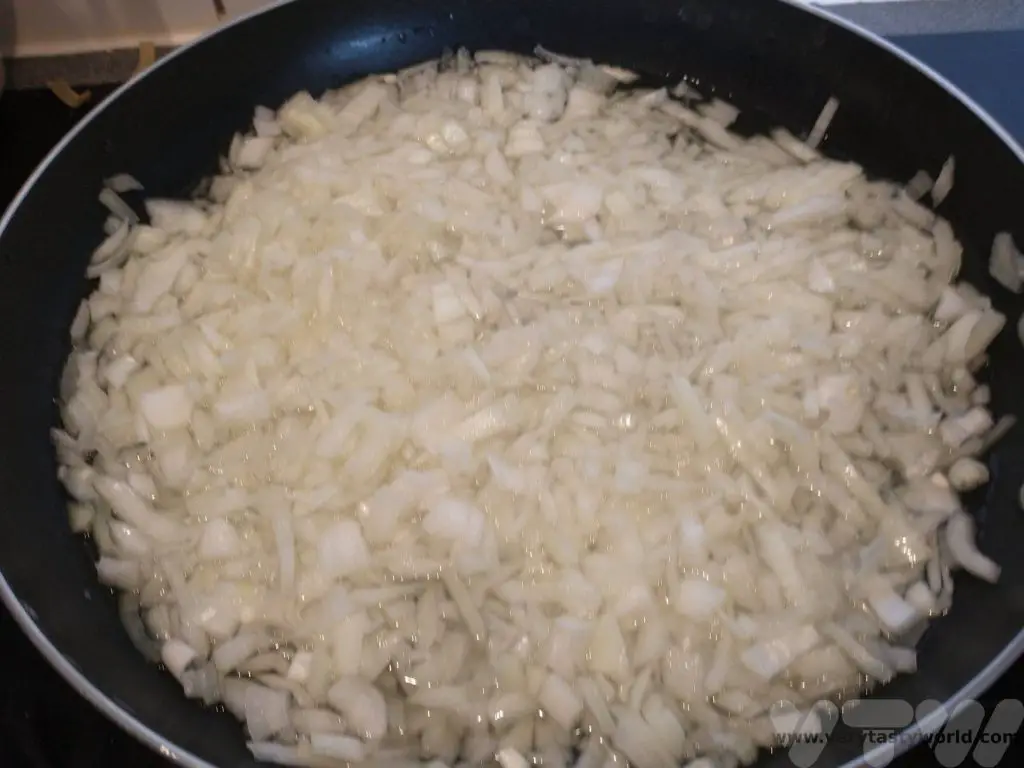
After around 35-45 minutes the onions should be nicely mushy. If there is still water in the pan, turn up the heat briefly to let it evaporate off. Otherwise use a potato masher or a wooden spoon to mash them if needed.

Open the sardine and anchovy tins and chop the fish finely. Retain any oil that’s in the tin.
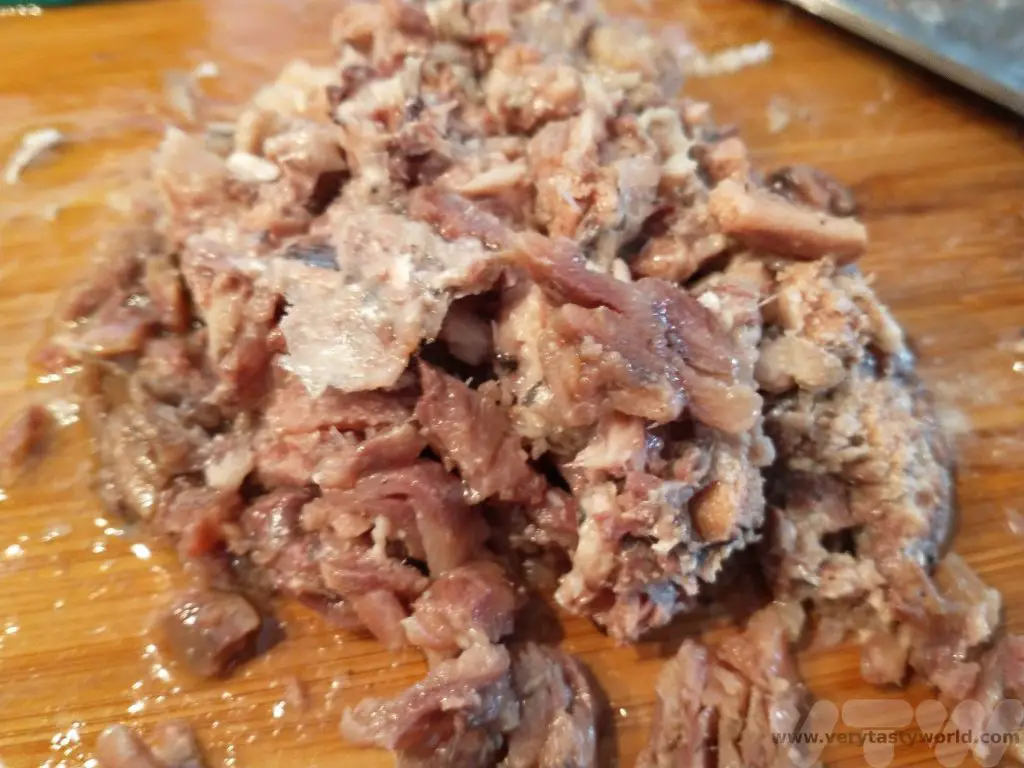
Add the chopped fish to the onions and stir. Let them dissolve into the mixture.
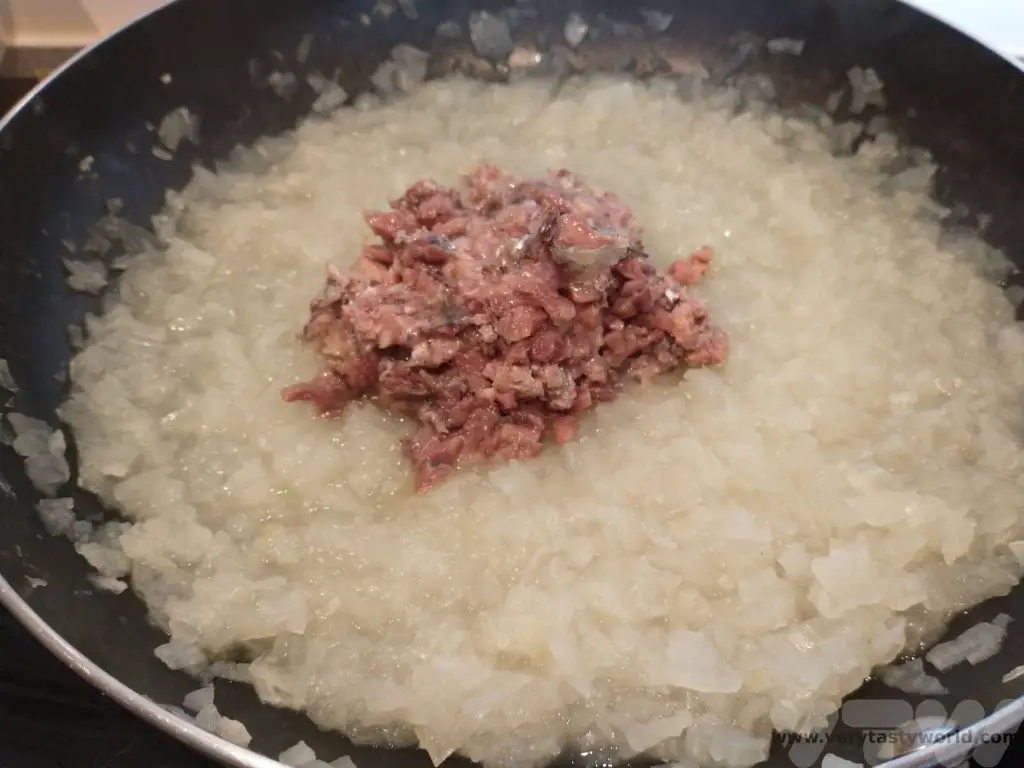
That’s it. The sauce is ready. Keep it warm on a low heat while you cook your pasta.

We didn’t have any bigoli on hand but we did have some tagliatelle, bought in Venice as a souvenir, in the colours of the Italian flag, which we felt was an appropriate pasta to use.
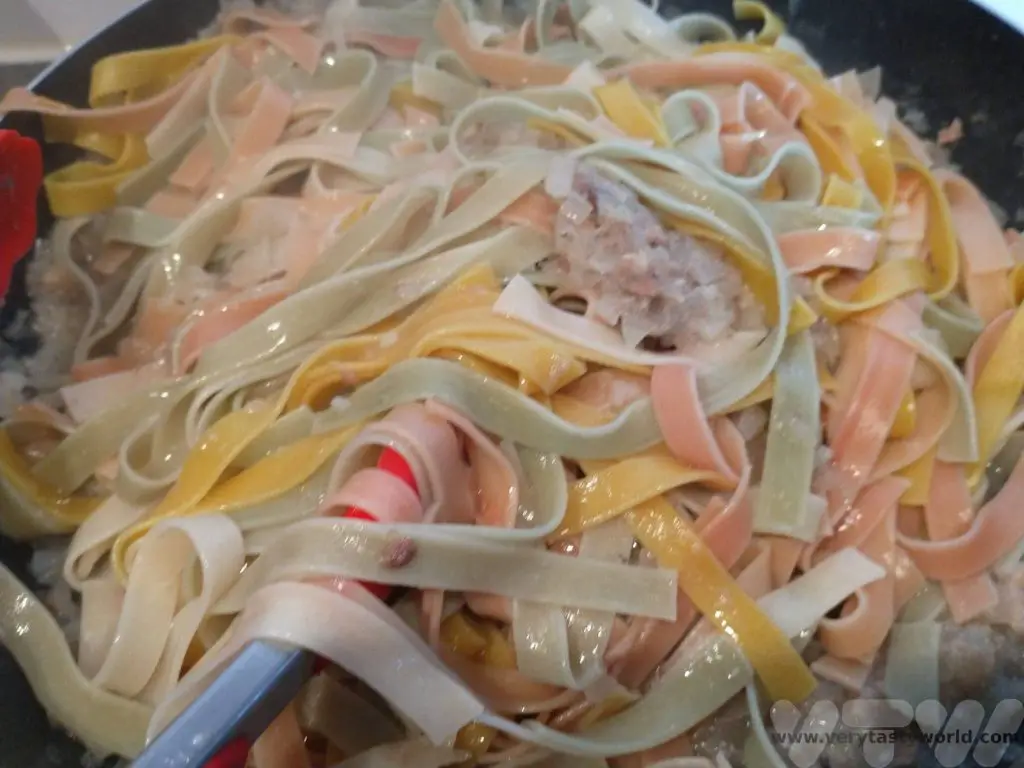
Cook the pasta. When we cooked the pasta we didn’t add salt to the water because the anchovies are pretty salty, but season to your taste if needed.
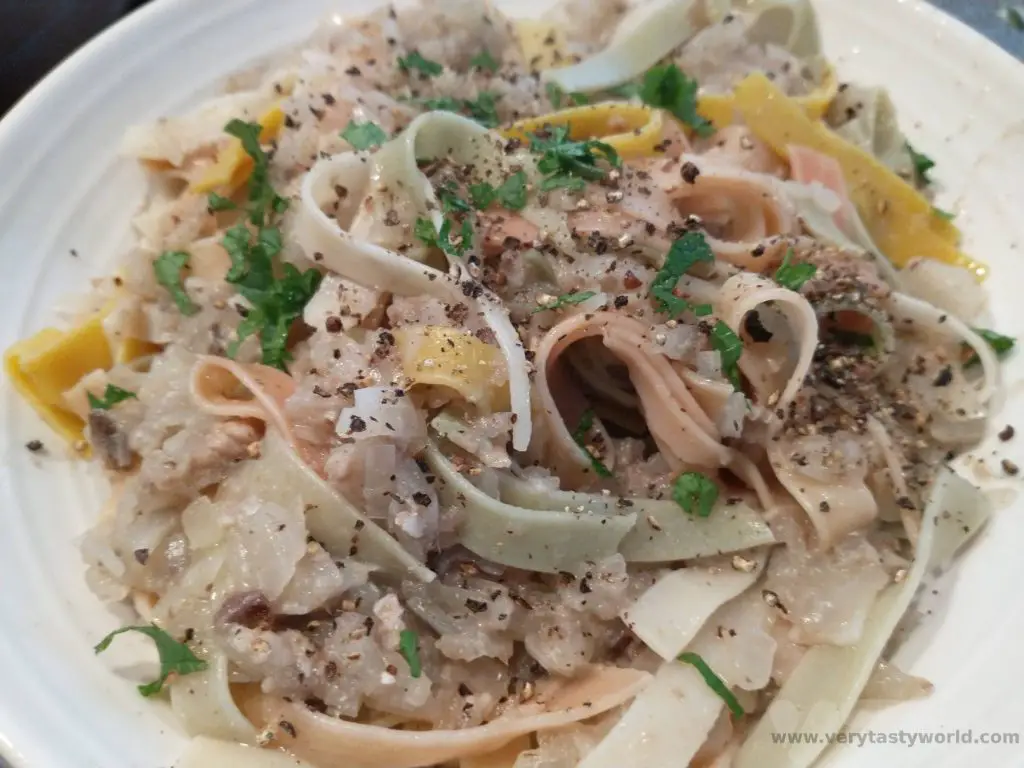
Add the pasta to the sauce and mix. We seasoned with freshly milled black pepper and our garnish was some foraged garlic mustard leaves but a green herb like parsley will be fine as well.
- RECIPE Oyakodon Donburi
- Zero Waste Recipes Before Your Holiday
- RECIPE: Vegetable Biryani Tamil Nadu Style
- RECIPE: Vegan Wild Garlic Pesto
- Recipe: Venetian Pasta Sauce
- RECIPE: Biryani Raita Recipe
- RECIPE: How to Make Costa Rica’s Gallo Pinto
- Recipe: Japanese Simmered Pork Belly – Buta no Kakuni
- RECIPE: How to Make Umeboshi
RECIPE: Biryani Raita Recipe
There are many cuisines around the world that use yoghurt-based dips or sauces to accompany particular dishes. Tzatziki is a Greek dish which incorporates cucumber and herbs into a Greek yoghurt. Salatat Khyar is an Arabic salad which is similar to tzakziki in that it uses cucumber and mint with the yoghurt but can be eaten as a standalone salad. And then there’s raita, often used in Indian cuisine as an accompaniment to ‘cool’ the spiciness of a main dish. This biryani raita recipe is simplicity itself to make and really delicious.
Yogurt is ideal to counteract the heat of chillies in any dish it accompanies. There’s a protein called casein which is found in dairy products. It binds to the active component of chillies which is called capsaicin and is the main cause of the burning sensation in the mouth. The casein helps soothe the burn. If you eat a spicy chilli, a drink of milk will help quash the heat far better than water.
(The combination of chilli and cheese in Bhutan’s national dish is cleverly designed to be spicy but the intense heat is tempered by the cheese.)
Raita uses cucumber but it can also have other vegetables such as onion and carrot, often diced. This dish can easily be adapted to incorporate different vegetables or even spices. If you wanted to add a warm earthiness, chuck in a teaspoon of cumin. Or add a touch of fire with a teaspoon of chilli or paprika. Harissa is a nice addition for a Middle Eastern dish. Similarly, you can vary the herbs – mint is a lovely alternative to the coriander or you can just add both in.
Our biryani raita is fantastically flexible in accompanying so many different types of dish.
Biryani Raita Recipe
Ingredients
3 heaped tbs plain natural yoghurt
2 garlic cloves (use 1 if you’re not so keen on garlic or are planning on kissing someone later on in the day)
Juice of half a lemon
Half a cucumber
2 spring onions (green onions)
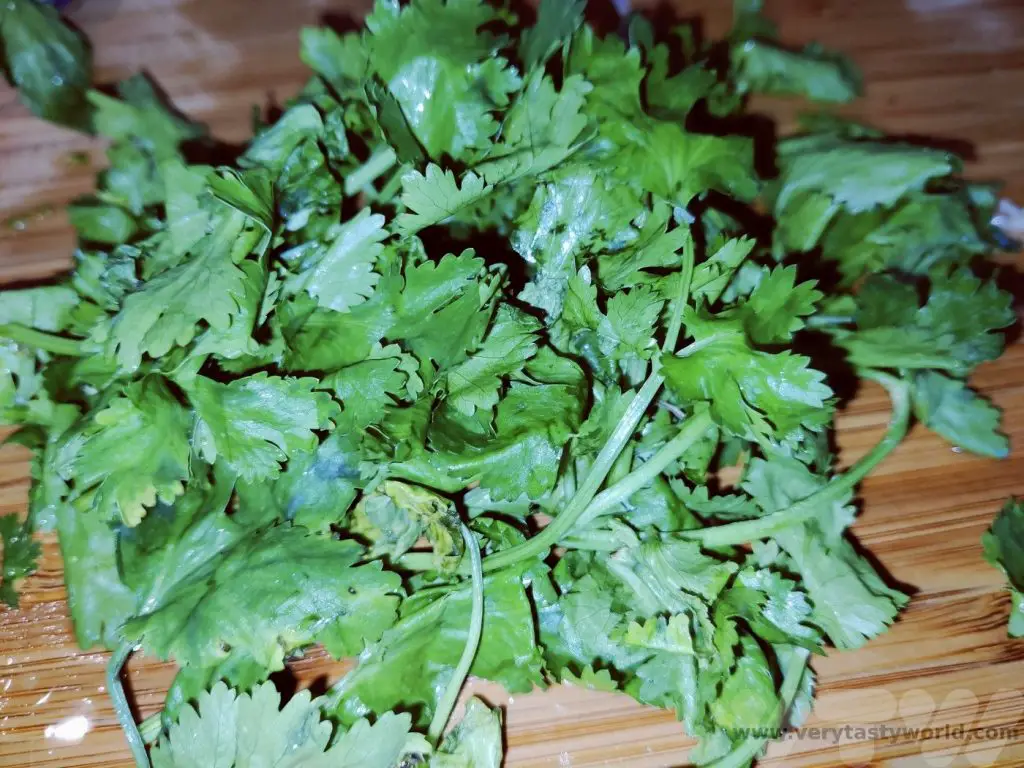
Bunch of coriander/cilantro (mint also works really wall, or combine the two)
Pinch of salt. We particularly like crystal salt rather than table salt
Method
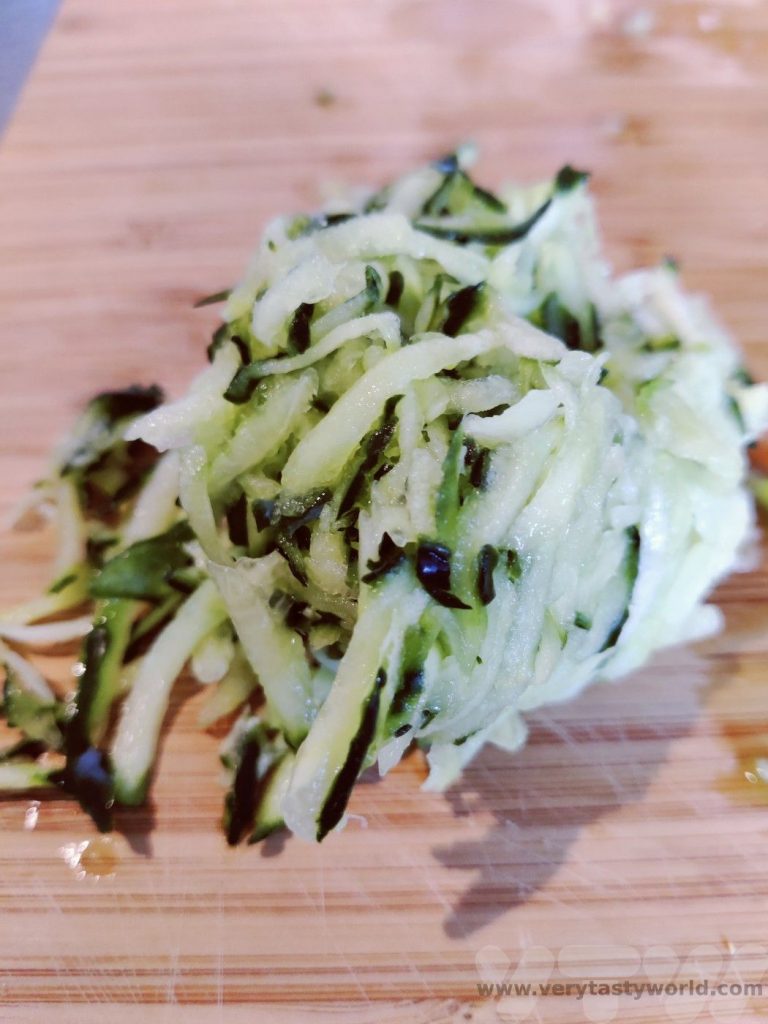
Grate the cucumber.
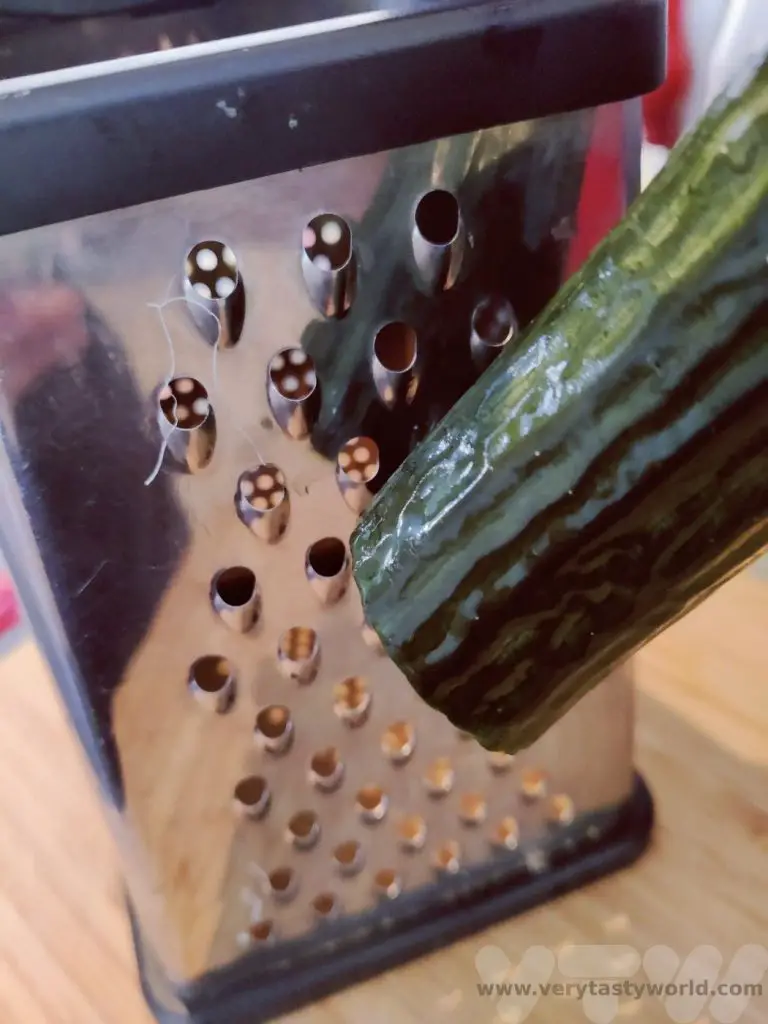
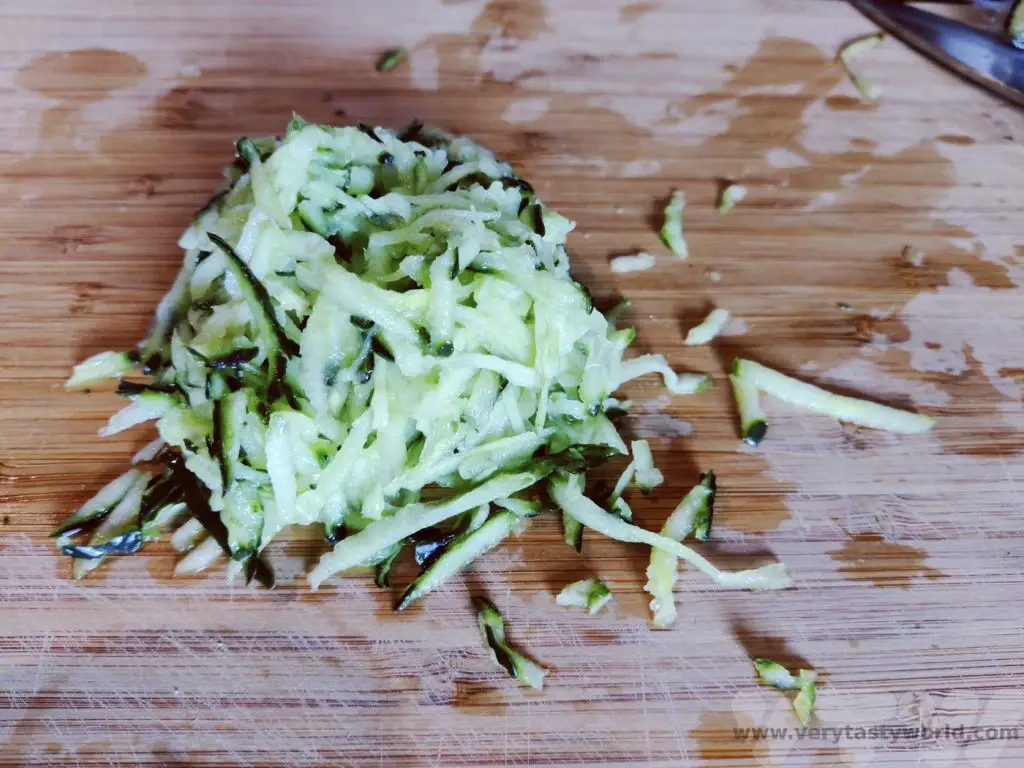
Gather up grated cucumber and squeeze the water out.
If you wish you can wrap the grated cucumber in a tea towel to absorb the rest of the water. It’s important to get as much water out of the cucumber as possible to avoid the raita becoming watery.
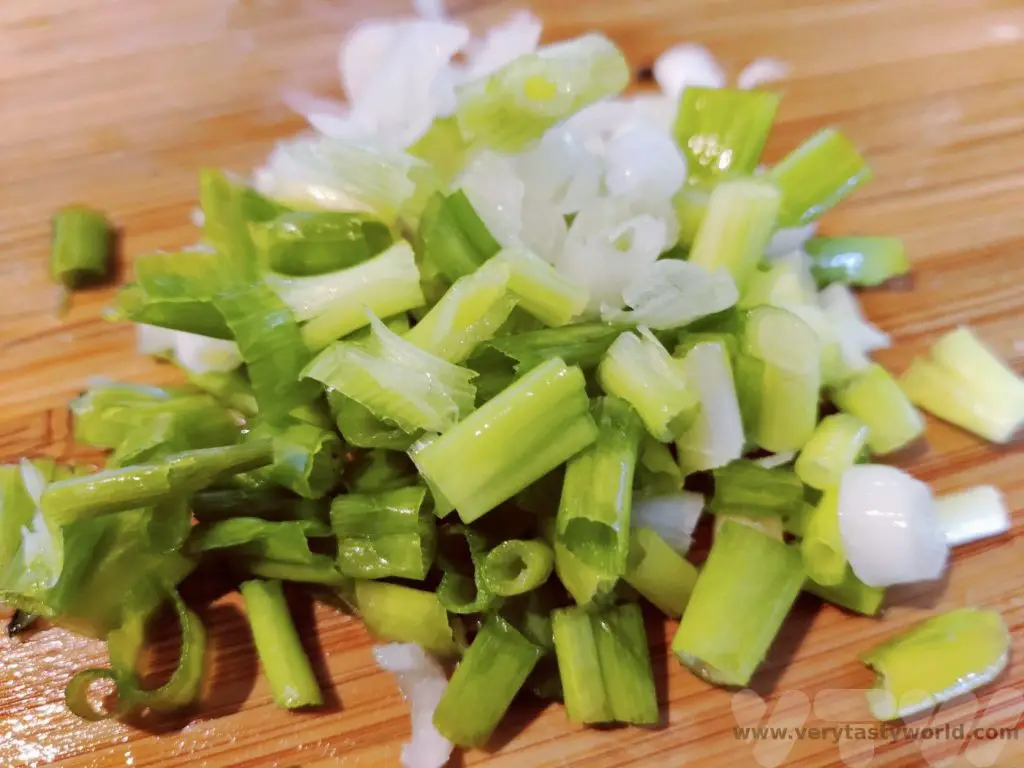
Finely chop the spring onions and coriander.
Place yoghurt in a bowl. Add the cucumber, spring onions and coriander.
Grate the garlic into the bowl – we find that a microplane grater is perfect for this. Our you could use a standard garlic press.
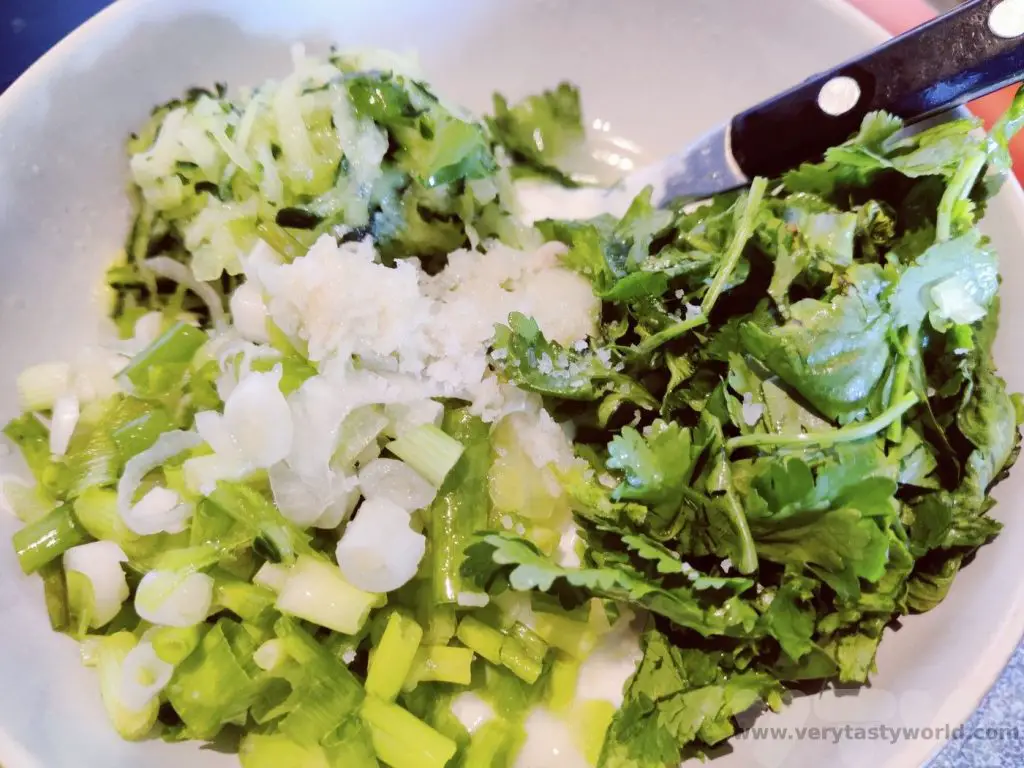
Squeeze the lemon to extract its juice, making sure that none of the pips end up in the mixture, and add the salt.
Mix together.
Ready to serve.
This works brilliantly to accompany a biryani, and cool it down if it’s particularly chilli hot.

Or a delicious dollop as a great accompaniment to felafel in a wrap.

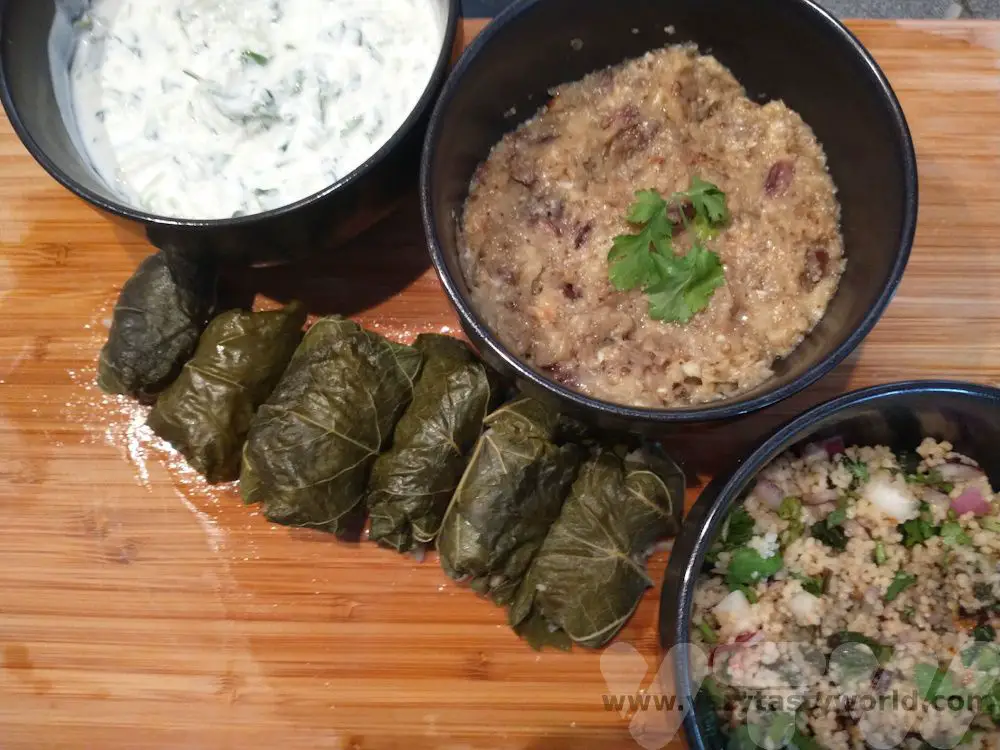
Or to accompany a Middle Eastern mezze. Here with home-made dolma (stuffed vine leaves), baba ganoush (aubergine dip) and tabbouleh (cous cous herb salad).
Related Posts You May Enjoy
- RECIPE Oyakodon Donburi
- Zero Waste Recipes Before Your Holiday
- RECIPE: Vegetable Biryani Tamil Nadu Style
- RECIPE: Vegan Wild Garlic Pesto
- Recipe: Venetian Pasta Sauce
- RECIPE: Biryani Raita Recipe
- RECIPE: How to Make Costa Rica’s Gallo Pinto
- Recipe: Japanese Simmered Pork Belly – Buta no Kakuni
- RECIPE: How to Make Umeboshi
RECIPE: How to Make Costa Rica’s Gallo Pinto
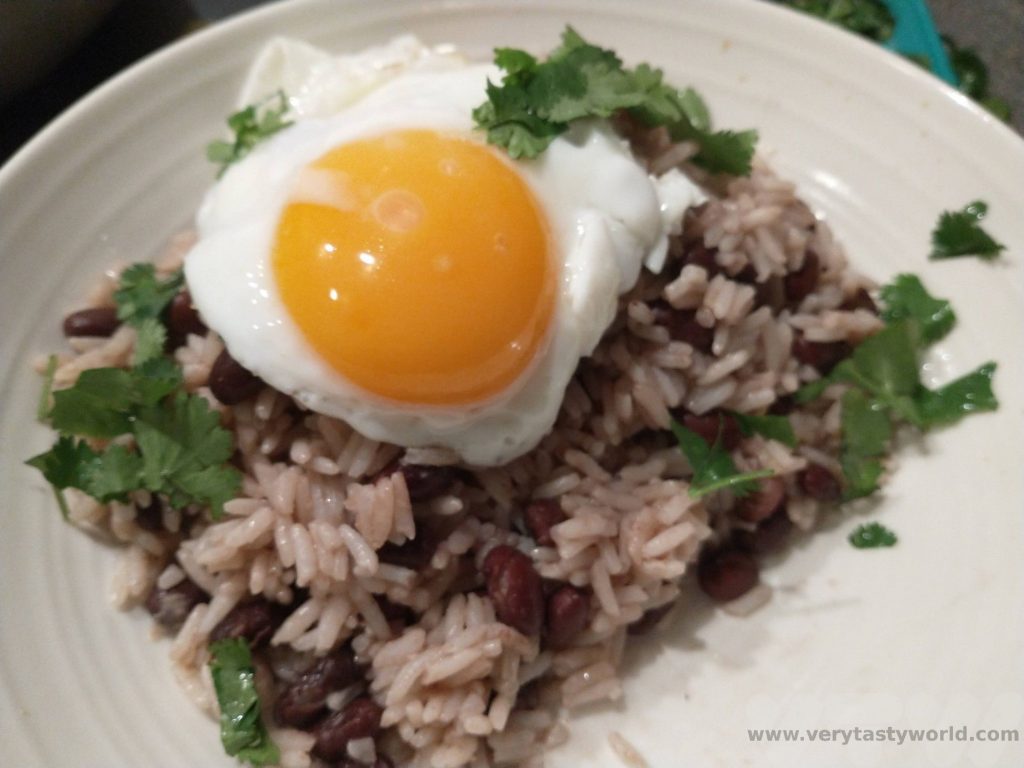
Gallo pinto is Costa Rica’s national dish. It’s so popular it can be eaten for breakfast, lunch and dinner. It comprises rice and beans cooked together and served with a variety of accompaniments – such as sausage, vegetables and eggs.

Gallo pinto can be translated as “spotted rooster” and refers to the black beans dotted through the white rice, the colours of which resemble a speckled chicken. Costa Rican food is considered to be highly nutritious and gallo pinto is no exception, but importantly, it’s also hearty, filling and delicious.
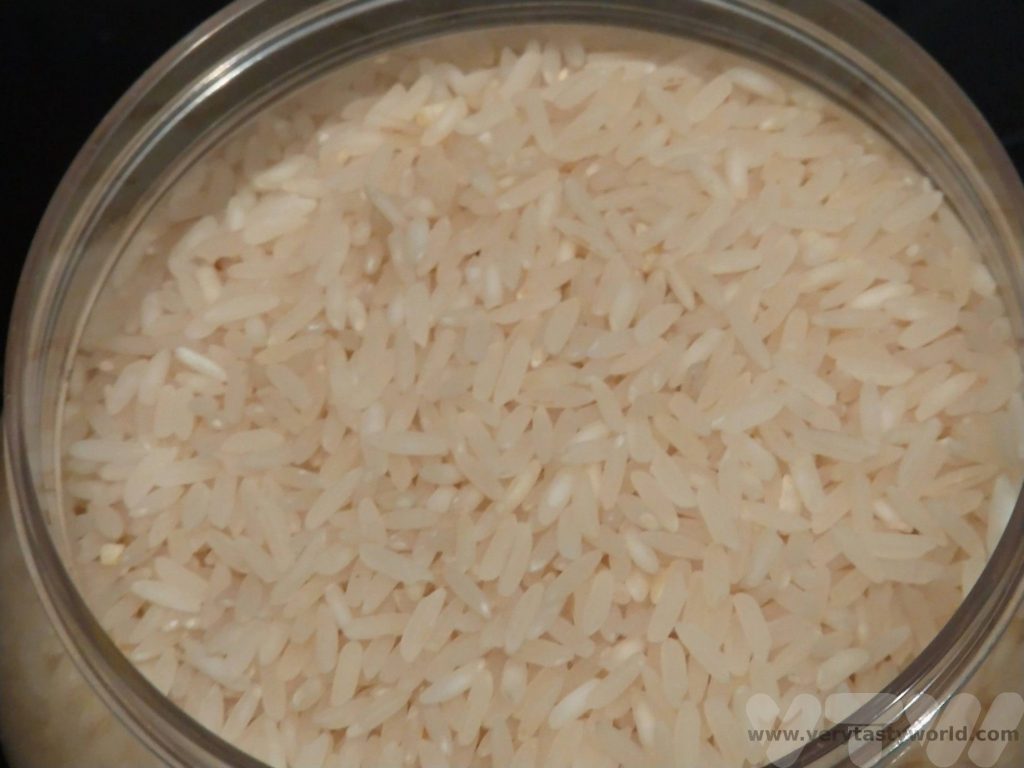
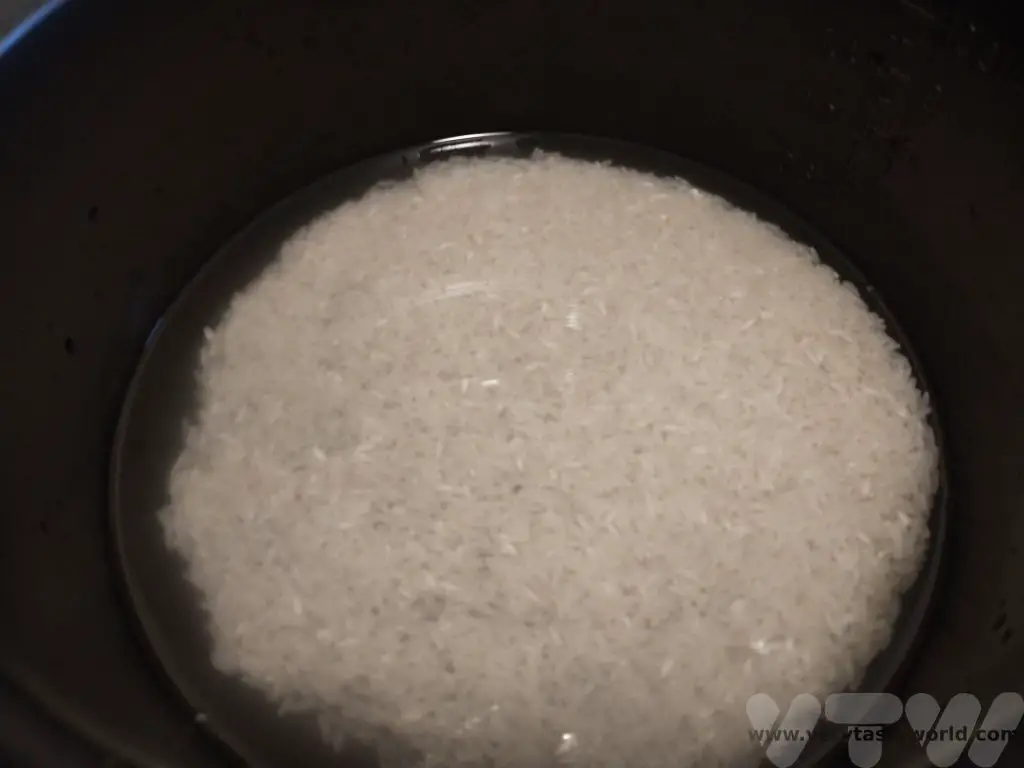
The type of rice used is traditionally white long grain. Brown rice or short grain rice is okay to use if that’s what you have. Gallo pinto is great if you cooked too much rice for dinner the night before – it’s an ideal leftovers meal.
The sauce used in this dish is called Lizano. If you ask for salsa at a restaurant in Costa Rica they will bring Lizano. It is used to accompany many dishes and we managed to bring back a couple of bottles from our trip. It is a tangy, spicy (but not searingly hot) sauce that has a lovely piquancy. It’s available in the UK but often at a massively inflated price – we’ve seen it available at an eye-wateringly expensive £30 for two bottles! No, we didn’t buy it. Instead we’ve worked out a recipe using easily available sauces/spices that replicates the flavour pretty well.
Gallo Pinto Recipe (Serves 4)
Ingredients
2 cups long grain white rice (our cups are around 150 ml)
1 tin of black beans (240g)
2 Tbs Lizano sauce (if you can’t get this you need 1 Tbs brown sauce, 2 tsp Worcestershire sauce, 1/2 tsp cayenne pepper, 1 tsp celery salt)
Clove or two of garlic (depending on how garlicky you feel), finely sliced or crushed
2 tsp cumin
1 egg per person
Lots of fresh coriander
Side Dish/Accompaniment Ingredients
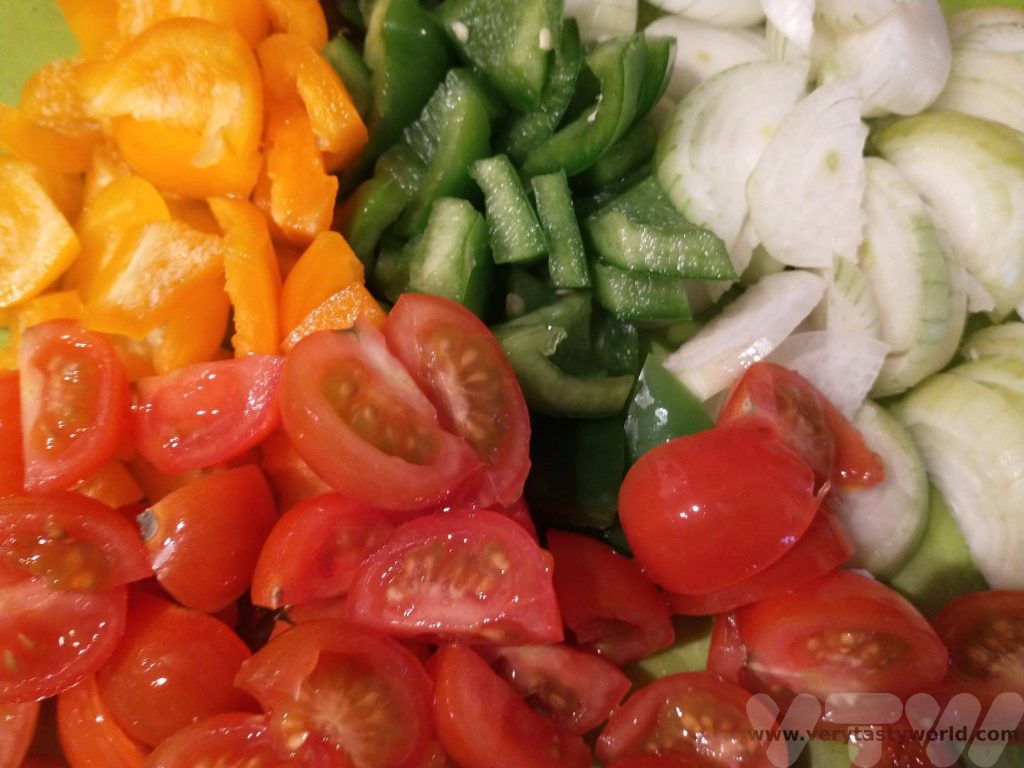
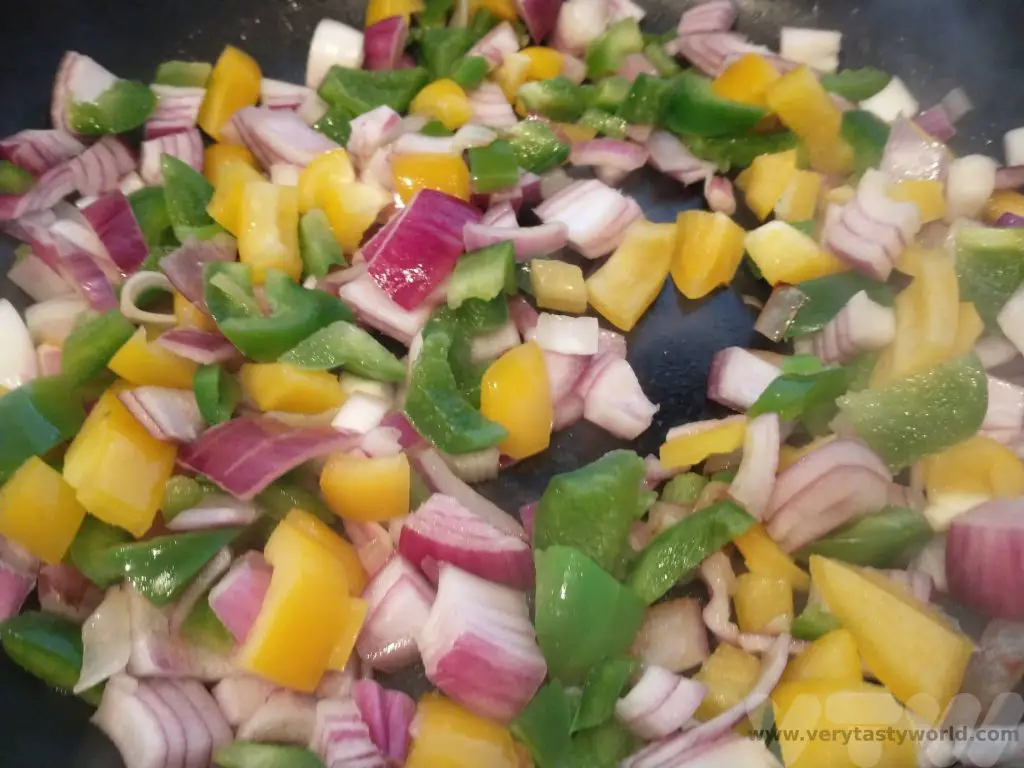
Chopped vegetables – bell peppers, tomatoes, onion
Method
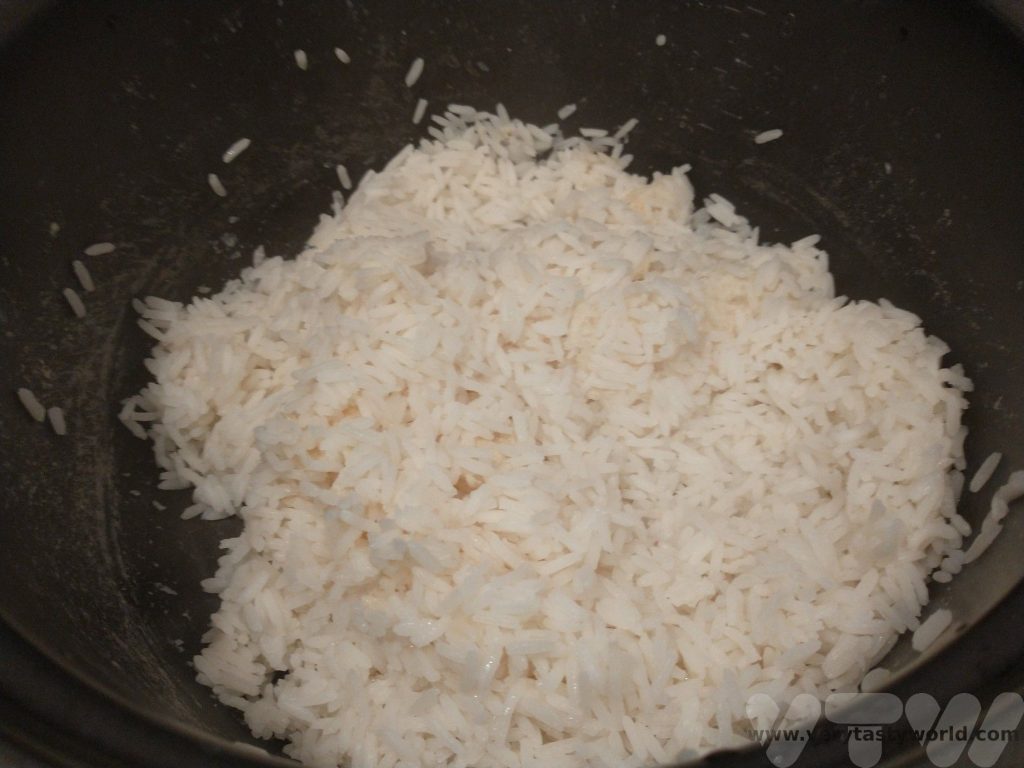
Cook the rice. We use a ratio of 2 cups of water to 1 cup of rice. Our cups are around 150ml in size. Gallo pinto uses long grain rice.
We use a rice cooker which is absolutely brilliant for cooking rice (as well as other things) as we can just bung the rice and water in and set it off. If you don’t have a rice cooker a saucepan is fine – use the same ratio of rice to water. When the rice has absorbed all the water it should be done. It’s absolutely fine to cook the rice well in advance and let it cool, in fact, it’s probably better not to put hot rice into the gallo pinto. Sometimes if we’re having a meal with rice the day before, we’ll make extra rice and let it cool down so that we can have gallo pinto the next day.
When ready to make the gallo pinto, gently fry the garlic in oil and add the cumin. Then add the rice and stir through.
Open the tin of black beans and add the entire contents – including the water.
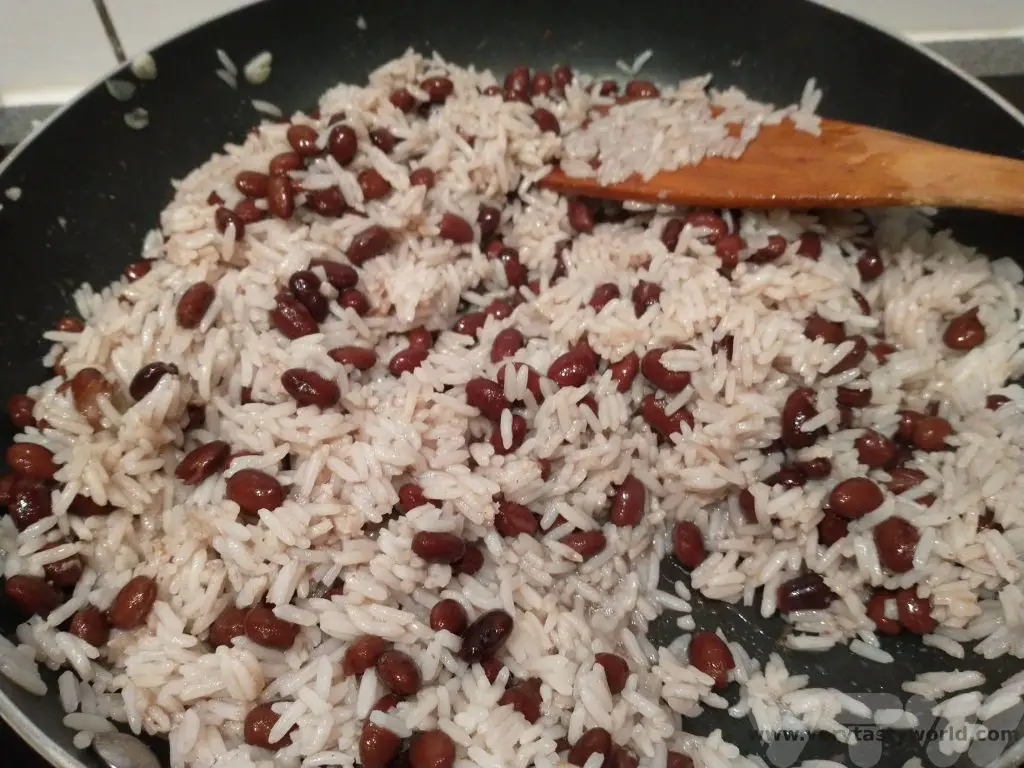
Add 2 Tbs of Lizano sauce.
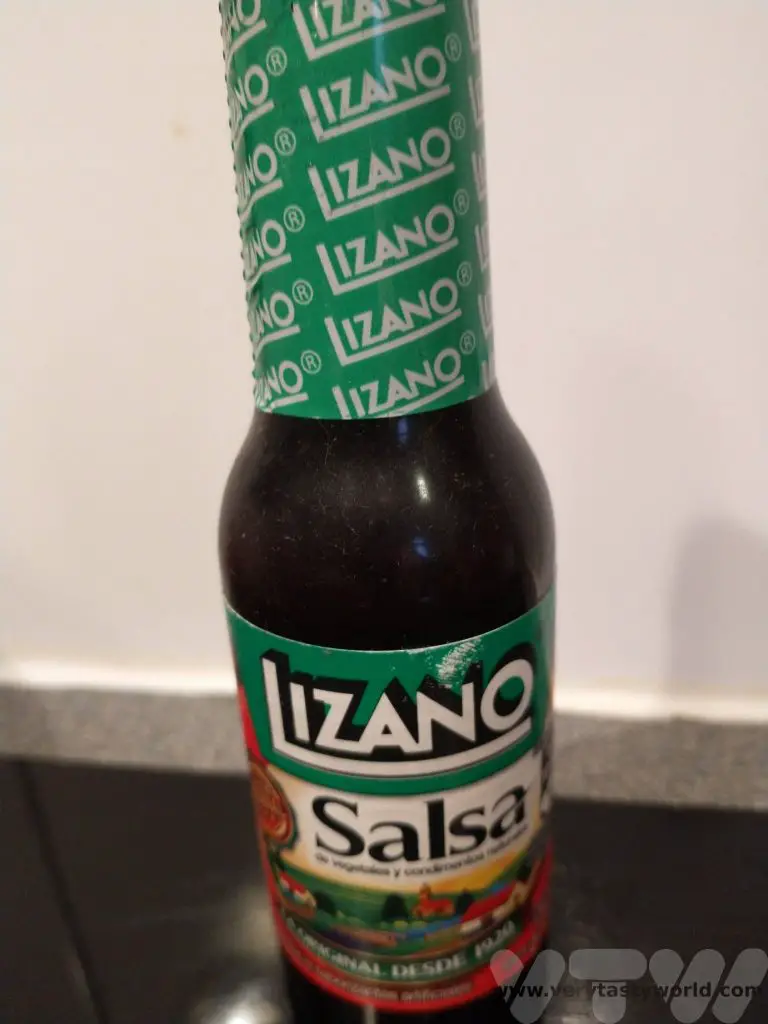
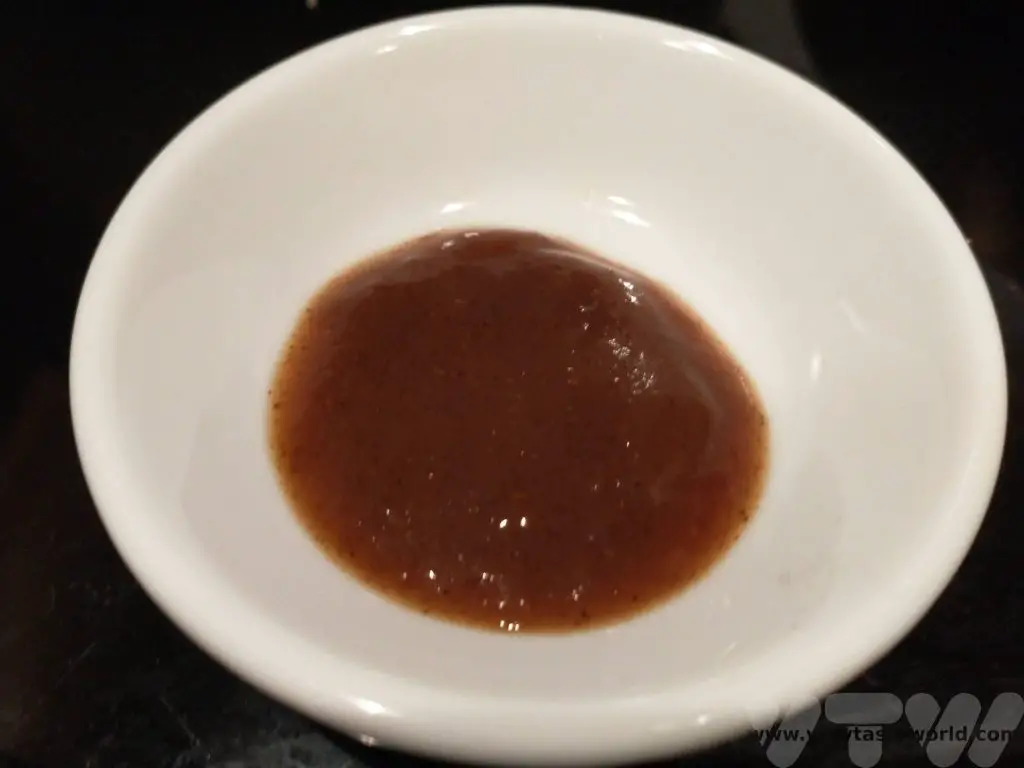
If you can’t get Lizano you can make a reasonable approximation by mixing brown sauce and Worcestershire sauce with spices: 1 Tbs brown sauce, 2 tsp Worcestershire sauce, 1/2 tsp cayenne pepper, 1 tsp celery salt.
Mix it all together gently.
Let the gallo pinto keep warm on a low heat while you fry an egg for each person.

Garnish with chopped coriander.
For a more complete meal, stir fry some vegetables and serve alongside the gallo pinto.
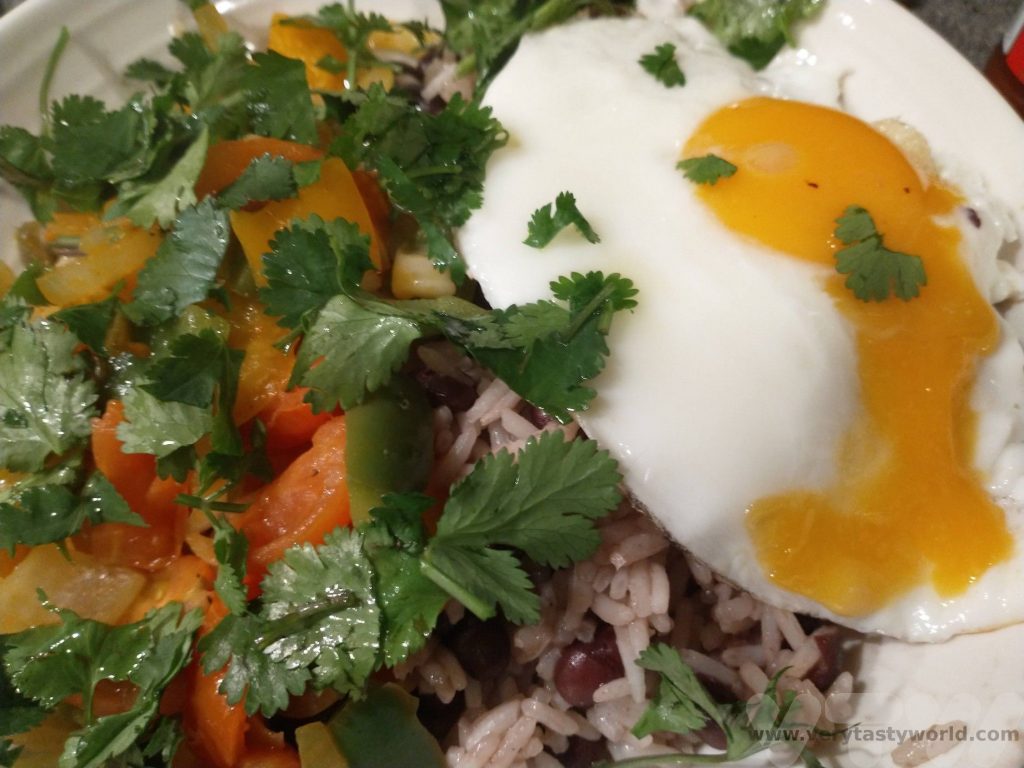
Alternative – at the garlic frying step, add chopped vegetables such as onion or bell pepper and stir into the gallo pinto itself.

Gallo pinto can be eaten as a meal in itself but can also accompany other dishes. We enjoyed it with steaks, sausages and fried plantain amongst many other delicious ingredients.
Related Posts You May Enjoy


- Best Time To Visit Machu Picchu 2024 Update

- A 2 Week Patagonia Itinerary

- Day of the Dead in Campeche

- A Galapagos Land Based Itinerary

- RECIPE: How to Make Costa Rica’s Gallo Pinto
- A Tasty Puebla Food Tour

- Costa Rica Wildlife Sanctuary – Caño Negro

- Visit Torres del Paine National Park in Patagonia
- Atacama Desert Itinerary

- RECIPE Oyakodon Donburi
- Zero Waste Recipes Before Your Holiday
- RECIPE: Vegetable Biryani Tamil Nadu Style
- RECIPE: Vegan Wild Garlic Pesto
- Recipe: Venetian Pasta Sauce
- RECIPE: Biryani Raita Recipe
- RECIPE: How to Make Costa Rica’s Gallo Pinto
- Recipe: Japanese Simmered Pork Belly – Buta no Kakuni
- RECIPE: How to Make Umeboshi
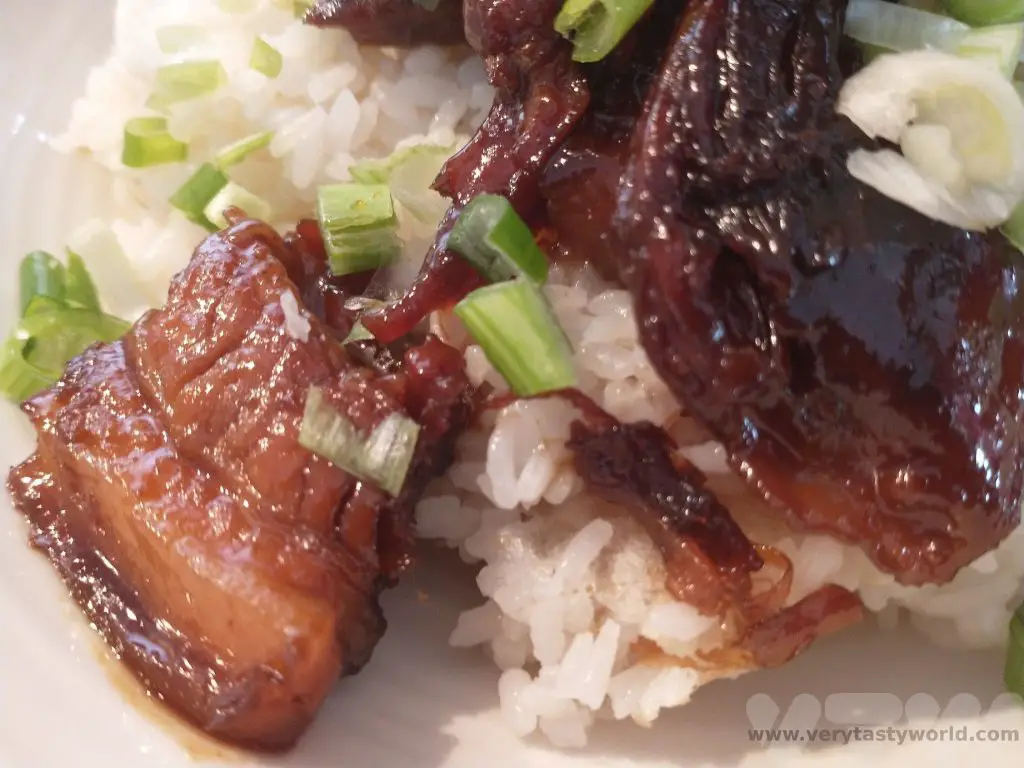
Recipe: Japanese Simmered Pork Belly – Buta no Kakuni
Japanese simmered pork belly, known as buta no kakuni, is a rich, indulgent dish that is sweet, savoury, sticky and utterly sumptuous. Pork belly is a really fatty cut of meat but fat means flavour and the process of cooking the pork for a long time ensures that a lot of the fat will melt away. Any fat that remains is soft and juicy.
In Japanese, buta means pork and kakuni derives from two longer words: kaku- to cut into cubes and ni – simmer.
It is traditional to serve kakuni with a drop of Japanese mustard called karashi (辛子 or からし). Karashi is a bit darker yellow than most other mustard. It does not really have much acidity in it (unlike other mustards) and very hot. It is perhaps closest to hot English mustard, which is a good substitute.
How to Make Buta No Kakuni Japanese Simmered Pork Belly (Serves 2)
Ingredients
Portion of pork belly per person (allow around 150-200g per person depending on how hungry you are)
Water
Stock cube – dashi stock if possible or you can make your own
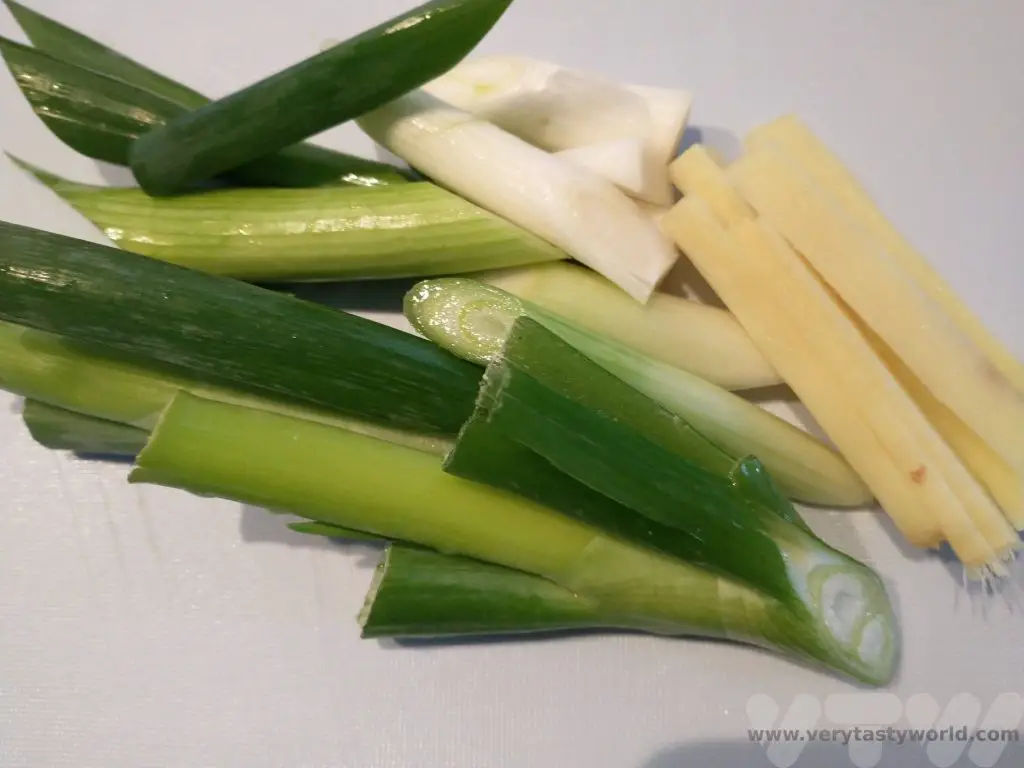
2 spring onions, sliced into 2-3cm chunks plus another for garnish
2 inches of ginger, peeled and cut into strips
16 tbs (1 cup) of water
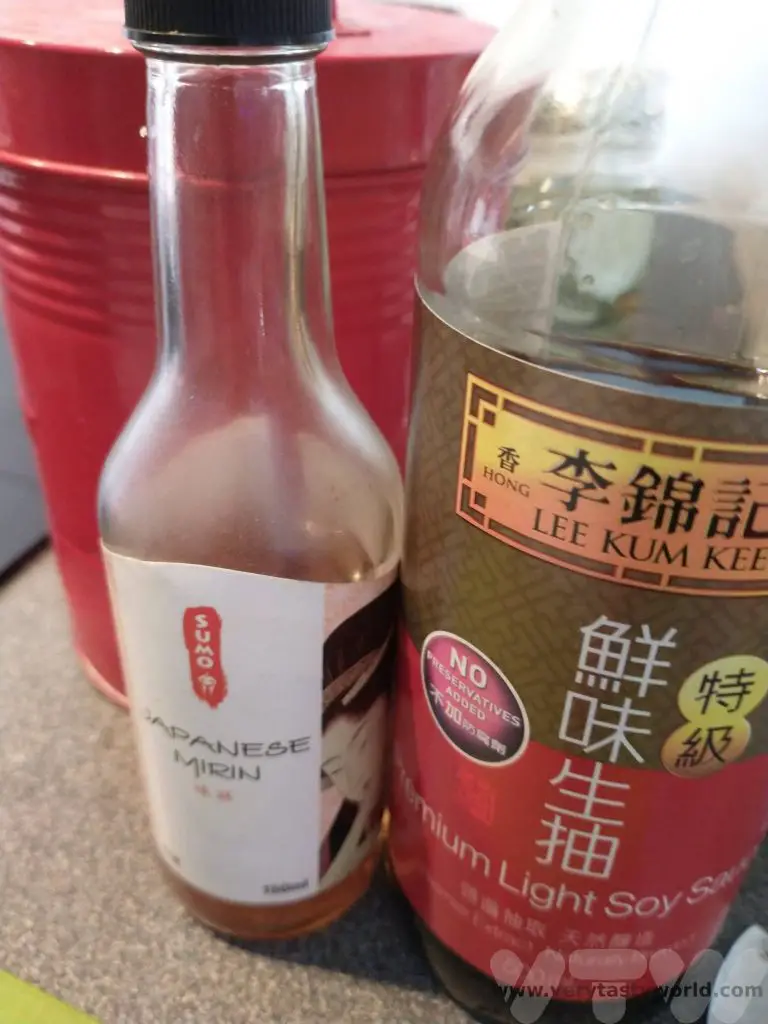
4 tbs (1/4 cup) soy sauce
4 tbs (1/4 cup) cooking sake (if you can’t get sake, white wine will be a good substitute)
4 tbs (1/4 cup) caster sugar
4 tbs (1/4 cup) mirin (if you can’t get mirin, add a little more sake and sugar)
Generous splash of rice vinegar (we like this to counterbalance some of the sweetness of the dish)
Method
Place the pork belly in a frying pan and sear on both sides for a couple of minutes.

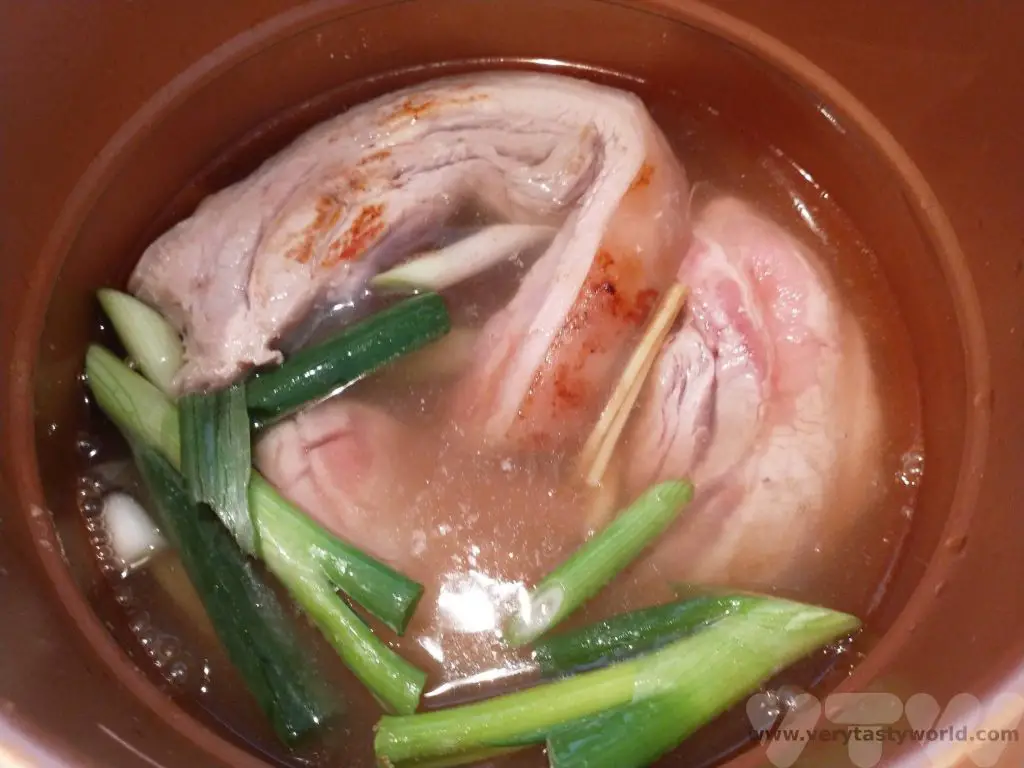
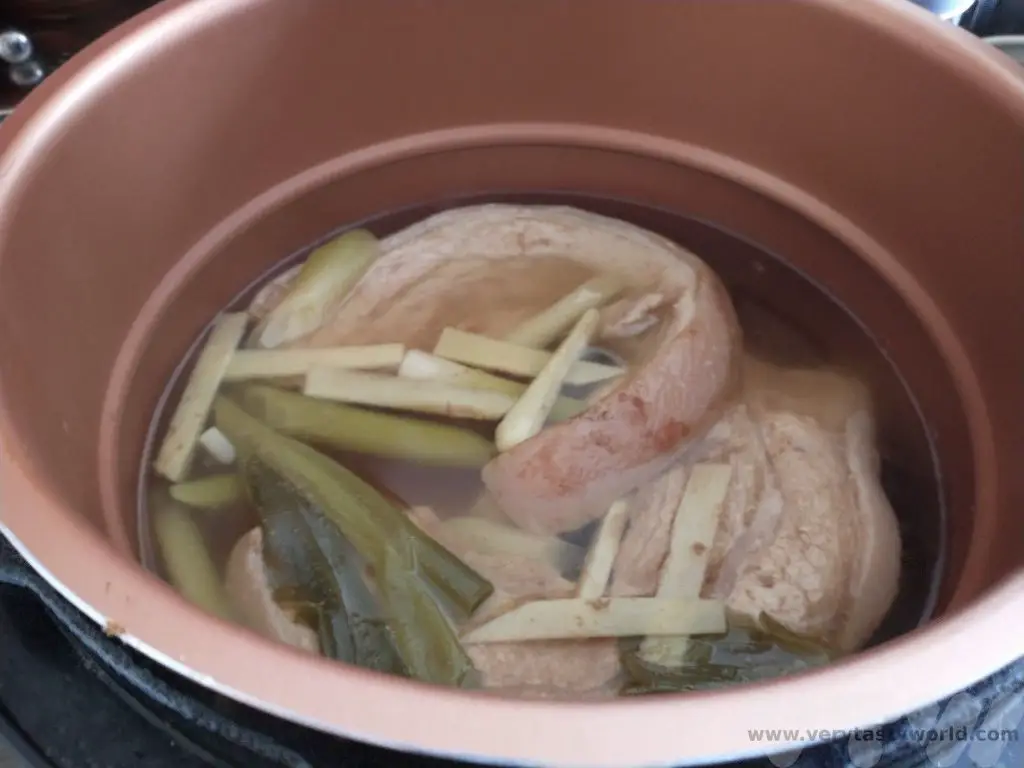
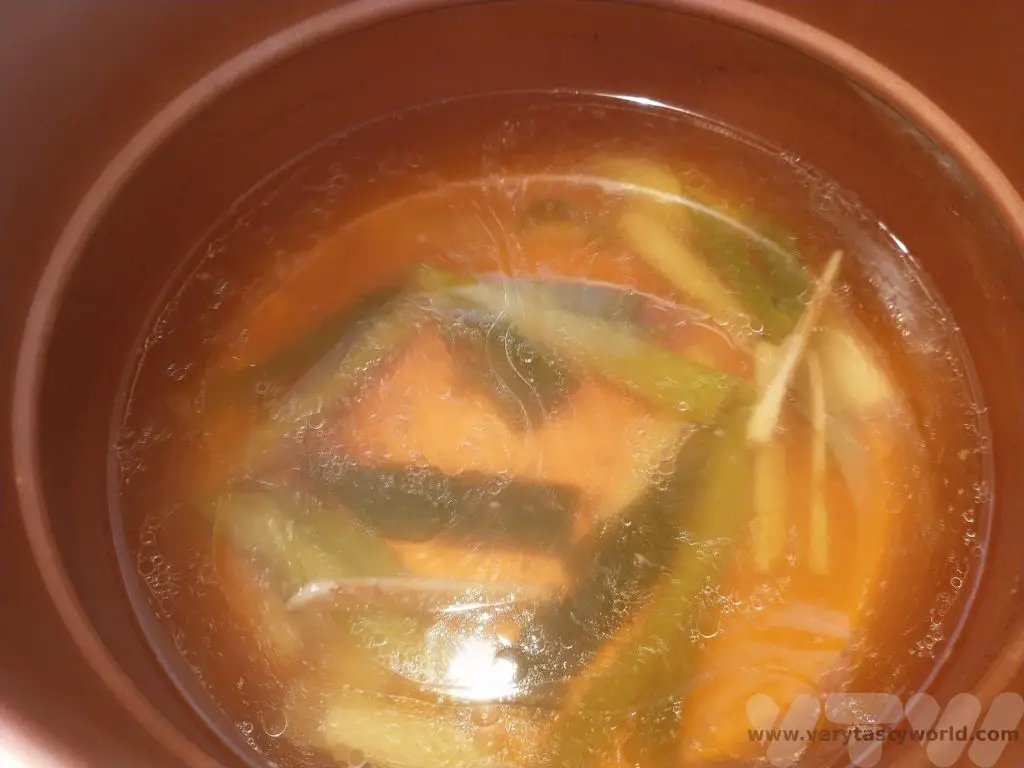
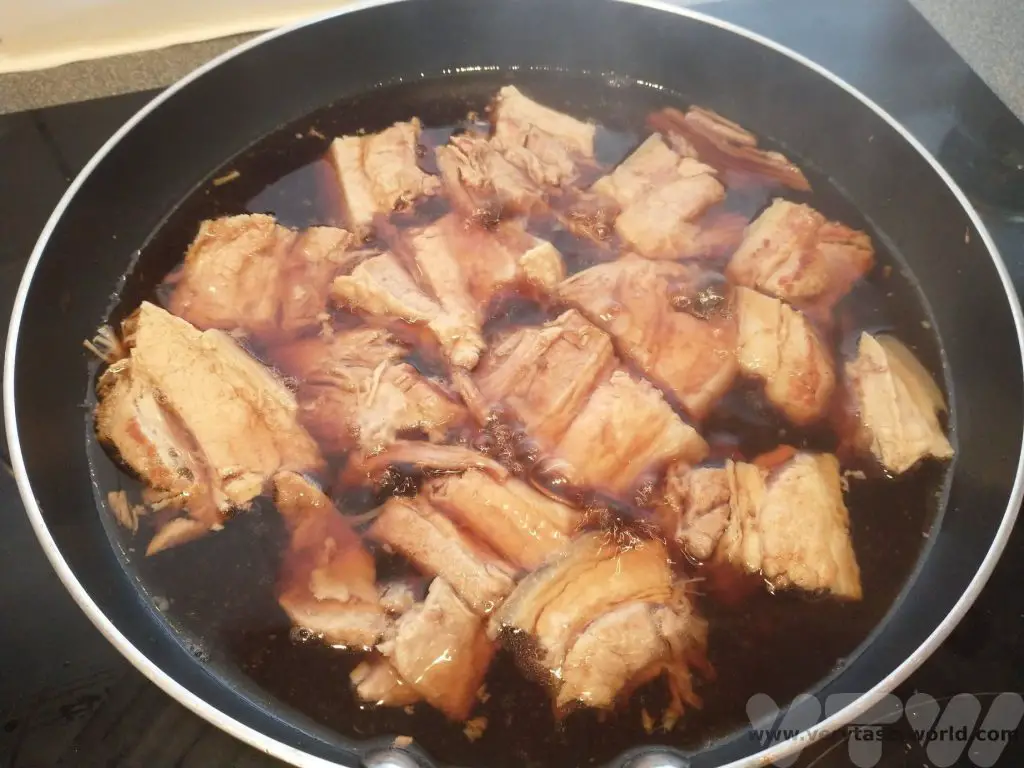
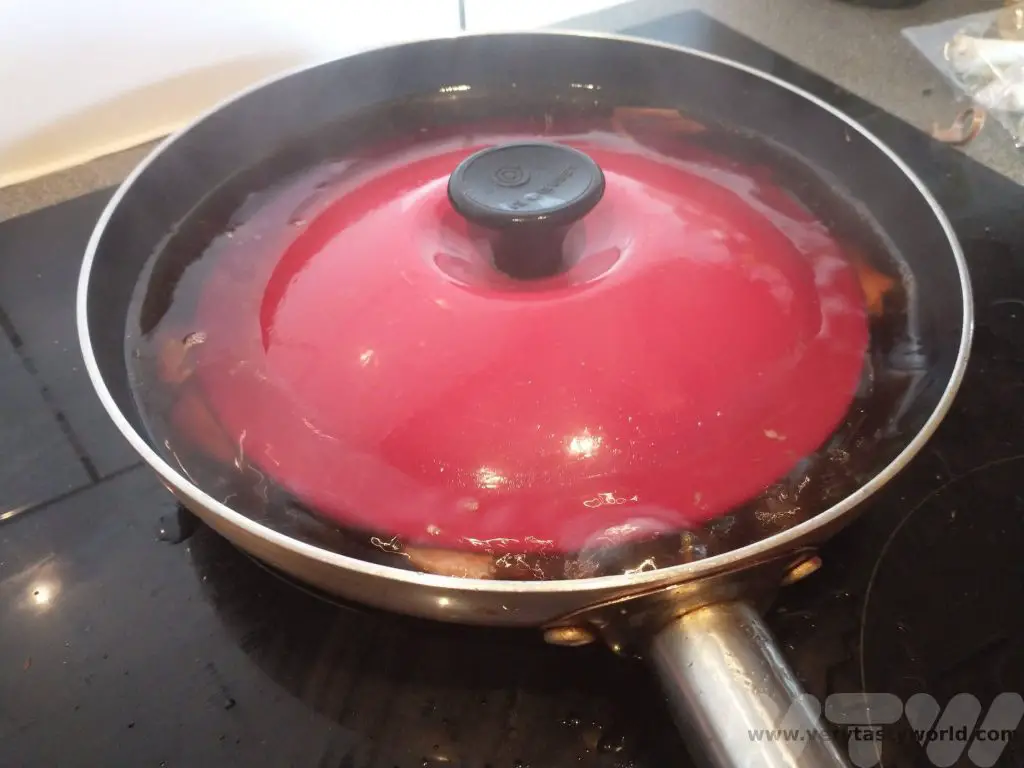
Place the pork belly in a pot and cover with water. Add the stock cube, spring onion and ginger. Turn on the heat and bring the water up to a simmer. Simmer the pork for 2 hours or until nice and tender. Alternatively, you can do as we do and use a pressure cooker. Just prepare the pork as above and cook at pressure for 40 minutes.
When the pork comes out it should be wonderfully soft and close to falling apart (but not actually falling apart). Cut the pork into chunks – about 2cm length. We also decided to cut off the rind at this stage.
Don’t forget to keep the stock – it will make a wonderful base for ramen noodles or soup. You can pop it into the freezer if you’re not going to use it immediately.
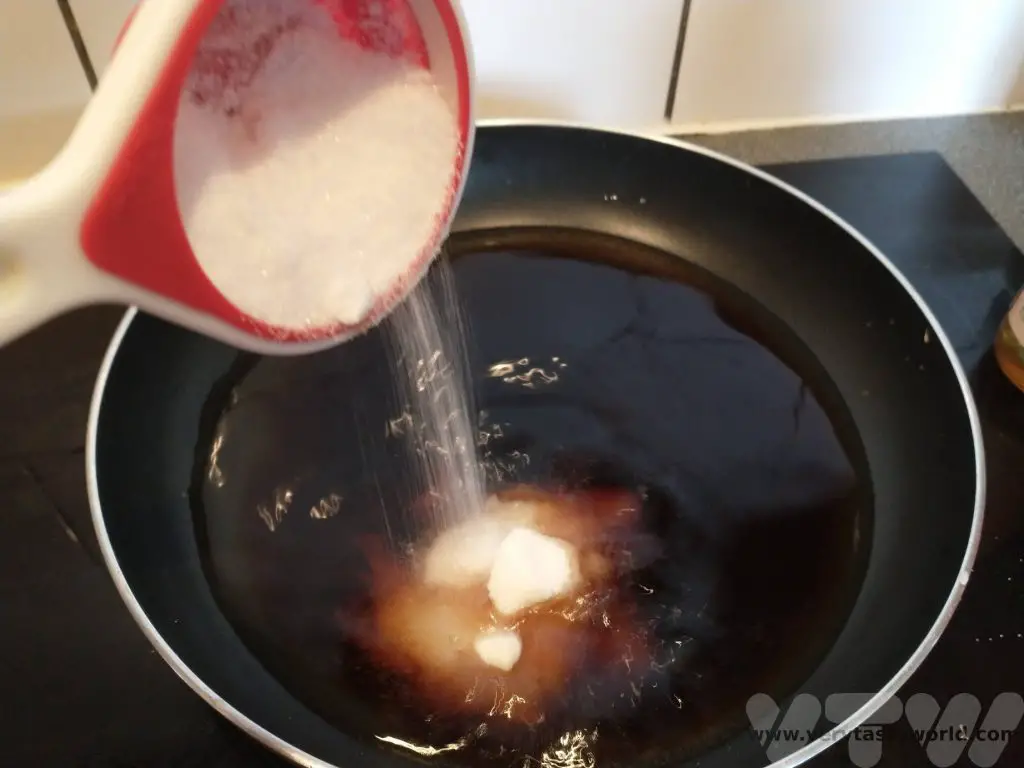
Put the water, soy sauce, sake (or wine), mirin and sugar into a pan and bring to the boil.
Carefully place the pork chunks into the pan and press down so that the sauce completely covers them.
(In retrospect we should have put the pork into a deeper pan – a casserole dish – because the sauce did splutter a lot and because there was sugar in it, it stuck to our hob which made clearing up a bit of a nightmare!)
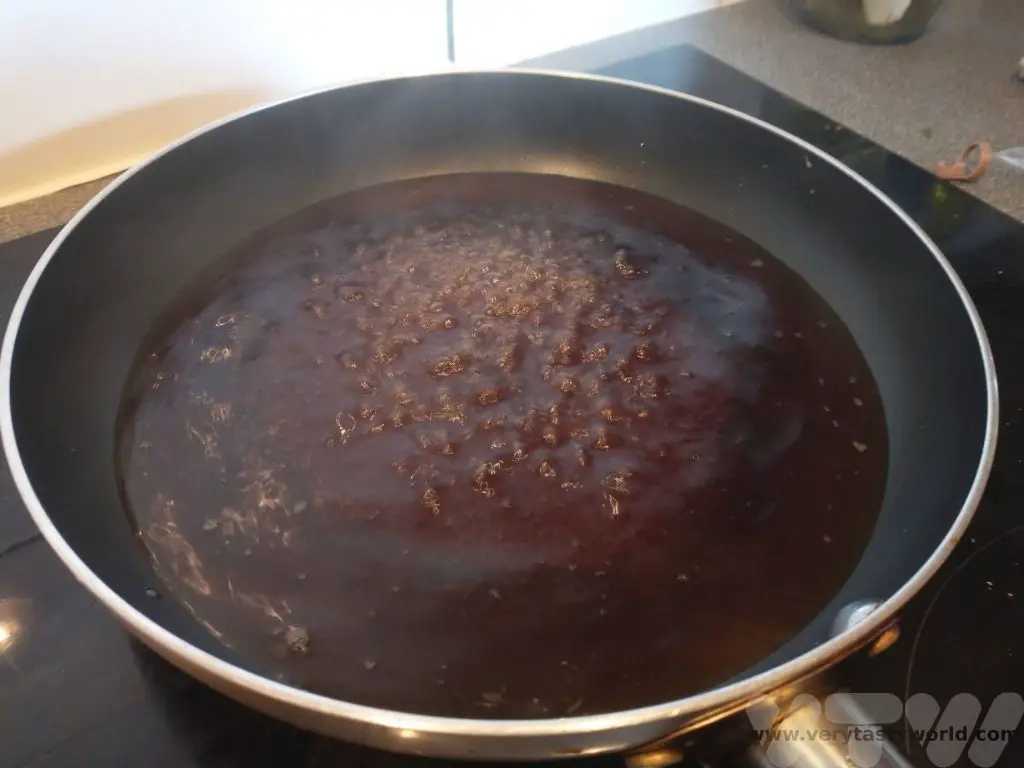
Reduce the sauce until it has almost become a paste – it will have coated the pork and caramelised on the underside. It will look glossy and luscious.

Serve atop plain white rice garnished with chopped spring onion. It is often accompanied with a splodge of karashi. We like adding some pickled ginger as well.

- RECIPE Oyakodon Donburi
- Zero Waste Recipes Before Your Holiday
- RECIPE: Vegetable Biryani Tamil Nadu Style
- RECIPE: Vegan Wild Garlic Pesto
- Recipe: Venetian Pasta Sauce
- RECIPE: Biryani Raita Recipe
- RECIPE: How to Make Costa Rica’s Gallo Pinto
- Recipe: Japanese Simmered Pork Belly – Buta no Kakuni
- RECIPE: How to Make Umeboshi
- Recipe: Simmered Shiitake Mushrooms
- How to Use Public Transport in Japan
- RECIPE Oyakodon Donburi
- Planning a Trip to Japan
- The Makanai: Cooking for the Maiko House
- Setsubun Food – Bean Throwing Day
- The Gassho Farmhouses of Rural Japan
- Recipe: Japanese Simmered Pork Belly – Buta no Kakuni
- RECIPE: How to Make Umeboshi
RECIPE: How to Make Umeboshi
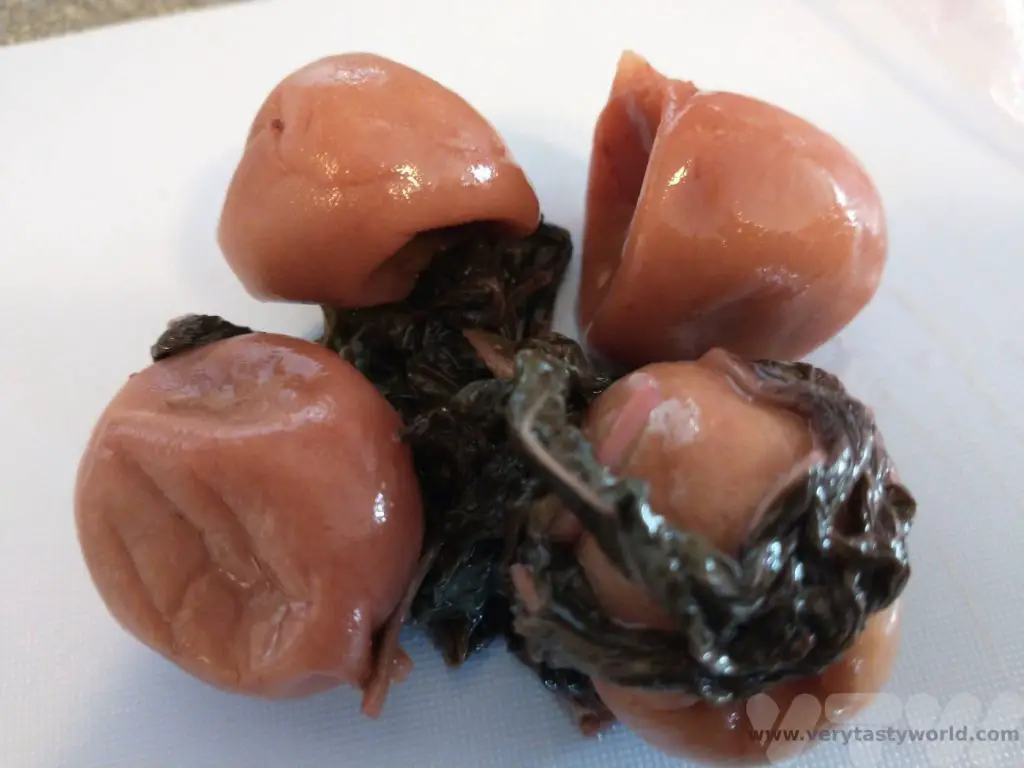
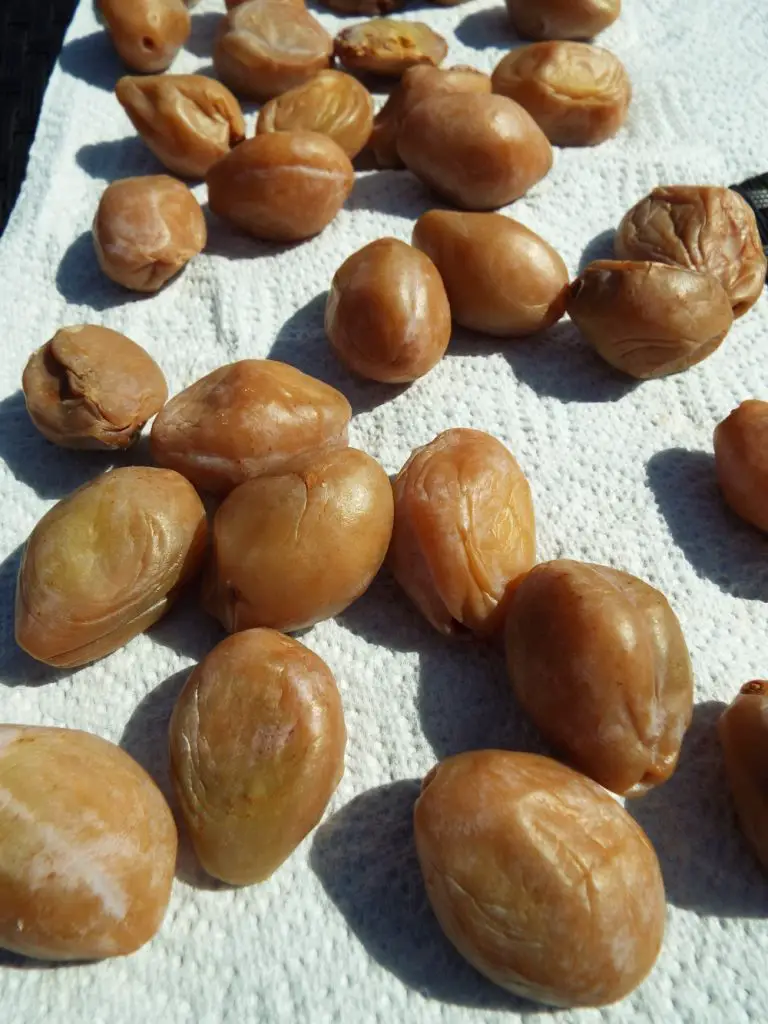
A typical Japanese breakfast will comprise of a bowl of rice, some grilled fish and pickles accompanied by a bowl of miso soup. What a lovely way to start the day. And at the Japanese breakfast table you will often come across a bowl of pink, wrinkly fruit, roughly the size of an apricot.

These are umeboshi, incredibly sour and salty ume fruit, which are like small plums or apricots, and are absolutely guaranteed to wake you up. They are also reputed to be a hangover cure, especially good if you are a salaryman who has had a late night out in the city. Or tourists who have had a late night in the city which involved chatting with all sorts of very interesting people in random bars and drinking quite a lot of booze.
Beware the stone, especially if you have a hangover.
Umeboshi are tsukemono, literally “pickled things” which brined and therefore fermented, so they will last for ages. Some will even last decades. If they turn black, they should be chucked. We always bring some back from our trips to Japan and rationed them so had some in our fridge for about 5 years – they were still pink and wrinkly and utterly delicious. Most Japanese meals have tsukemono as an accompaniment but umeboshi are most often eaten at breakfast. They are also used in onigiri (rice balls) as a flavouring and can be converted into a paste to add plentiful salty/fruity flavour to a variety of dishes.
Some Japanese households make their own umeboshi. If you are lucky enough to be offered these, don’t be polite. Well, do be polite because that would be the right thing to do, but don’t hesitate to take your host up on their offer. Home-made umeboshi are absolutely delicious. The pink colour derives from red shiso – also known as perilla – which is a herb added during the pickling process. Shiso is a very common herb used a lot in Japanese cuisine. Green shiso is often the herb that garnishes a sushi platter.
It is possible to make sort-of-umeboshi in western countries. The ume fruit is not usually available, but you can have a bash using plums and salt.
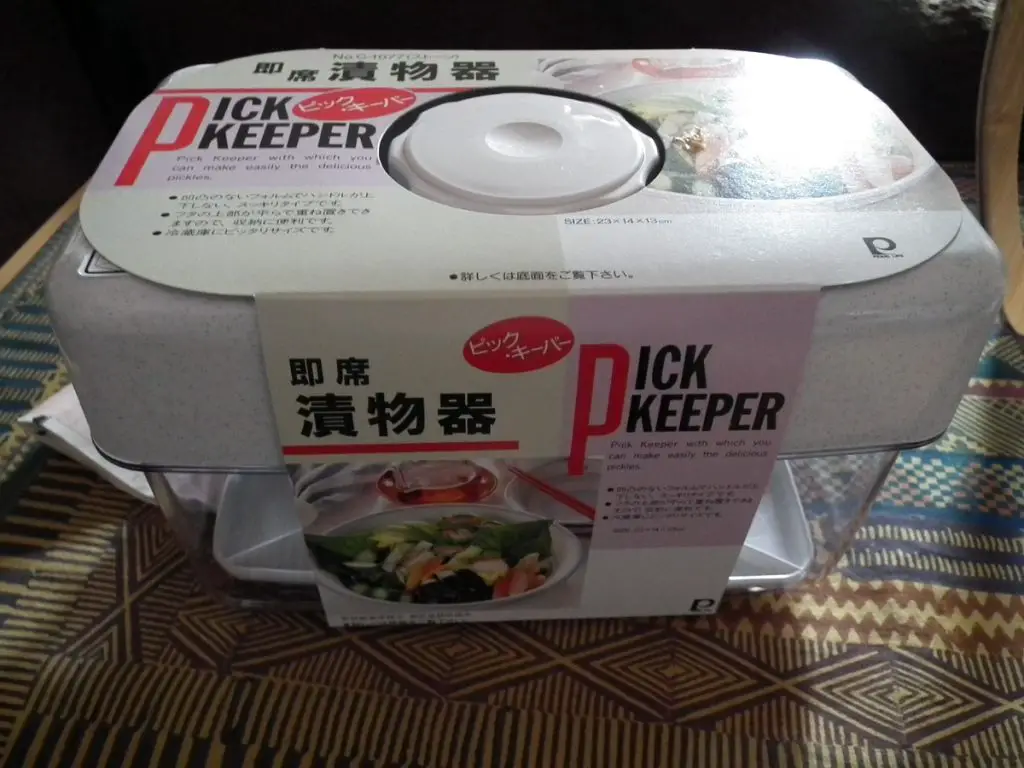
We treated ourselves to a Japanese pickle press a while ago but it should be possible to make umeboshi using a wide-mouthed jar, just as long as you have something heavy that will fit inside the jar to weigh the plums down and a utensil that can extract them (tongs should be fine) as you will need to take them in and out of the jar after the fermentation.

We use plums from our allotment. They have the delightful name Warwickshire Droopers. The great thing is that we can assess how ripe our plums are and pick them. This year the plum tree has been very generous. If you don’t have a plum tree your local market or greengrocer may well have a variety of plums for you to choose from.

You want the plums to be ripe but not over-ripe, they need to have a degree of firmness.

How to Make Umeboshi
Ingredients
Plums – enough to fill your container but leaving enough space to add a weight. If using a press, make sure the press can close and provide enough pressure.
Salt – 8% of the weight of the plums. Try not to use table salt, as this contains anti-caking agents. We prefer Himalayan pink salt but any pure salt will be fine.
2 red shiso leaves (optional)
Method
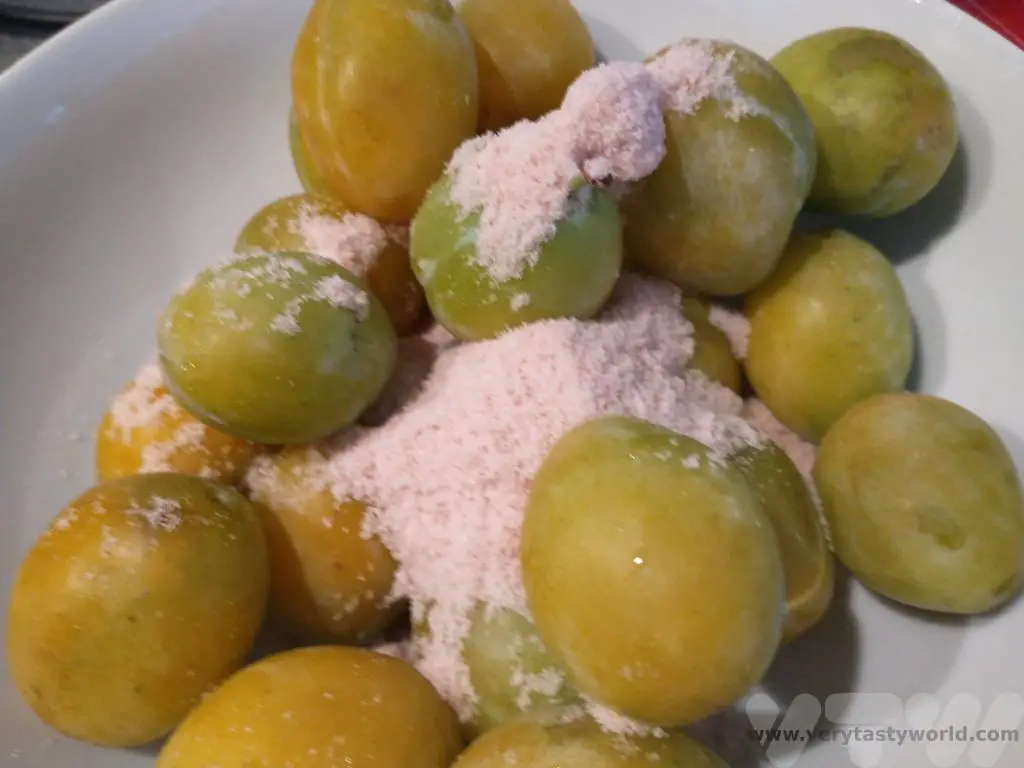
Wash your plums and pat them dry. Weigh the plums.
Measure out your salt – the total should be around 8% of the plum weight. This is a lot of salt but most of it will leach into the juice during the pressing process.
Massage the salt into the plums
Place in the press. Add the shiso/perilla leaves if you are using them.
Attach the lid and screw the pressure plate down as far as it will go. If you are using a jar, put a clean weight (you can put a weight inside a plastic bag) that puts pressure on the plums.
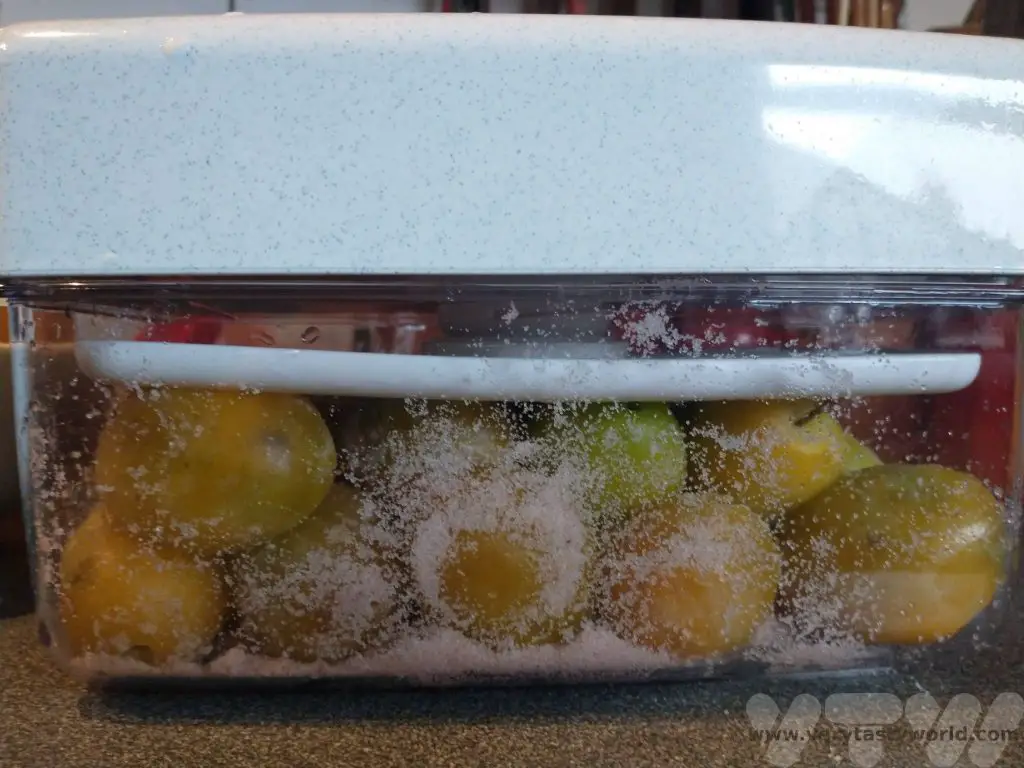
This ferment doesn’t use a brine. The pressure of the weight will release juice from the plums.

Leave in a cool, dark place for 2-3 weeks. Check the plums occasionally. You will start to see juice appearing in the bottom of the press.
(As with all ferments, if you ever see any mould on the fruit you should throw it away as the spores could cause illness if you consume the plums. It is unlikely that mould will develop with an 8% salt mix as that is lot of salt.)
The next step requires a bit of luck with the weather. Ideally you want a warm, sunny day. In fact, you need three warm, sunny days.
On your sunny day, remove all the plums and place them on a mat, or some kitchen paper, in the sunshine to dry. Place them back in the juicy brine at the end of the day.
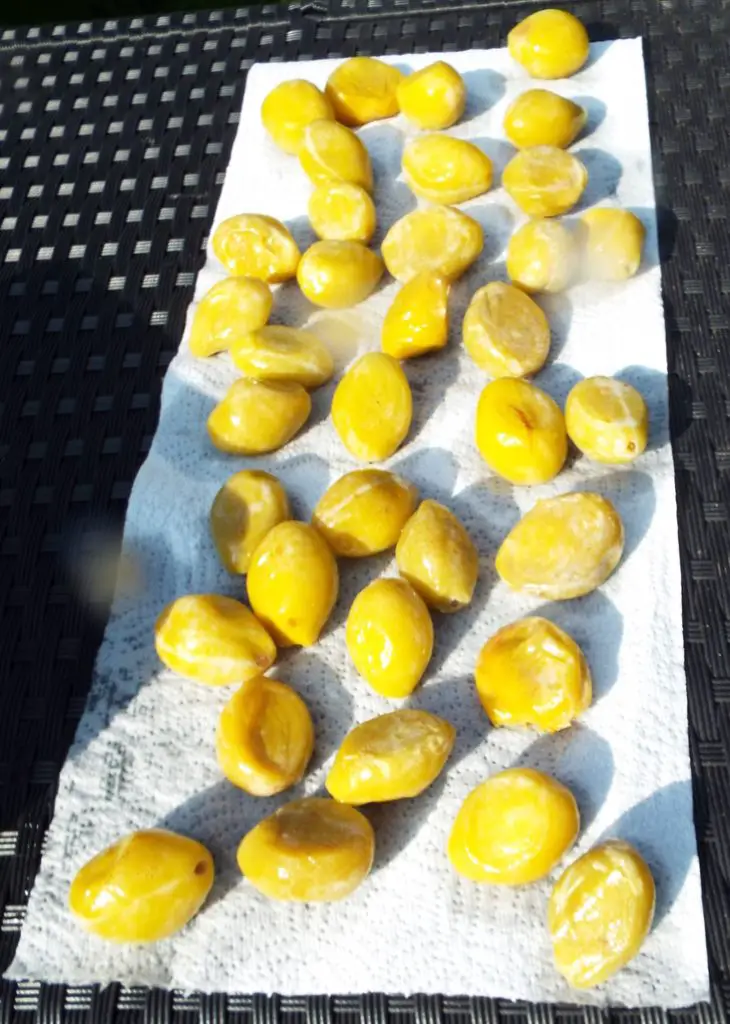
Repeat for a further two days. They don’t need to be consecutive days but it would be helpful if you can dry the plums over the course of a week.
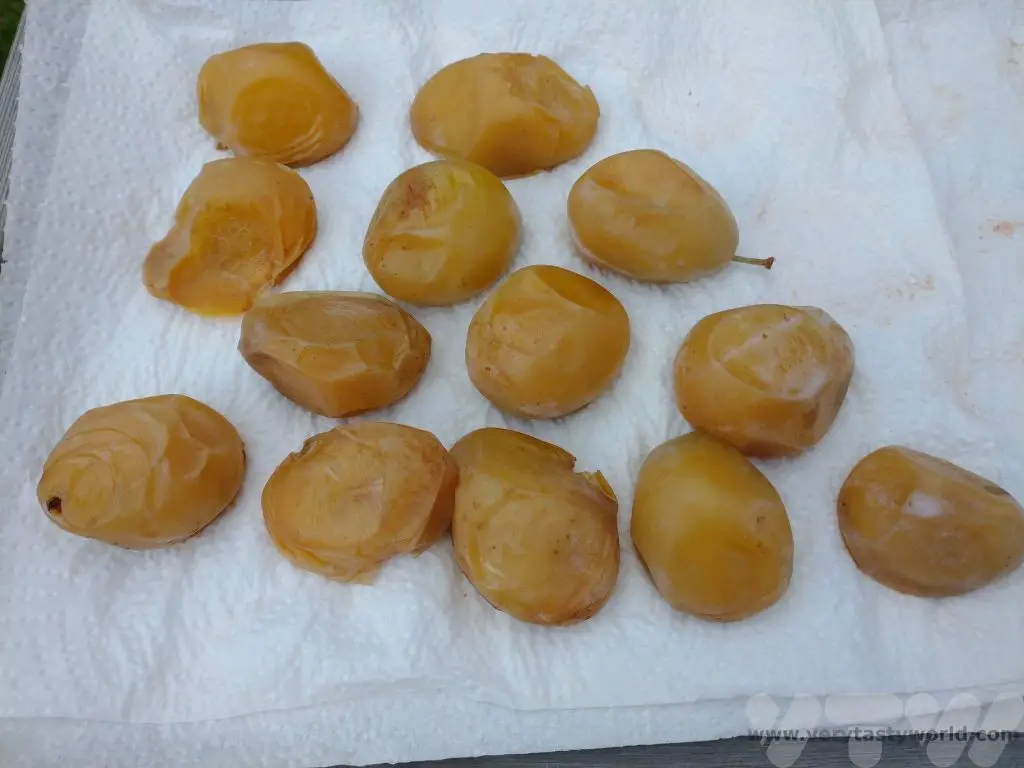
After the third day, you can place the plums in a jar or a plastic container, or even a plastic bag. They will last for months and months. That’s if you don’t scoff them…or have too many hangovers to cure!
Save the Brine!
We hate food waste so we have devised a way to re-use the salty plum juice brine.
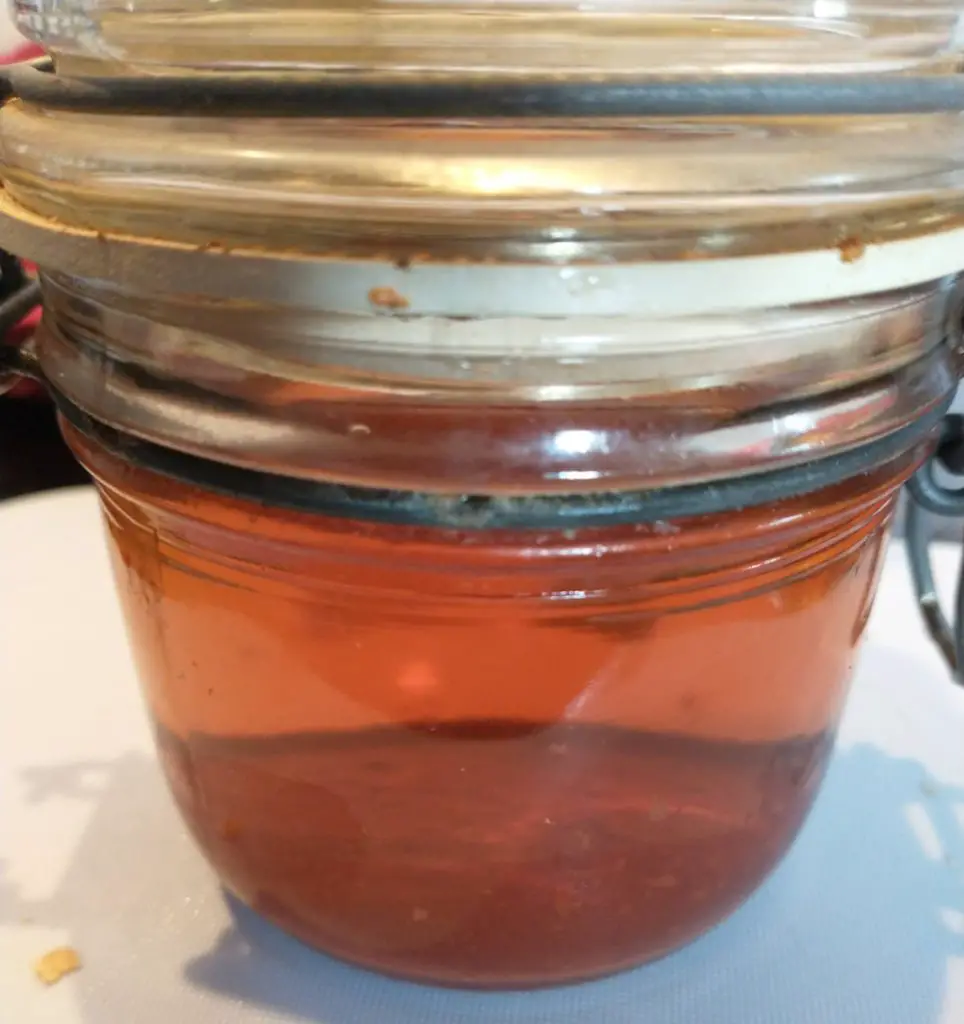
We use it to pickle ginger.
Peel the ginger and cut into matchsticks.
Place them in a jar and cover them with the brine. After a couple of weeks they will be deliciously sour and salty. We use them to add some zing to rice and noodle dishes or as a garnish.
Actually, we have been known to open the jar and sneak a matchstick or two for a quick snack.
Related Posts You May Enjoy


- RECIPE Oyakodon Donburi
- Zero Waste Recipes Before Your Holiday
- RECIPE: Vegetable Biryani Tamil Nadu Style
- RECIPE: Vegan Wild Garlic Pesto
- Recipe: Venetian Pasta Sauce
- RECIPE: Biryani Raita Recipe
- RECIPE: How to Make Costa Rica’s Gallo Pinto
- Recipe: Japanese Simmered Pork Belly – Buta no Kakuni
- RECIPE: How to Make Umeboshi
Recipe: Shopska Salad
One of the dishes that was pretty much ubiquitous when we visited Bulgaria, and could be found pretty much every meal we had, was shopska salad. It is Bulgaria’s national salad, apparently created as part of tourism campaign in the 1950s, its colours of red, green and white match those of the Bulgarian flag.
The dish is popular throughout the Balkans – we also enjoyed it in Bosnia and Herzegovina and it made a regular appearance on menus in Croatia as well. There are all sorts of variations. Fruit and vegetables in Eastern Europe are usually more delicious than those we get at home. They make look uglier but they taste so much better. Because the salad uses very finely grated cheese you get a lovely hit of salty cheese with every forkful as opposed to, say, a Greek salad which uses cubes of cheese. It’s a really easy recipe that tastes absolutely great. This version is the one that we ate in Bulgaria.

Shopska is traditionally made using Bulgarian sirene cheese which is difficult to get in the UK. Feta cheese is more easily available and is a really good substitute. Here’s our recipe for shopska salad.
Shopska Salad Ingredients
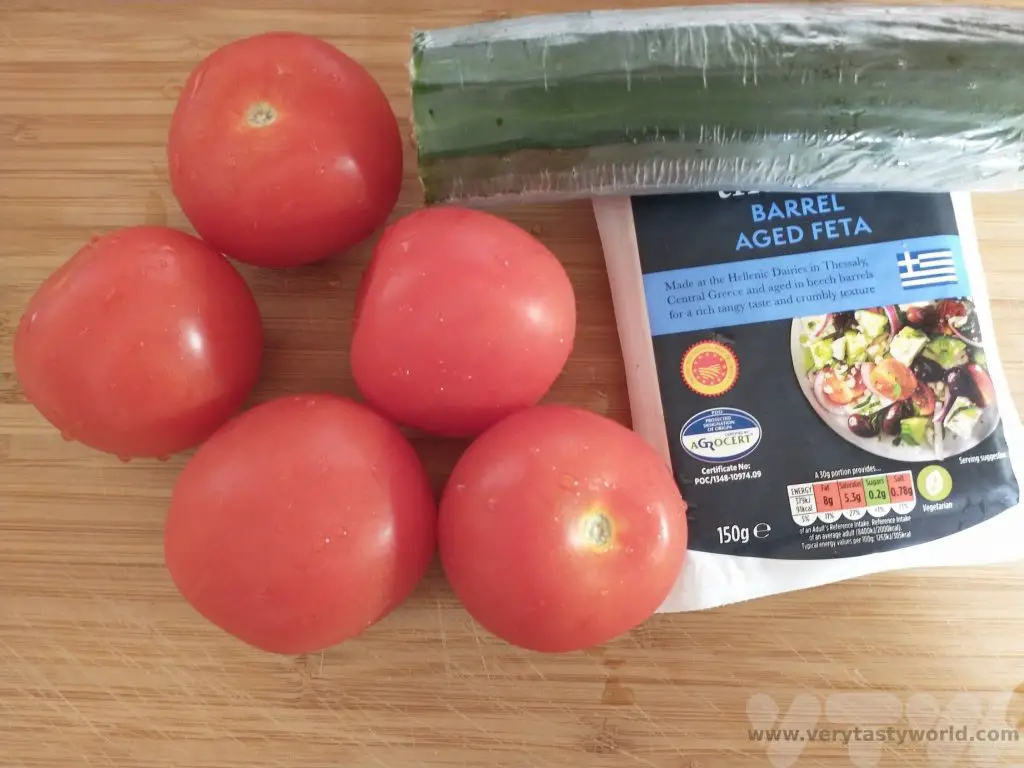
1 cucumber
4 tomatoes
1 cup of feta cheese (we like the barrel aged variety as it has a lovely rich, salty flavour)
1 tbs red wine vinegar (white wine or cider vinegar can also be used)
2 tbs sunflower oil (sunflower is more traditional but it is fine to use olive oil if you prefer)
Pinch of salt (go easy) and pepper (as much as you like)
Method
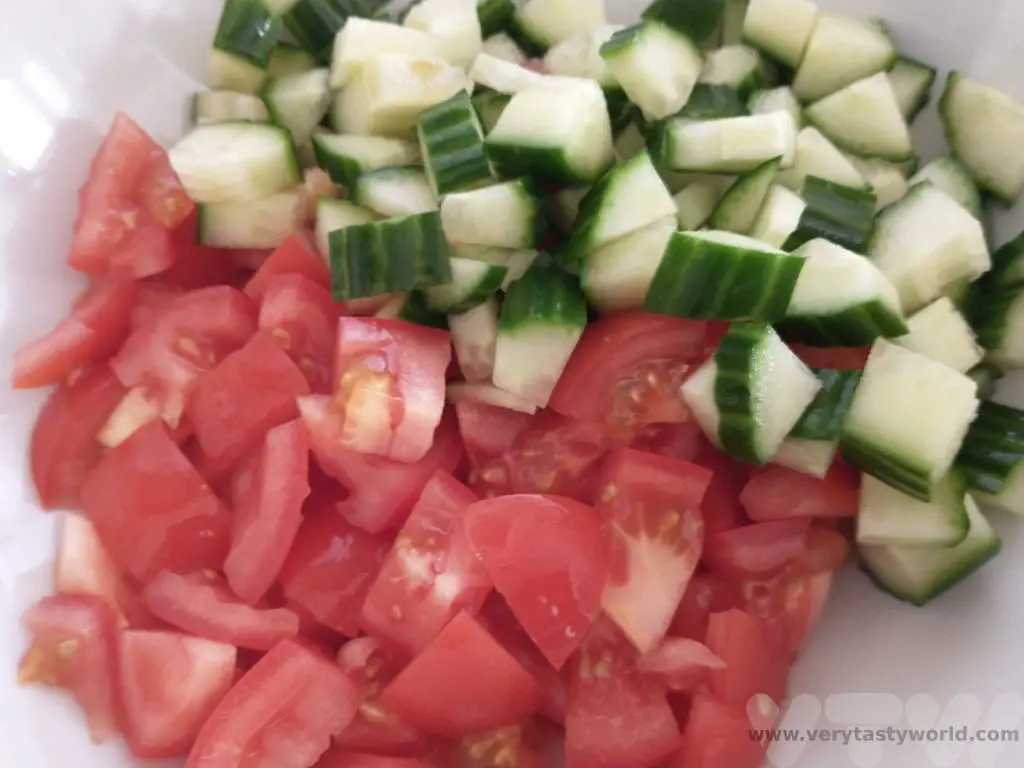
Many recipes recommend removing the seeds from the tomatoes and cucumber but we hate food waste so we tend to leave them in.
Wash the cucumber and chop into cubes
Wash the tomatoes, cut out the stem and cut into small cubes.
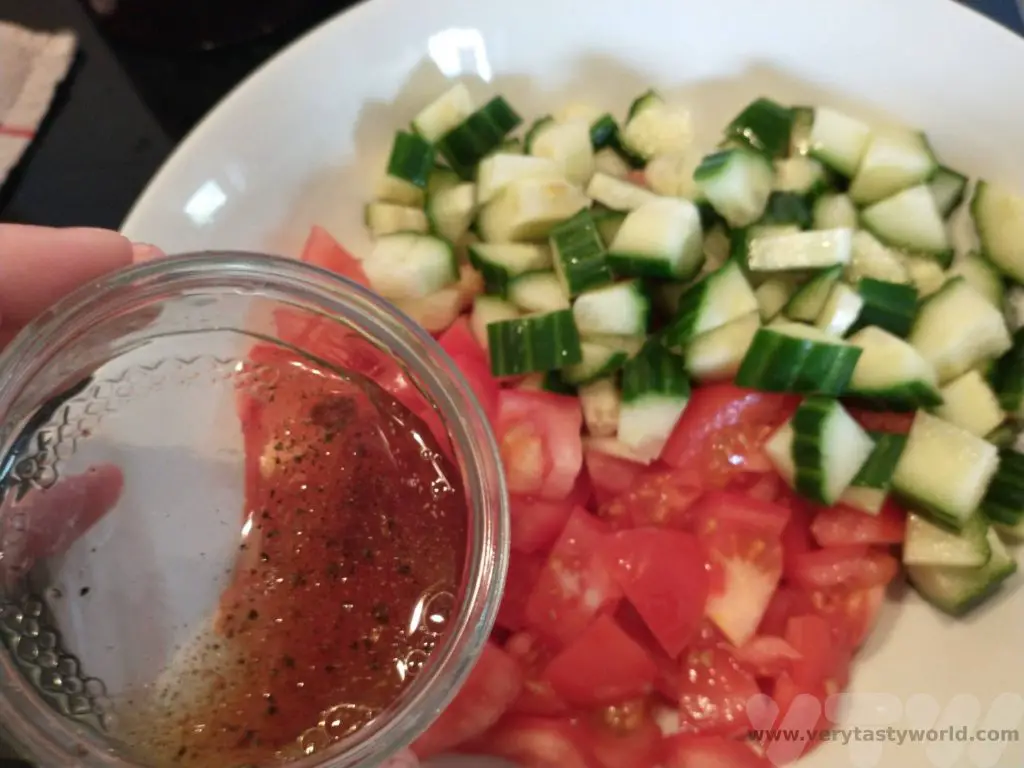
Make the dressing: combine the oil, vinegar, salt and pepper – we recommend minimal salt as the cheese is salty; often we omit the salt altogether. Mix together and then pour over the cucumber and tomatoes. Let them marinate for a few hours if you wish.
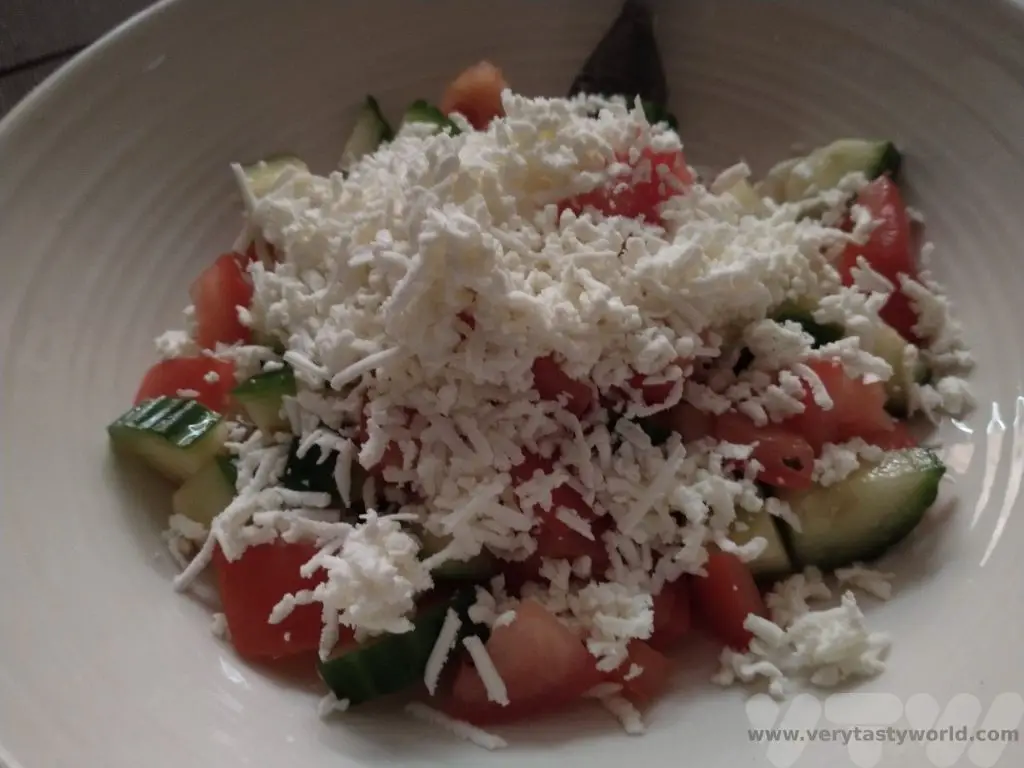
Finely grate the cheese. If you have an ordinary grater that’s absolutely fine but if you can, use a grater with a really fine setting. Feta is quite soft, so isn’t the easiest cheese to grate but it is worth persevering to get a lovely fine mass of cheese.

Place the marinated vegetables in a bowl. Sprinkle over the grated cheese. Devour.
Variations. It is perfectly fine to add in other vegetables: finely chopped red onion, chopped celery, red or green bell peppers etc. If you want to add some herbs such as parsley or basil, that’s okay too.
- RECIPE Oyakodon Donburi
- Zero Waste Recipes Before Your Holiday
- RECIPE: Vegetable Biryani Tamil Nadu Style
- RECIPE: Vegan Wild Garlic Pesto
- Recipe: Venetian Pasta Sauce
- RECIPE: Biryani Raita Recipe
- RECIPE: How to Make Costa Rica’s Gallo Pinto
- Recipe: Japanese Simmered Pork Belly – Buta no Kakuni
- RECIPE: How to Make Umeboshi